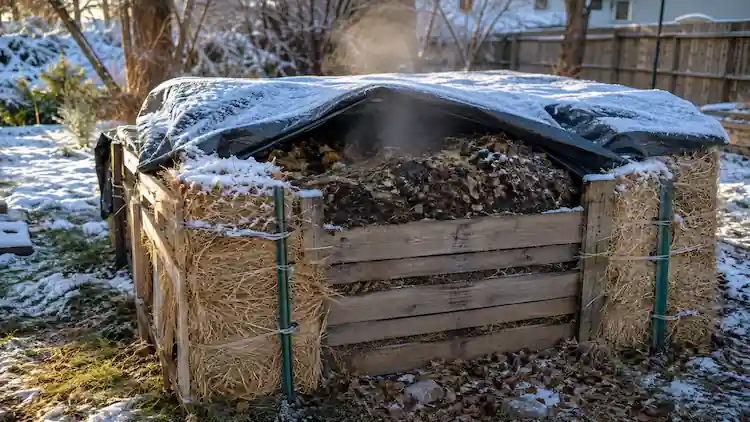
Ever noticed how some gardens seem to grow on their own, while others need constant babying no matter how much fertilizer you dump in? The difference usually comes down to what’s living in the soil, not what’s sitting on top of it.
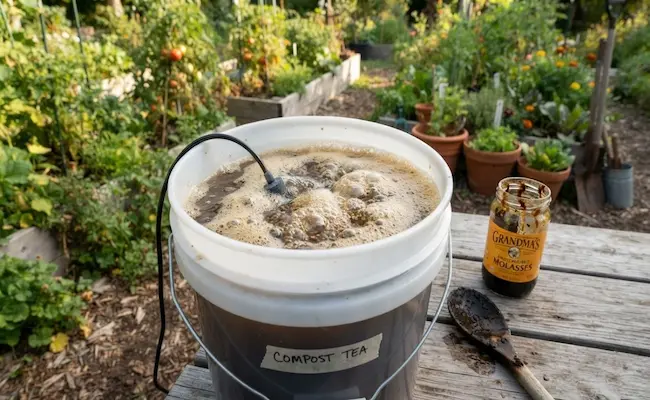
If you’re wondering how to make compost tea with molasses, you’re really asking how to multiply billions of beneficial microbes in a bucket, then hand-deliver them straight to your plant roots. I’ve brewed more batches than I can count, and once you get the ratios right, it’s almost stupidly simple.
Compost Tea vs. Aerated Compost Tea With Molasses
There are two very different things people call “compost tea,” and mixing them up is where most confusion starts.
- Passive compost tea: you soak compost in a bucket of water for a day or two. It pulls out water-soluble nutrients, but the microbe count barely changes.
- Aerated compost tea with molasses: you add oxygen through a pump and feed the mix with sugar, so bacteria and fungi actually multiply, sometimes doubling every 20–30 minutes.
The second one is what gives you a living inoculant instead of just a weak liquid fertilizer, and it’s the version this guide focuses on.
Why Unsulfured Molasses for Compost Tea Is Non-Negotiable
Not every bottle on the shelf will work. Sulfured molasses has sulfur dioxide added as a preservative, and that same chemical that stops the bottle from spoiling also slows down the microbes you’re trying to grow. Always check the label if it doesn’t say “unsulfured,” put it back.
Skip sulfured molasses, skip anything labeled “light” with added preservatives, and you’re already ahead of most people trying a DIY compost tea using molasses for the first time.
You’ll also see two types of unsulfured molasses:
| Type | Sugar Content | Mineral Content | Best For |
|---|---|---|---|
| Regular (mild) molasses | ~70% | Lower | Fast bacterial bloom, beginners |
| Blackstrap molasses | ~45–50% | Higher (Ca, Mg, K, Fe) | Mineral-rich brews, later-season feeding |
I like starting beginners on regular unsulfured molasses because the results show up faster, which builds confidence before switching to blackstrap.
Molasses vs. Other Feedstocks
Molasses isn’t the only food source people add to ACT, so it’s worth knowing how it stacks up:
- Kelp meal: slower-acting, but adds trace minerals and growth hormones molasses doesn’t have.
- Fish hydrolysate: strong microbial food source, though quality varies a lot between brands and it can smell rough.
- Alfalfa meal: good nitrogen boost, works well combined with molasses rather than instead of it.
For a first batch, molasses wins on cost and simplicity. Once you’re comfortable, mixing in a pinch of kelp meal alongside your molasses gives you the best of both.
What You’ll Need to Brew
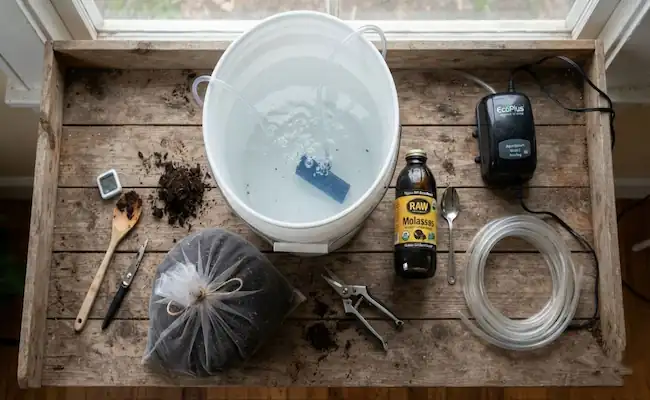
Before you get into the actual recipe, gather this equipment:
- A food-grade bucket, roughly 14–16 inches tall and 12 inches across, for a 5-gallon batch.
- An aquarium or commercial air pump rated for at least 20–40 GPH for smaller buckets, and closer to 950+ GPH once you scale past a 15-gallon vessel.
- An air stone or tubing coiled inside (keep tubing under 3 feet so the pump doesn’t strain).
- A 400-micron mesh bag or old pantyhose to hold the compost.
- Non-chlorinated water leave tap water uncovered for 24 hours if you don’t have rain water.
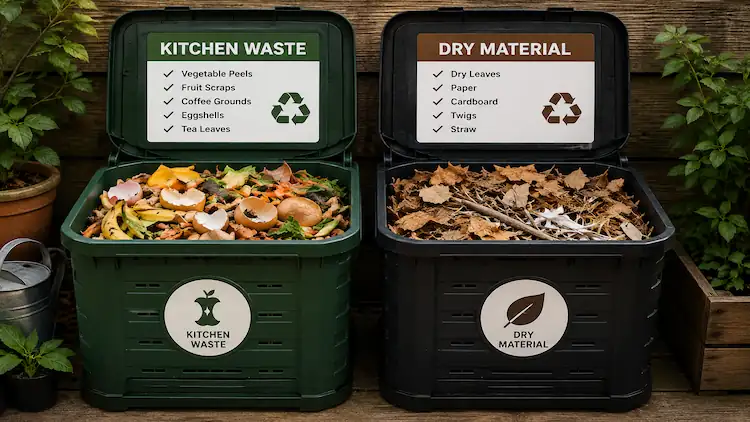
If you’re not sure your compost is finished enough to use, it’s worth reading up on building a compost pile from scratch first, or using fresh worm castings instead, which tend to give a more consistent microbial base.
None of this equipment needs to be fancy or expensive. My own setup cost less than a fast-food meal a basic aquarium pump runs about $8-15, an air stone a couple of dollars more, and the bucket and mesh bag are things most people already have lying around. You don’t need a lab-grade rig you need clean gear, fresh compost, and a pump strong enough for the container you’re using.
How to Make Compost Tea With Molasses: Step by Step
Here’s the actual process I follow for a standard 5-gallon batch:
- Fill and aerate first: Fill your bucket with water, drop in the air stone, and run the pump alone for 15–20 minutes before adding anything else.
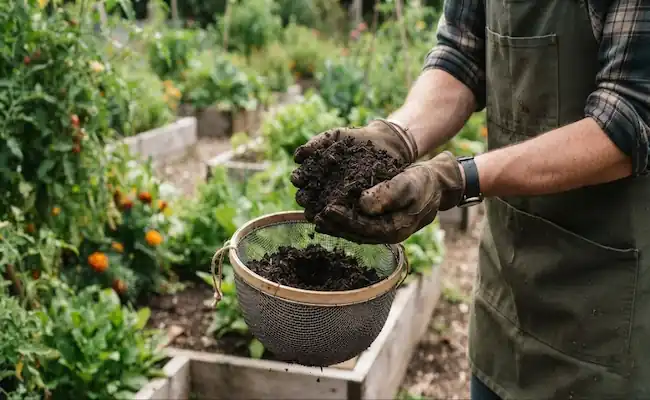
- Add your compost: Fill the mesh bag with 1 cup of finished compost or worm castings and submerge it near the surface.
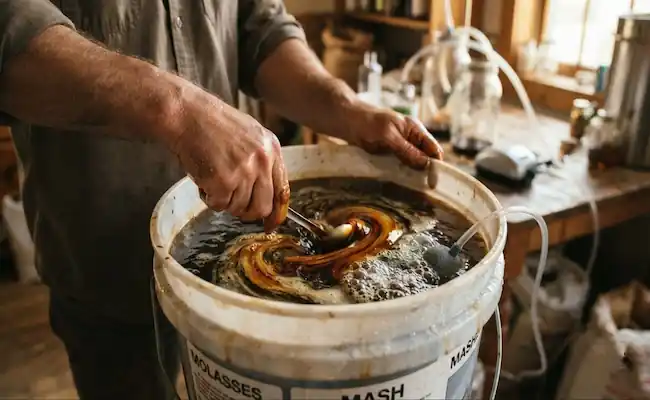
- Stir in the molasses: Add 1–2 tablespoons of unsulfured molasses and mix until it dissolves the water should turn a light amber shade.
- Brew for 24–36 hours: Keep the pump running the whole time. Air temperature should sit around 13–29 ºC (55–85 ºF), and water shouldn’t climb past 38–43 ºC (100–110 ºF). Bacteria mostly build up in the first 24 hours, while fungi take closer to 48–72 hours to establish, so if you want a more fungal-dominant brew for trees or shrubs, let it run a bit longer.
- Check the smell: A good batch smells earthy, like soil after rain. Sour or rotten-egg smells mean it went anaerobic.
- Use it within hours: Microbial activity peaks right after brewing and drops fast once the sugar runs out.
Here’s a quick reference if you’re scaling the batch up or down:
| Batch Size | Compost | Unsulfured Molasses | Aeration Pump |
|---|---|---|---|
| 1 gallon | 3–4 tbsp | ½ tsp | Small aquarium pump |
| 5 gallons | 1 cup | 1–2 tbsp | 20–40 GPH pump |
| 25 gallons | 5 cups | ½ cup | 950+ GPH pump |
How to Tell If Your Brew Actually Worked
You don’t need a microscope to judge a good batch, though it helps if you want to get serious. Look for:
- A layer of light foam on top that’s a sign of active microbial respiration.
- An earthy, slightly sweet smell, never sour or sharp.
- Cloudy, amber-brown water, not clear or oily.
- No slimy film or dark scum floating on the surface.
If your brew ticks these boxes, your molasses compost tea recipe worked exactly as it should, and it’s ready to go straight onto your soil.
Mistakes That Turn a Good Batch Into Sludge
I’ve made every one of these mistakes at least once, so trust me on this list:
- Too much molasses: More sugar doesn’t mean more microbes it feeds the wrong bacteria and turns the brew anaerobic.
- Skipping aeration: Without constant oxygen, the tea ferments instead of brewing, producing alcohol and acids that burn roots.
- Using unfinished compost: If it smells like ammonia or still has visible scraps, it’s not ready. If your pile keeps stalling, comparing hot composting and cold composting methods can help you fix that.
- Brewing too long: After 48 hours, the sugar’s gone and the microbe population crashes.
- Thick foam spilling over the rim: Usually means too much molasses or protein in the mix scoop it off and cut your molasses amount next time.
- A dark film or fuzzy mold on top: A sign of stagnant, low-oxygen spots. Reposition your air stone so there are no dead zones in the water.
- Fruit flies or gnats hovering nearby: Spilled molasses attracts them fast wipe down the bucket rim and lid after every stir.
If your batch already smells off, don’t panic the same troubleshooting logic used for fixing smelly anaerobic compost applies here too: more oxygen, less sugar, fresher inputs.
Is Molasses Compost Tea Safe? What You Should Know
This part gets skipped a lot, and I think it shouldn’t be. Compost made from animal manure carries a real pathogen risk if it’s not fully cured, and adding a sugar source like molasses can actually help harmful bacteria multiply right alongside the good ones if your brew isn’t aerated properly.
Stick to plant-based compost or worm castings for tea, and skip anything sourced from pet waste that material belongs in ornamental beds, not a spray bottle for your vegetables.
A University of Arizona Cooperative Extension review of compost tea research found that nutrient additives like molasses can raise E. coli risk when brewing conditions aren’t tightly controlled, which is part of why the USDA’s National Organic Program has specific rules around compost tea production for food crops (source).
The same review also noted that compost tea’s effect on disease suppression is inconsistent across studies it can work well for some pathogens and do nothing for others, so I wouldn’t treat it as a guaranteed fix.
If you’re growing under an organic certification, don’t assume any homemade brew qualifies automatically. The USDA’s National Organic Program has specific standards around compost tea inputs and brewing conditions, so it’s worth checking your certifier’s rules before applying it to certified crops.
How to Apply Your Finished Tea
Timing and dilution matter as much as the brew itself:
| Application | Dilution | Best Timing |
|---|---|---|
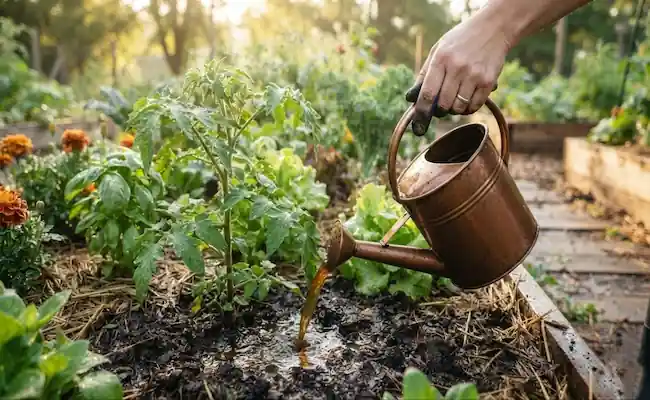
| Soil drench (established plants) | 1 part tea : 4 parts water | Early morning or evening |
| Seedlings / indoor plants | 1 part tea : 10 parts water | Cloudy days preferred |
| Foliar spray | Strain finely, light dilution | Avoid direct sun |
| Compost pile activator | Undiluted | Pour directly, anytime |
Apply every 2–4 weeks during the growing season. If you’re still working out what actually belongs in your setup, this rundown on what to put in a garden compost bin is worth a look before your next batch.
One thing I’d add from experience: fast-growing crops like lettuce or other leafy greens don’t always need this. ACT tends to push root development over quick top growth, so it shines more on perennials, fruiting plants, and lawns than on anything you’re racing to harvest in a few weeks.
Storage and Shelf Life
You really shouldn’t sit on a finished batch. Once the pump goes off, oxygen levels start dropping and the microbes you just multiplied begin to die back. Use it within 4–6 hours for best results, and never store it in a sealed container trapped gas from continued fermentation can build pressure.
If you’re just getting comfortable with compost basics in general, a broader guide on how to make compost at home is a good companion read alongside this one.
Final Thoughts:
At the end of the day, learning how to make compost tea with molasses isn’t complicated it just rewards attention to detail. Use unsulfured molasses, keep the air pump running, and apply your brew while it’s still alive and active. You won’t fix bad soil overnight, but with a $10 pump, a bucket, and a spoonful of molasses, you’ll be feeding your garden’s microbiology in a way a bag of synthetic fertilizer never can.