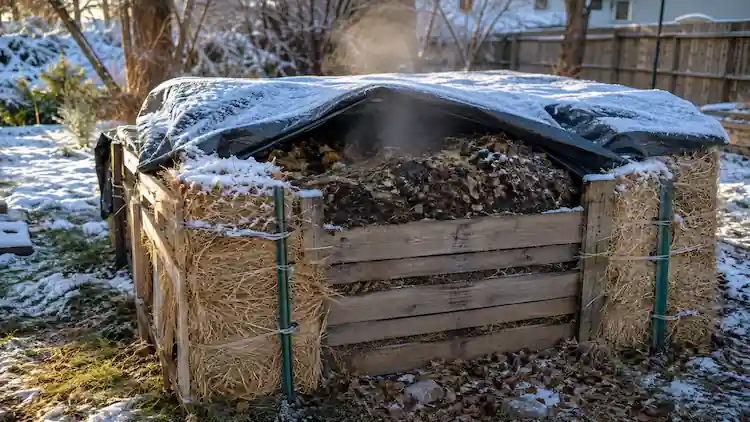
Ever wonder why some backyards produce dark, crumbly soil that smells like a forest floor while others just have a pile of rotting scraps in the corner? The difference usually isn’t luck, it’s knowing how to start a compost pile from scratch the right way.
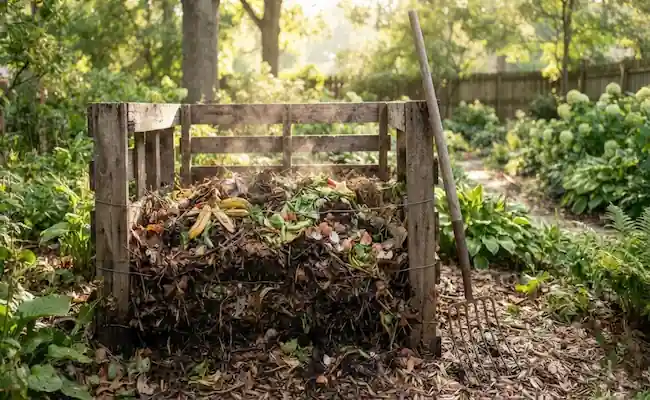
Once you get the basic setup down, buying bagged soil amendments stops making much sense. If you’re standing in your yard right now wondering where to even begin, you’re in the right place, and you don’t need any special equipment to start composting at home.
Why Composting Pays Off In The Long Run
Before you grab a shovel, it helps to know what you’re actually working toward. Compost isn’t just “rotted stuff” it’s a living system that feeds your soil for years:
- It cuts down what you send to the trash or garbage bin every week.
- It builds soil that holds water better during dry spells.
- It gives you free fertilizer instead of buying bags at the store.
- It’s genuinely one of the easiest ways to start composting at home, no gardening experience needed.
- According to the U.S. Environmental Protection Agency, food scraps and yard waste make up close to a third of what American households throw away, most of which could be composted instead (EPA).
That last point alone is reason enough to try. You’re not just helping your tomatoes you’re keeping a chunk of your garbage out of a landfill.
Where You’re Starting A Compost Pile Matters
Location makes or breaks the whole project. Pick a spot in your backyard that gets partial sun, drains well after rain, and isn’t right up against your house siding. You want it close enough that you’ll actually walk over there with your scraps, but not so close that a rare bad smell drifts through your window.
A few things to check before you settle on a spot:
- At least 18 inches away from fences or walls.
- Not sitting in a low spot where water pools.
- Easy to reach with a wheelbarrow or bucket.
If you’re a community gardener working a shared plot instead of your own yard, ask about the group’s composting rules first — some shared gardens only allow bins, not open piles.
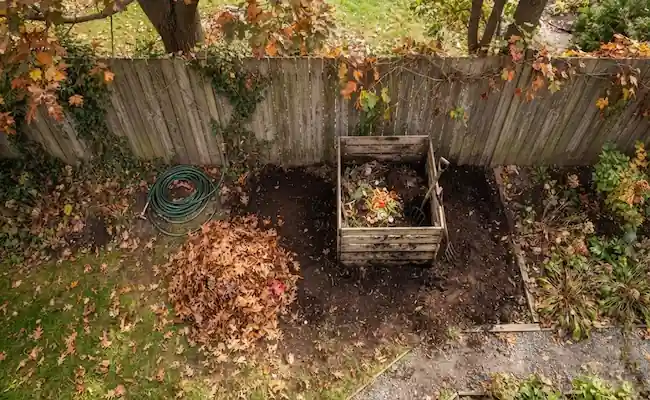
Choosing How To Make A Compost Pile: Pick Your Method
There’s more than one way to make a compost pile, and the “right” one depends on your space.
| Method | Best For | Effort Level | Speed |
|---|---|---|---|
| Open pile | Large yards, lots of leaves/grass | Moderate (regular turning) | Fast if turned often |
| Enclosed bin | Small yards, pest control | Low to moderate | Moderate |
| Tumbler | Anyone who hates hand-turning | Low, but costs more upfront | Fast |
| Vermicomposting (worms) | Apartments, balconies, no yard | Low | Moderate |
| Bokashi | Small spaces, want to compost meat/dairy | Low | Fast fermentation, slower finish |
If you don’t have outdoor space, don’t skip composting entirely. I’ve found worm bins handle apartment living just fine, and if you want to see how the finished material feeds plants indoors, there’s a separate piece on using worm castings that’s worth a look.
One thing worth mentioning: your climate plays a role in which method fits best. If you’re gardening in USDA Zones 4 or 5, where winters get genuinely cold, an insulated bin or tumbler tends to keep working longer into the year than an exposed open pile. Gardeners in warmer Zones 7 and 8 usually have an easier time year-round since the microbes doing the actual work stay active without much help.
What You’ll Actually Need To Get Started
You don’t need fancy gear to start a compost pile from scratch. A handful of basics covers it:
- A pitchfork or garden fork for turning.
- A pair of gloves.
- A watering can or hose for moisture.
- A compost thermometer (optional, but nice if you’re curious how hot the center is getting).
- A kitchen scrap container so scraps don’t pile up on the counter.
That’s really it. Everything else is just browns, greens, and a little patience.
Gathering Your Greens And Browns
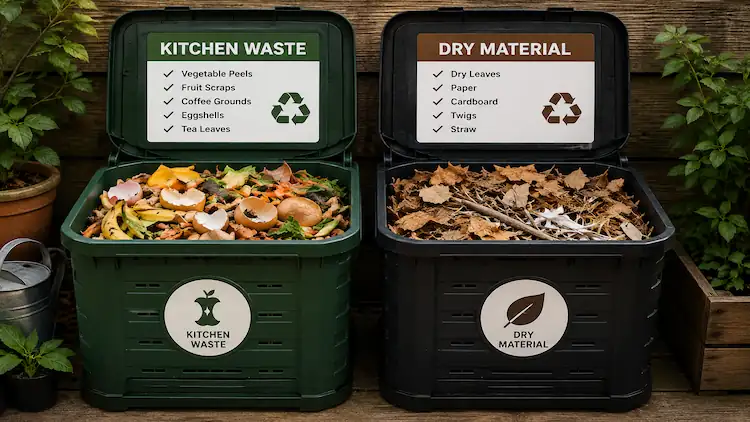
This is the part everyone gets stuck on. Compost needs two categories of material:
- Greens (nitrogen-rich): vegetable scraps, coffee grounds, fresh grass clippings, eggshells
- Browns (carbon-rich): dry leaves, shredded cardboard, straw, sawdust
Aim for roughly 2 parts browns to 1 part greens by volume. Too many greens and the pile turns slimy and smells bad. Too many browns and it just sits there doing nothing.
A couple of things I’d add that a lot of guides skip:
- Chop or shred material into smaller pieces before adding it smaller pieces break down noticeably faster than whole leaves or thick stems.
- Keep meat, dairy, oily food, and pet waste out of the pile; if you’re curious whether any pet waste is ever safe to compost, I covered that separately in my piece on composting dog waste.
- Skip diseased plants and any weeds that have already gone to seed the pile usually doesn’t get hot enough all the way through to kill either one, and you’ll just spread the problem around your yard next season.
- Coffee grounds count as a green, and there’s a full breakdown on using coffee grounds if you drink a lot of coffee.
If you’d rather see a longer master list of exactly what belongs in the bin, you’ll find one here.
How to Start a Compost Pile From Scratch, Step by Step
Here’s the actual process, broken into steps you can follow this weekend:
- Clear and level your spot: Rake away grass or mulch down to bare soil so microbes and worms can move in from underneath.
- Lay a coarse base: Add 3 to 4 inches of twigs or straw. This keeps air moving up from the bottom.
- Start layering: Add roughly 6 to 8 inches of browns, then 3 to 4 inches of greens, then a thin sprinkle of garden soil to introduce microbes.
- Water each layer: You want the pile damp like a wrung-out sponge, not dripping wet. A couple of gallons of water per layer from a watering can is usually plenty to get there.
- Build up to at least 3 feet by 3 feet by 3 feet: That size holds heat well enough for fast, hot composting. Smaller piles work too, just slower.
- Add a bio-activator if you want: A shovel of finished compost, aged manure, or a handful of composting worms speeds things along.
- Cover it: A tarp or thick layer of straw on top holds in moisture and keeps heavy rain from washing out nutrients.
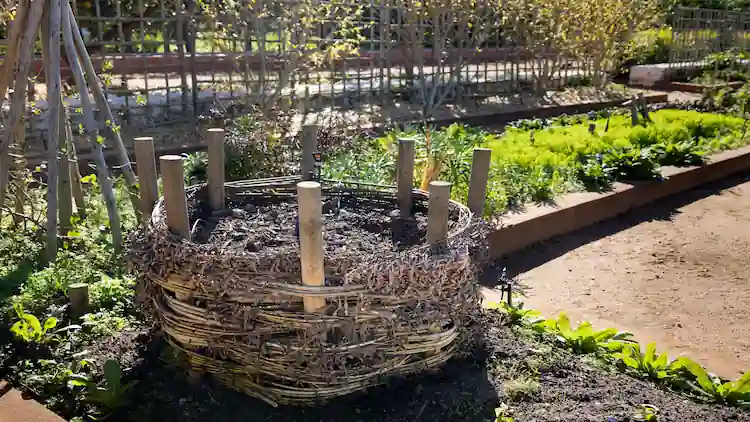
Building the pile itself only takes 20 to 40 minutes once your materials are gathered. If you’d rather build your own enclosure instead of buying one, a simple three-sided bin made from old wooden pallets or a length of wire mesh works just as well as anything from a store, and it costs next to nothing if you’ve got pruners and scrap wood lying around already.
If you want a more detailed rundown of the whole process from bin selection to first harvest, my full guide on how to make compost at home walks through it start to finish.
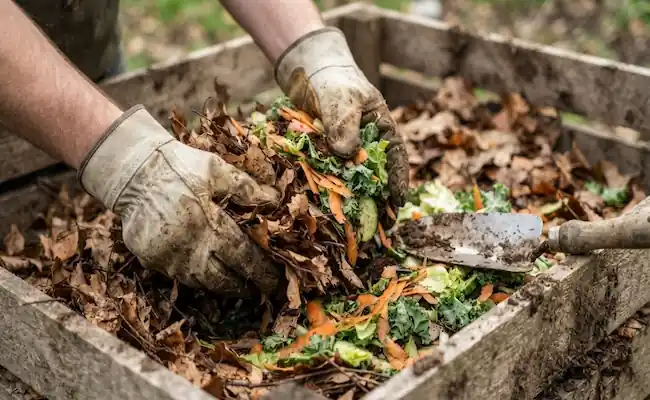
Keeping It Going: Turning, Water, And Heat
A compost pile isn’t a “set it and forget it” project, but it’s not high-maintenance either.
- Turn it every 1 to 2 weeks: with a pitchfork or garden fork to add oxygen
- Check moisture weekly: squeeze a handful; if water drips out, add dry browns; if it crumbles apart, add water
- Watch the heat: a healthy pile will feel warm in the center within a few days
Here’s a fact that’s surprising the first time you come across it: Cornell’s Waste Management Institute notes that thermophilic bacteria, the ones responsible for the hottest phase of composting, thrive between about 113°F and 140°F, and that heat is actually what kills off most weed seeds and pathogens in your pile (Cornell Composting Science). So if your pile is steaming a little on a cold Fall morning, that’s a good sign, not a problem.
If your Fall cleanup leaves you with a mountain of dry leaves from pruners cutting back trees and shrubs, don’t let it sit unused over winter I’ve got a whole piece on keeping compost active through winter that covers what actually helps once temperatures drop toward 32°F.
What Can Go Wrong And The Quick Fix
| Problem | Likely Cause | Fix |
|---|---|---|
| Bad smell | Too wet or too many greens | Add browns, turn the pile |
| Not heating up | Pile too small or too dry | Add greens, water, build it bigger |
| Fruit flies | Scraps left exposed on top | Bury scraps, cap with browns |
| Rodents around the pile | Meat, dairy, or exposed food | Remove those items, bury scraps deeper |
| Soggy or slimy texture | Too much water, compacted pile | Add browns, fluff it up, improve drainage |
None of these mean you’ve ruined anything. My experience has been that almost every compost problem traces back to just one of two things: too wet or too dry.
When Compost Is Actually Ready To Use
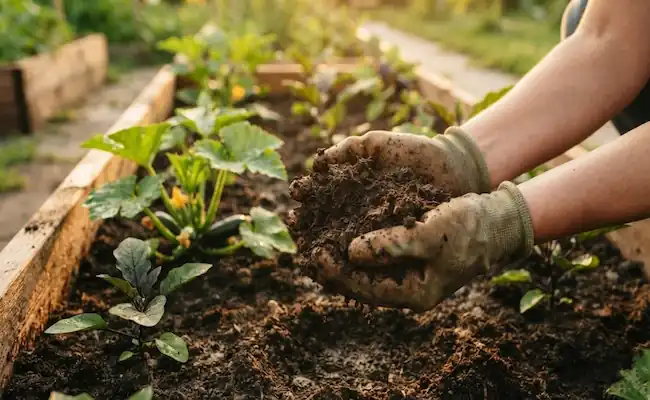
Depending on pile size, turning frequency, and materials, finished compost usually takes 2 to 6 months. You’ll know it’s done when it looks dark and crumbly, smells like fresh soil rather than garbage, and you can’t spot the original food scraps anymore.
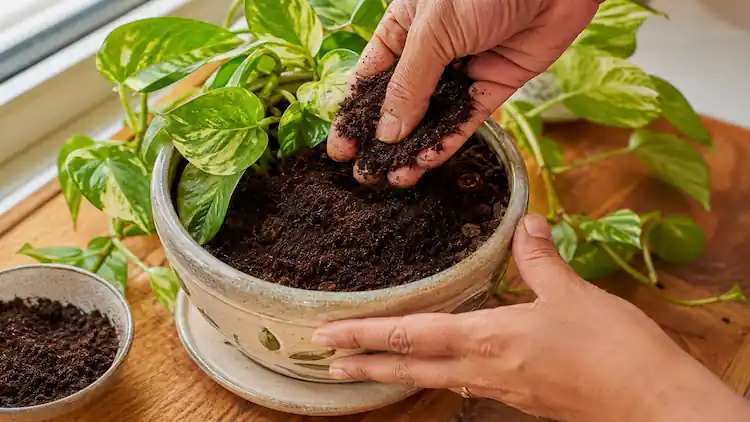
Once it’s ready, spread a 1 to 2 inch layer around your Zucchini, Eggplant, or other vegetable beds, or mix it a few inches into the top layer of soil before planting. Gardeners across USDA Zones 4 through 8 can all use finished compost the same way the climate affects how fast the pile breaks down, not how you use the final product.
Common Myths That Stop People From Starting
A few things I hear a lot that just aren’t true:
- “You have to turn it every day: Every 1 to 2 weeks is plenty for most backyard piles.
- “It will always smell bad: A balanced pile smells earthy, not rotten. Bad smell means too wet or too many greens, nothing more.
- “You need to buy worms or a starter kit: A shovel of garden soil or old compost already has the microbes you need.
Final Thoughts:
Once you’ve got the basics down, starting a compost pile stops feeling like a chore and turns into a habit, almost like taking out the recycling. Between the browns, the greens, a little water, and some patience, you now know how to start a compost pile from scratch, and there’s really no reason to put it off past this weekend. I promise that once you see that first batch of finished compost, you won’t look at your food scraps the same way again.