Ever wondered why one neighbor’s compost pile turns into black, crumbly soil in eight weeks while yours still looks like a heap of leaves six months later?
The answer usually comes down to heat. When people compare hot composting vs cold composting method efficiency, the real question isn’t which method is “better” it’s which one matches your yard, your schedule, and your patience. I’ve run both types of piles in my own backyard, and the difference in speed, effort, and results is bigger than most guides let on.
The Real Science Behind Hot Composting vs Cold Composting Method Efficiency
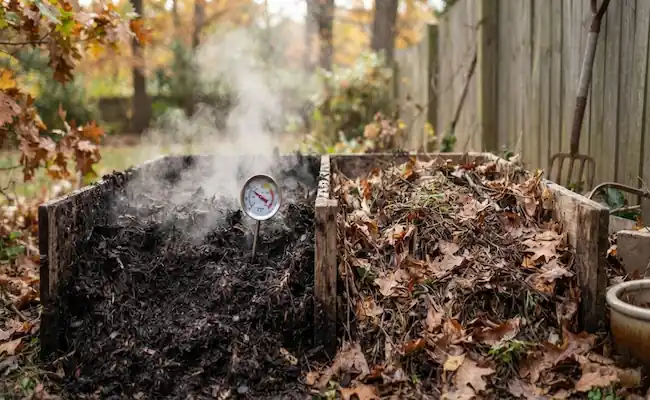
Composting isn’t magic it’s microbes eating organic matter and releasing heat as a byproduct. In a hot pile, thermophilic bacteria multiply fast enough to push internal temperatures to 131°F or higher.
Agricultural extension guidance on EPA-validated composting confirms that a pile has to hold 131°F for 3 consecutive days before it’s considered reliable for killing pathogens and weed seeds (LSU AgCenter). That’s a tested benchmark, not a guess.
Cold composting never gets close. It sits around 70°F to 90°F, meaning mesophilic microbes not the heat-loving kind do most of the slow work over 6 to 12 months.
Here’s something most articles skip: going too hot can backfire. A study published in Applied and Environmental Microbiology found that pushing pile temperatures much above 140°F can actually wipe out microbial diversity instead of helping it (Strom, 1985). So more heat isn’t automatically better it’s a narrow window, not a race to the highest number.
In my experience, this is the part backyard gardeners misunderstand most. They assume “hotter is always faster,” and while that’s mostly true, there’s a ceiling worth respecting.
There’s also a middle phase people forget about: the cooling and curing stage. Once a hot pile drops back down under 100°F, decomposition doesn’t stop it just slows down and shifts to a different set of organisms finishing the job. Skipping curing is one of the most common reasons “finished” hot compost still smells sharp or burns tender seedlings when it’s used too soon. Give it at least a few extra weeks before spreading it around Zucchini, Eggplant, or other vegetable beds.
Hot vs Cold Composting Speed: What the Timeline Looks Like
If speed is your priority, hot composting wins outright. A well-built pile can finish its active breakdown in 4 to 8 weeks, though I’d always let it cure a few extra weeks before using it around vegetables.
To get there, you’ll need:
- A pile at least 3 feet by 3 feet by 3 feet (about 1 cubic yard) smaller piles lose heat too fast.
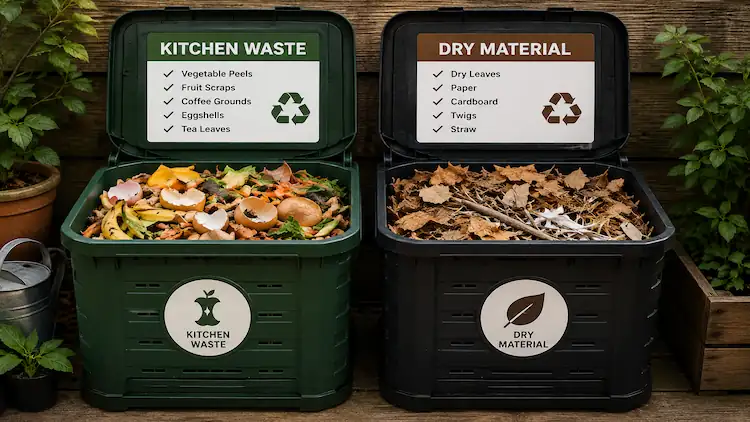
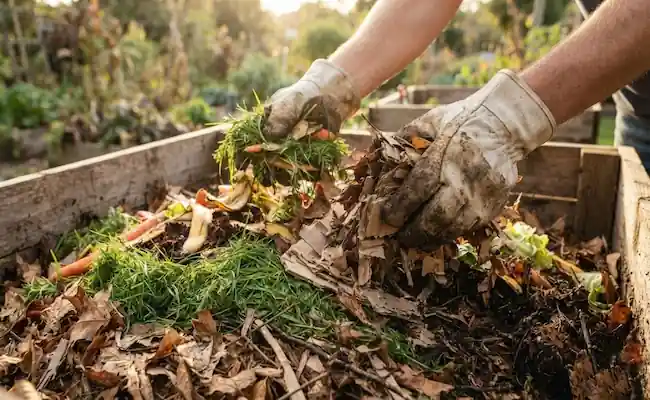
- A carbon-to-nitrogen ratio close to 30:1 (think dry Fall leaves and cardboard mixed with fresh grass clippings, kitchen scraps, and Yes coffee grounds count as a solid nitrogen source).
- Specific ratios worth knowing: dry leaves sit around 60:1, cardboard closer to 350:1, fresh grass clippings around 20:1, and food scraps around 15:1 mixing roughly two parts browns to one part greens by volume gets you near that 30:1 target.
- Turning every 3 to 5 days to keep oxygen flowing.
- Moisture like a wrung-out sponge, not soaked.
You’ll also want a decent mix of Yard and Backyard waste spent Zucchini vines, Eggplant stems, and clippings from your pruners all work well once chopped smaller. Bigger pieces slow everything down because there’s less surface area for microbes to attack.
Cold composting, by contrast, can take 6 months to 2 years depending on climate. Gardeners in USDA Zones 4 and 5 see that timeline stretch even further, since microbial activity nearly stalls below 50°F. In USDA Zones 7 and 8, cold piles break down noticeably faster because the ground rarely freezes.
I like hot composting when I’ve got a full season’s worth of yard debris. But not everyone has the time or the volume of material for it and that’s completely fine.
Cold Composting: The Low-Effort Backyard Option
Cold composting is basically “toss it and forget it.” You skip the turning schedule, skip the thermometer, and just keep adding material as it comes.
This method works well if:
- You’re a community gardener with limited time to babysit a pile.
- Your yard produces a slow, steady trickle of scraps rather than one big batch.
- You don’t mind waiting a year or more for finished compost.
- You’re fine with occasional odor, since anaerobic pockets are more common without regular turning.
If you’re just starting out and want the simplest possible setup, this guide on how to start a compost pile from scratch walks through the basics without overcomplicating things.
One thing I think gets overlooked: cold piles don’t reliably kill weed seeds or pathogens, so skip diseased plant material, meat, and dairy scraps. Stick to plant-based kitchen and yard waste, and you’ll avoid most of the headaches.
Which Composting Method Is More Efficient?
This is where a side-by-side comparison actually helps.
| Factor | Hot Composting | Cold Composting |
|---|---|---|
| Time to finished compost | 4–8 weeks, plus curing | 6 months to 2 years |
| Pile size needed | 3 ft × 3 ft × 3 ft minimum | Any size |
| Turning frequency | Every 3–5 days | Rarely or never |
| Pathogen/weed seed kill | Reliable at 131°F+ | Unreliable |
| Best for | Community gardener with steady yard waste | Slow-and-steady households |
| Climate sensitivity | Moderate: insulate in cold zones | High: nearly stops below 50°F |
Efficiency isn’t only about speed, though. If you factor in labor hours, hot composting demands more of your weekends. Cold composting demands more of your patience. For raw output-per-effort, hot composting is more efficient but only if you actually have the volume of material (Fall leaves, garden trimmings, kitchen waste) to keep it fueled.
If your yard doesn’t generate much waste, cold composting is arguably the more efficient choice, since you’re not sinking time you don’t have into a system that needs constant feeding.
There’s an environmental angle too. A poorly maintained cold pile can turn anaerobic and release methane, a far more potent greenhouse gas than the carbon dioxide given off by a properly aerated hot pile. Keeping either pile turned and oxygenated not just picking hot over cold is what actually keeps its footprint low.
Troubleshooting Efficiency Problems in Both Methods
Even a well-planned pile runs into trouble. Here’s what usually goes wrong:
- Ammonia smell: too much nitrogen (grass clippings, food scraps); add more dry Fall leaves or cardboard
- Rotten egg smell: not enough oxygen; turn the pile or add coarser material
- Pile won’t heat up: usually too small, too dry, or too heavy on browns; check moisture and rebuild bigger
- Pests digging in: never add meat, dairy, or oily trash; bury fresh scraps under a few inches of browns
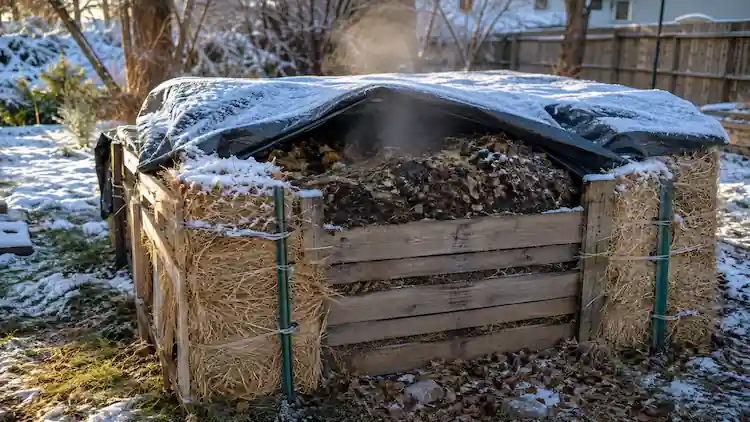
- Slow cold pile in winter: insulate with straw bales or a tarp, especially in USDA Zones 4, 5, and 6
- Persistent herbicide residue: grass clippings treated with certain lawn herbicides can survive both hot and cold composting and stunt vegetables later; skip clippings from lawns treated in the past year if you’re unsure
For cold-weather slowdowns specifically, I found this piece on how to speed up decomposition in winter genuinely useful it covers insulation tricks worth trying.
Also, be careful what goes in from the start, since a lot of “why isn’t my pile working” questions trace back to the wrong mix. This guide on what to put in your compost bin is worth bookmarking before you build your first pile.
Efficient Composting Methods for Backyard Gardeners on a Budget
You don’t need fancy equipment for either method, but a few tools make life easier:
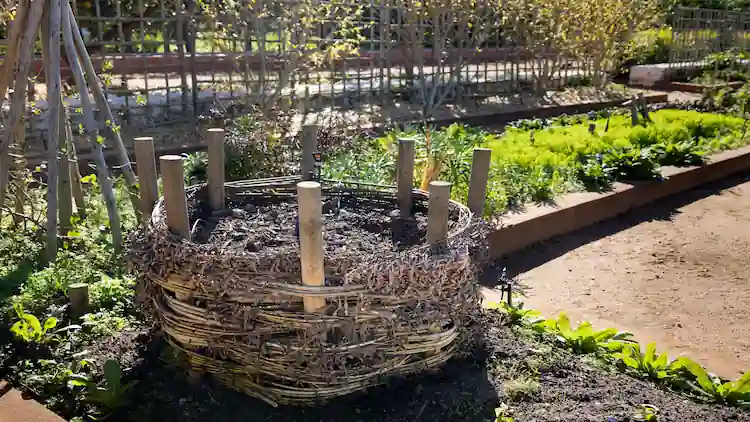
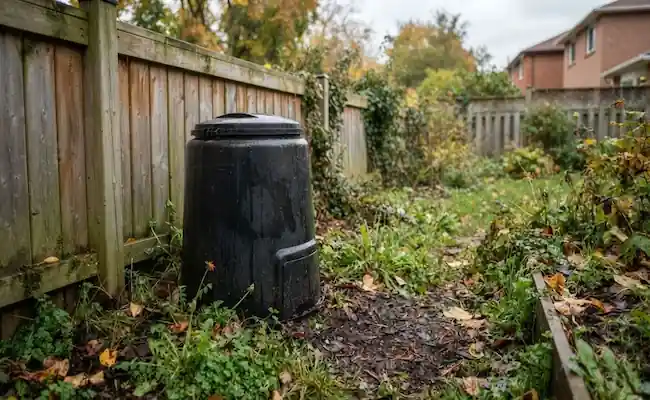
- A 32-gallon trash can (drilled with holes) works as a cheap starter bin.
- A compost thermometer (around $20–$25) if you’re going the hot route you genuinely can’t manage pile temperature without one.
- A tumbler bin (60–80 gallons) speeds up cold composting slightly by making turning less of a chore.
- A pair of pruners or loppers to chop woody stems before adding them, since smaller pieces break down noticeably faster.
If you’ve got a vegetable garden going too, your kitchen contributes plenty of material Zucchini and Eggplant trimmings, corn husks, and coffee grounds all add up fast during peak growing season.
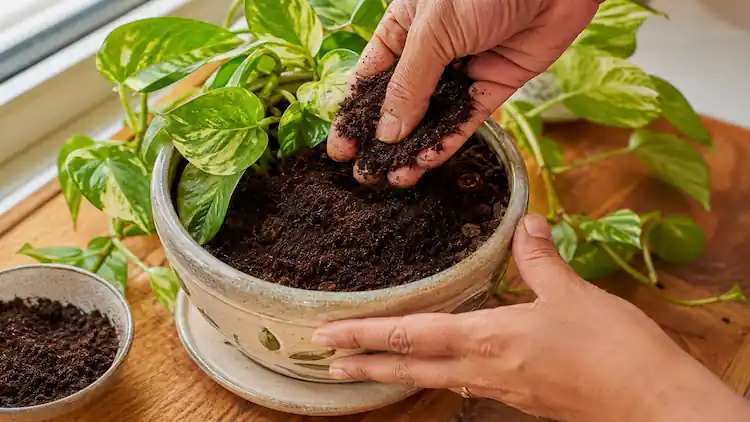
For gardeners feeding houseplants alongside outdoor beds, worm castings are worth a look. Here’s a solid guide on using worm castings indoors that pairs nicely with whatever compost you’re already producing outside.
If you’re short on yard space, both bokashi bins and vermicomposting (worm bins) let you compost indoors or on a balcony without needing a full backyard pile at all.
Hot Composting Versus Cold Composting Results: What You Actually Get
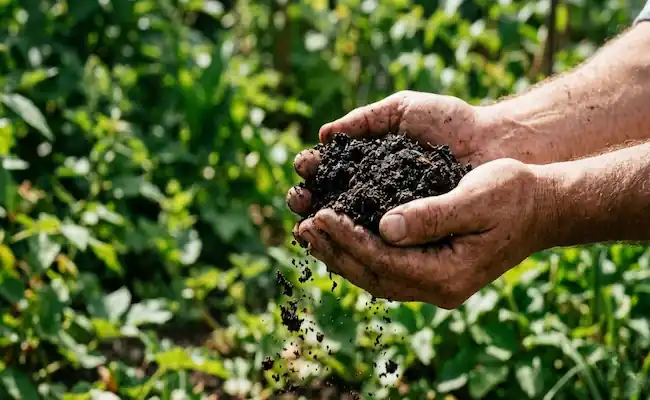
Once it’s finished, does the compost itself look different depending on method? Not hugely. Both should end up dark brown to black in color, crumbly, and smelling like forest soil rather than garbage.
The differences show up in the details:
- Hot compost usually has a more even texture, since intense microbial activity breaks materials down uniformly.
- Cold compost sometimes has chunkier bits at the edges that never fully broke down.
- Hot compost is generally safer for direct use around vegetables, since pathogens and weed seeds are more reliably destroyed.
- Cold compost still works great for ornamental beds, trees, and Fall bulb planting, where pathogen risk matters less.
If you want a full walkthrough from pile-building to finished product, this step-by-step guide on how to make compost at home covers both approaches in more depth than most quick comparisons do.
How to Know When Your Compost Is Ready
Before you dig any of it into your garden beds, run a quick check:
- Sniff test: finished compost smells earthy, like a forest floor, not sour or ammonia-like.
- Texture check: it should be dark, crumbly, and you shouldn’t be able to recognize the original scraps anymore.
- Jar test: seal a scoop in a jar for a day; if it smells bad when you open it, it needs more curing.
- Germination test: plant a few fast-sprouting seeds, radish works well, in a small sample; if they sprout normally within a week, the compost is stable enough to use.
Skipping this step is one of the most common efficiency mistakes I see, since compost that only “looks” finished can still tie up nitrogen or stress young transplants if it hasn’t fully cured.
Final Thoughts:
At the end of the day, comparing hot composting vs cold composting method efficiency comes down to your own yard, schedule, and how badly you want finished compost by a certain date. Hot composting rewards effort with speed. Cold composting rewards patience with almost no work at all. I think most backyard gardeners land somewhere in between hot in the Fall when yard waste piles up, cold the rest of the year. Either way, you’re keeping waste out of the trash and turning it into something your garden will actually thank you for.