
I still remember the first time a friend told me her pothos was “eating dirt” and doubling in size every month turns out it was worm castings, not magic. If you have been wondering how to use worm castings as fertilizer inside house without turning your living room into a science lab, you’re in the right place.
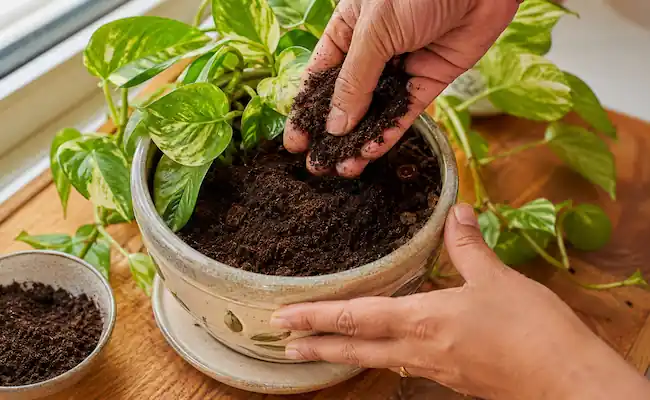
Worm castings, often called black gold by old-timers, are simply the digested output of composting worms, and they happen to be one of the gentlest, safest ways to feed potted plants indoors. No sharp smell, no scorched leaves, no guessing games. In this guide, I am walking you through how much to use, when to use it, and which plants respond best.
What Worm Castings Really Are: And Why They Are Not Just “Worm Poop”
Worm castings are the fine, dark material left behind after red wiggler worms (Eisenia fetida) digest food scraps, dead leaves, and other organic waste. Unlike regular compost, which is a mix of half-broken-down material, castings have already passed through a worm’s gut, so the nutrients inside are already broken into a form roots can absorb almost instantly.
Something I found genuinely interesting while researching this is that finished worm castings sit close to a neutral pH of around 7.0, with a carbon-to-nitrogen ratio near 15:1, which is one reason they mineralize faster than ordinary compost and rarely upset a plant’s root zone Agriculture Institute.
That neutral pH is exactly why worm castings are considered safe for almost every houseplant you own, from a fussy fiddle leaf fig to a forgiving snake plant.
Why Worm Castings for Indoor Plants Work So Well in a Pot
A container is a closed little world. There is no surrounding soil to pull nutrients from, so whatever is in that pot is all your plant gets, and it depletes fast every time you water. Chemical fertilizers refill that gap quickly, but they also leave behind salts that build up over months and quietly damage fine root hairs.
Worm castings for indoor plants solve this differently. They carry live beneficial microbes, humic acids, and trace minerals that synthetic bottles simply do not contain.
Research on vermicompost has repeatedly shown it increases soil porosity and water-holding capacity, which means your potting mix stays evenly moist for longer instead of drying out in a day or draining straight through PMC / National Library of Medicine. For anyone who has ever forgotten to water a plant for a week, that alone is reason enough to try it.
On paper, the nutrient numbers look modest a rough NPK of 1-0.5-1, plus small amounts of calcium, magnesium, and iron. What the label does not show is the biology riding along with it. Bacteria like Pseudomonas and Bacillus naturally present in finished castings compete with and suppress soil-borne pathogens, which is part of why plants fed on castings tend to bounce back from root stress faster than plants on chemical feed alone.
How to Use Worm Castings as Fertilizer Inside House: 3 Simple Methods
This is the part everyone actually wants to know, so let me break it down plainly. There are three ways I personally rotate between, depending on the plant and the season.
Top dressing: Sprinkle a thin layer of castings over the soil surface and gently work it into the top inch with your fingers or a fork. Water as usual and let it wash down slowly over the next few weeks.
Mixing into potting soil: At repotting time, blend castings straight into fresh soil at roughly one part castings to four parts soil. This spreads nutrients and microbes evenly through the whole root zone, not just the top layer.
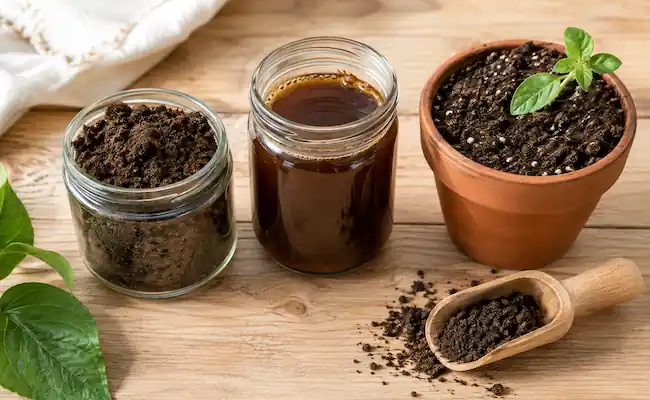
Worm castings tea: Steep a cup of castings in a gallon of room-temperature, dechlorinated water for about 24 hours, stir occasionally, then strain and water your plant with the liquid. This is the fastest-absorbing option and a favourite of mine for plants that look a little tired.
| Pot Size | Top Dressing | Soil Mix Ratio | Tea Strength |
|---|---|---|---|
| 4 inch | ½ tablespoon | 1 tbsp per cup of soil | 1 tbsp per quart water |
| 6 inch | 1–2 tablespoons | ¼ cup per cup of soil | ¼ cup per gallon water |
| 8 inch | 2–3 tablespoons | ⅓ cup per cup of soil | ⅓ cup per gallon water |
| 10+ inch | ¼ cup | ½ cup per 2 cups soil | 1 cup per gallon water |
Feed every 4 to 6 weeks through the growing months, and ease off once temperatures drop and plants slow down for winter.
Best Worm Castings for Potted Plants: Which Species Respond Fastest
Not every houseplant responds the same way, and it mostly comes down to where the species originally grew.
- Tropical foliage lovers: Pothos, monstera, philodendron, and peace lily grow in rainforest floors packed with decaying leaf litter, so they respond fastest often within three to four weeks you will see richer, darker leaves.
- Flowering plants: African violets, anthurium, and bromeliads enjoy the microbial boost but do better paired with a phosphorus-rich bloom feed during flowering.
- Desert natives: Succulents, cacti, and snake plants evolved in lean, mineral-poor soil, so they only need a light dusting once or twice a year more than that can actually hold too much moisture around their roots.
Most tropical houseplants also prefer their soil to stay above 15°C (59°F), since cold, damp soil slows down the very microbes that make worm castings tea and top dressing effective in the first place.
Vermicompost for House Plants vs Regular Fertilizer
I get asked often whether vermicompost for house plants is really worth it over a cheap bottled fertilizer, and honestly, the answer depends on what you are optimising for.
- Burn risk: Practically zero with castings, since nitrogen is released slowly by microbes rather than dumped all at once.
- Smell: Castings smell like fresh forest soil; some liquid organic feeds smell strong enough to notice across a room.
- Soil health: Chemical fertilizers feed the plant only; castings feed the plant and the living soil around its roots.
- Cost: Worm castings usually cost more per unit of nitrogen, but you use far less per application, which balances things out over a season.
Mistakes That Waste Good Worm Castings
Even a forgiving product like this has a few ways to go wrong indoors.
- Piling it on too thick: More than a quarter inch on the surface can crust over and block water from soaking in properly.
- Using unfinished castings: If it still smells sour or has visible scraps in it, it has not cured yet and can attract fungus gnats into your home.
- Feeding dormant plants: Most houseplants barely grow in winter, so skip fertilizing until new growth appears in spring.
- Storing it sealed and bone dry: Castings need a breathable container in a cool, shaded spot; if you keep worms yourself, they stay active fastest between about 13°C and 29°C (55°F to 85°F), which is also the comfortable range for storing finished castings.
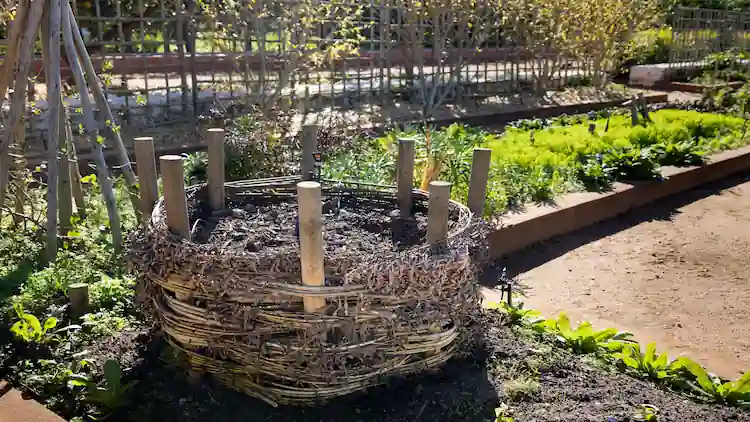
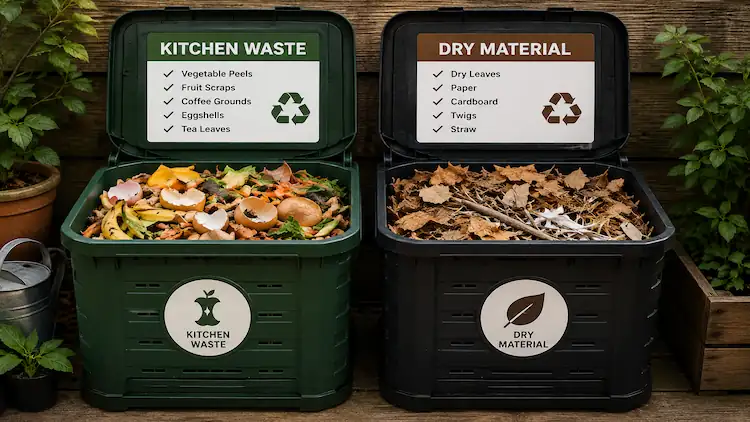
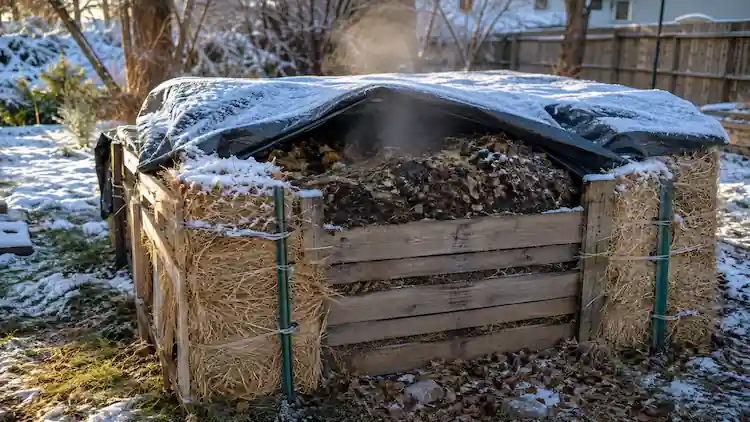
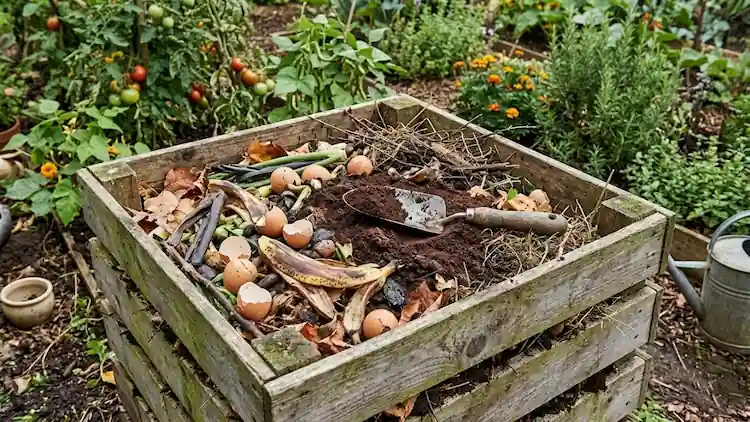
If you already keep an outdoor pile for scraps, the same basic logic carries over indoors my article on what to put in a garden compost bin covers which kitchen waste is safe to add, and it is worth a look before you start an indoor worm setup. One thing worth flagging clearly: never add pet waste to a worm bin sitting inside your home; if you want to deal with that separately and safely outdoors, I wrote a full piece on composting dog poop safely for exactly that situation.
Where to Get Worm Castings — Buy Them or Grow Your Own Supply
Store-bought bags from a reliable brand are consistent, screened, and the simplest way to start. But if you like the idea of never buying fertilizer again, a small worm bin under the sink is genuinely doable. A 10-gallon bin with a handful of red wigglers can process enough scraps to feed 15 to 20 potted plants on rotation.
If you are new to composting in general and want the fundamentals first, my guide on how to make compost at home walks through the basics that carry directly over into vermicomposting, just on a smaller, worm-powered scale.
Signs You Have Overdone It Even Though It Is Hard To
Worm castings will not burn a plant the way a chemical feed can, but that does not mean more is automatically better. A white, crusty film on the soil surface is usually mineral and salt buildup from repeated heavy applications harmless in small amounts, but a sign to skip the next feeding and flush the pot with plain water instead.
Pale or curled new growth can show up if castings were mixed in too heavily during repotting, since an overly rich mix can temporarily lock nitrogen away from the roots rather than release it. If you spot this, repot into a more diluted mix and give the plant a few weeks to recover.
When to Expect Results
Soil changes happen before you notice anything visible. Within about two weeks, soil holds moisture more evenly and drains a little slower. By three to four weeks, most tropical foliage plants show noticeably deeper green on new leaves.
Give it two to three months of steady application and the whole potting mix feels different looser, spongier, and far more forgiving if you miss a watering day.
Final Thoughts:
Learning how to use worm castings as fertilizer inside house really comes down to three habits: a light top dressing every month or so, mixing fresh castings in whenever you repot, and brewing a quick tea for plants that need a faster pick-me-up. None of it requires special tools, strong chemicals, or precise measuring, which is exactly why so many indoor growers eventually give up bottled fertilizers altogether. Start small on one or two pots, watch how your plants respond over a few weeks, and adjust from there. Once you see the difference in leaf colour and how evenly your soil holds water, it is hard to go back to anything else.

Pingback: Why Are My Sunflower Leaves Turning Yellow? 7 Fixes Now