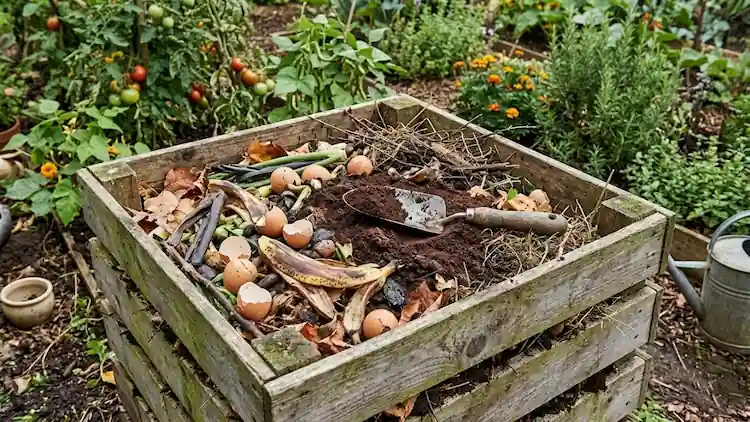
Every year, millions of households toss out food scraps, dry leaves, and grass clippings without realizing they are throwing away free fertilizer. I used to do the exact same thing, until a neighbor showed me her backyard bin full of dark, crumbly soil made entirely from kitchen waste and yard trimmings.
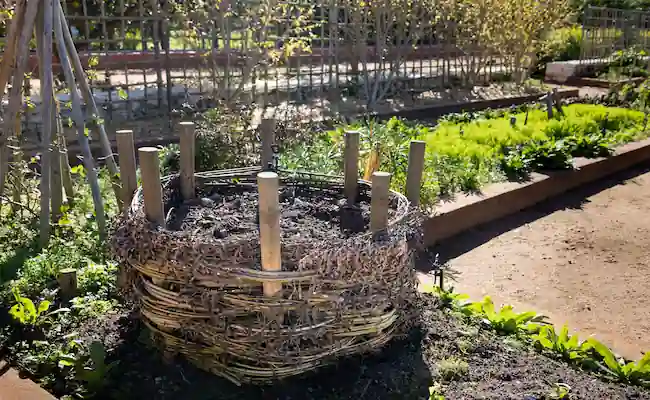
That one afternoon changed the way I look at my own trash can. Learning how to make compost at home is not complicated, and you don’t need a huge yard, expensive tools, or years of gardening experience to get started. In this guide, I’ll walk you through everything the best composting resources cover online, plus a few important details most of them leave out completely.
What Is Compost, and Why Should You Even Bother?
In simple words, compost is decomposed organic matter, mostly kitchen scraps and garden waste, broken down by bacteria, fungi, and tiny organisms into a dark, soil-like material. Once it’s ready, it works like a natural soil conditioner that feeds your plants without any chemical fertilizer.
Here’s a fact that surprised me the first time I read it. In the United States alone, wasted food is responsible for 58% of landfill methane emissions, and methane is a far more powerful greenhouse gas than carbon dioxide source: US EPA.
On top of that, the wider global picture isn’t much better roughly one-third of the food produced worldwide never makes it to the table, ending up as waste that occupies a large share of landfill space source: US EPA. Composting also locks carbon into the soil instead of letting it escape as gas, which is why it’s often described as a small, personal way of fighting climate change. Starting a compost pile at home is one of the easiest ways an ordinary family can do something about that number.
Beyond the environmental angle, compost improves the way your soil health holds water, feeds beneficial microbes, and gives your plants a slow, steady supply of nutrients that store-bought fertilizers often can’t match.
What You’ll Need Before You Start a Backyard Compost Bin
You don’t need to buy anything fancy. A simple backyard compost bin can be a wooden crate, a wire mesh cylinder, a plastic bin with holes, or just an open pile in a corner of your yard.
No yard at all? A closed plastic tumbler or a small bin on a balcony works too it just needs to stay out of direct rain and get turned a bit more often since it can’t build up as much natural airflow as a large outdoor pile. A basic compost thermometer is a cheap, optional tool that takes the guesswork out of the whole process later on.
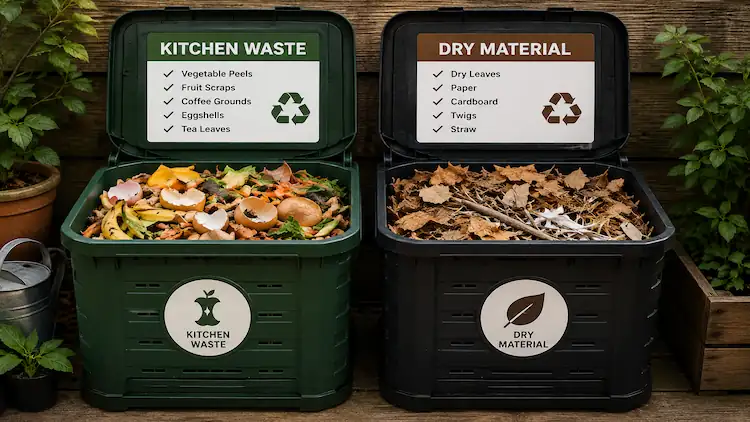
Every healthy pile needs a mix of two ingredient groups “greens” (nitrogen-rich, moist material) and “browns” (carbon-rich, dry material). Here’s a quick breakdown:
| Material Type | Examples | Role in the Pile |
|---|---|---|
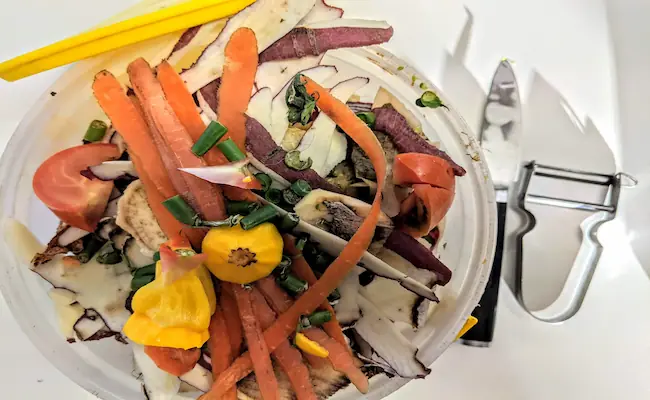
| Greens (Nitrogen) | Vegetable peels, fruit scraps, coffee grounds, tea leaves, grass clippings, fresh plant trimmings | Feed the microbes and speed up decomposition |
| Browns (Carbon) | Dry leaves, cardboard, shredded newspaper, straw, small twigs, sawdust | Add bulk, keep airflow open, prevent bad odor |
| Avoid | Meat, dairy, oily food, diseased plants, pet waste, glossy paper | Attract pests, slow decomposition, spread disease |
A good starting rule is to aim for roughly 3 parts browns to 1 part greens by volume. If you get this balance right, your pile won’t smell, and it will break down far more efficiently.
How to Make Compost at Home: Step-by-Step
This is the part every beginner really wants the actual process, broken into manageable steps:
- Step 1: Pick the right spot: Choose a dry, partly shaded patch with good drainage, close enough to your kitchen door for daily trips, but far enough from the house that it won’t attract rodents. A pile roughly 3 feet (0.9 m) wide and 3 feet tall heats up better and decomposes faster than a small, scattered one.
- Step 2: Layer your greens and browns: Start with a coarse base of twigs for airflow, then alternate roughly 6 inches of browns with 2 inches of greens, like building a lasagna. Chop or shred larger pieces anything bigger than your finger breaks down painfully slowly.
- Step 3: Add moisture carefully: Your compost pile should feel like a wrung-out sponge, damp but never soggy. Too much water pushes out oxygen and the pile starts to smell; too little and decomposition almost stops.
- Step 4: Turn it regularly: Every 1–2 weeks, turn the pile with a garden fork to bring oxygen back into the center. This single habit is probably the biggest difference between a fast, odor-free pile and a slow, smelly one.
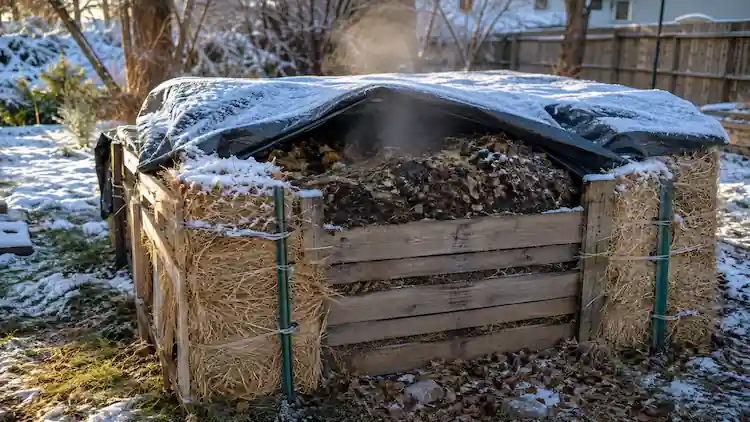
- Step 5: Watch the temperature: A pile passes through three natural stages a mild mesophilic start, a hot thermophilic peak, and a slow maturation phase at the end. During the thermophilic peak, an actively “cooking” pile can reach 54°C to 60°C (130°F to 140°F) at its core. This heat isn’t just a sign of progress it’s genuinely useful. According to Cornell’s Waste Management Institute, once temperatures of 55°C and above are sustained, many human and plant pathogens, along with most weed seeds, are destroyed source: Cornell Composting. A compost thermometer pushed into the center of the pile is the easiest way to track this without guessing.
- Step 6: Let it mature: Once the pile stops generating heat, cool down, and stop adding fresh scraps to that batch. Let it sit undisturbed for a few extra weeks so it can finish curing.
- Step 7: Harvest your finished compost: It’s ready when it looks dark brown, crumbles easily, and smells like fresh forest floor rather than rotting garbage.
Hot Composting vs. Cold Composting at Home
Most guides mention this briefly, but it genuinely changes how fast your homemade compost is ready, so it deserves proper explanation:
- Hot composting needs an active pile (at least 3x3x3 feet), regular turning, and a careful greens-to-browns ratio. It generates real heat, kills weed seeds and pathogens, and can produce finished compost in as little as 6–8 weeks.
- Cold composting is the “set it and forget it” method you just add scraps over time without turning much. It’s easier and needs less effort, but it can take 6 months to a year, and it won’t reliably kill weed seeds or pathogens the way a hot pile does.
If you’re short on time and want quicker results, go hot. If you’d rather compost passively without daily maintenance, cold composting still works fine for most home gardeners.
How Long Does Composting at Home Actually Take?
This is where expectations often go wrong. Composting at home typically takes anywhere from 2 months to a full year, depending on the method, the size of your pile, your climate, and how often you turn it.
Warmer climates and smaller, chopped-up materials speed things up considerably, while cold winters slow the process almost to a stop. Don’t get discouraged if your first batch takes longer than a blog post promised that’s completely normal.
Common Mistakes That Slow Down Your Compost
I made most of these myself in my first year, so consider this the shortcut I wish someone had given me:
- Adding too much of one material, an all-greens pile turns slimy and smelly; an all-browns pile barely breaks down at all.
- Letting it dry out completely, especially in summer, which stalls microbial activity almost entirely.
- Skipping the turning step, leaving the center airless and slow to decompose.
- Throwing in meat, dairy, or oily leftovers, which invite pests and bad odors fast.
- Chunks that are too large, a whole corn cob or thick branch can take a year or more on its own; chop things down first.
What to Avoid Putting in Your Pile
Not everything organic belongs in your bin. Skip meat, bones, dairy products, cooking oil, pet waste, diseased plant material, and anything treated with chemical pesticides.
Also be careful with weeds that have already gone to seed, or invasive types like bindweed a cold pile usually doesn’t get hot enough to kill the seeds, so they can sprout right back up wherever you spread the finished compost. These items either attract pests, spread pathogens, or simply refuse to break down properly in a typical backyard setup.
Using Your Finished Compost in the Garden
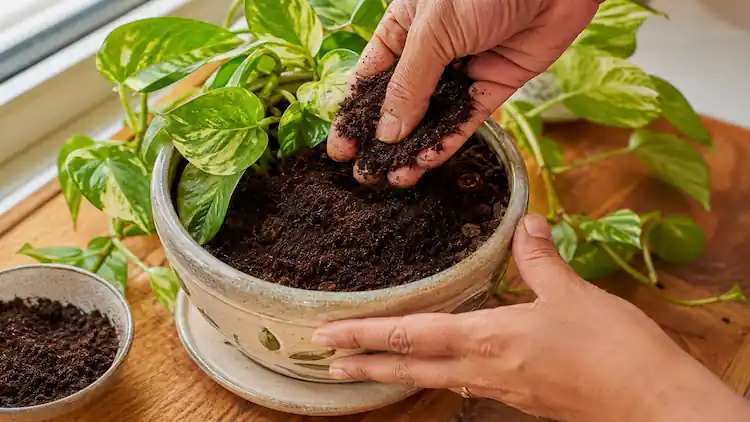
Once your compost looks dark and crumbly, mix a 1–2 inch layer into your garden beds before planting, or use it as a top dressing around existing plants. It pairs beautifully with a layer of mulch on top to lock in moisture, and it’s a gentler, slower-release alternative to most bagged organic fertilizer.
If you’re building or maintaining raised garden beds, working finished compost into the top few inches every season keeps the soil productive year after year without much extra cost. For more seasonal gardening tips on getting the most out of your soil, it’s worth building this habit into your regular garden routine.
Final Thoughts:
Making your own compost is one of those small habits that quietly pays off in a big way. Once you understand how to make compost at home the right mix of greens and browns, enough moisture, and regular turning the rest genuinely takes care of itself.
You’ll waste less, spend less on store-bought soil amendments, and give your garden something no bag from the store can fully replicate. Start small, be patient with the first batch, and don’t worry about getting every ratio perfect. Nature has been doing this successfully for millions of years; your compost pile just needs a little help from you to speed things along.