Come fall, one question keeps coming up among backyard growers and allotment gardeners alike does it actually matter to winterize raised garden beds, or can the soil just sit through the cold on its own? Raised beds sit above ground level, and that height means the soil takes the full hit of wind, rain, and freeze-thaw swings from every side, not just from above.

How to Winterize Raised Garden Beds properly can help protect them through the colder months. A bed left untouched through winter usually shows up in spring with compacted soil, washed-out nutrients, and sometimes a weakened frame. A little effort now is what keeps that from happening.
Why Winterizing Raised Garden Beds Actually Matters
Soil left bare and exposed loses structure fast. Rain packs it down, freezing and thawing cycles crack it apart, and nutrients leach out with every heavy downpour. On top of that, old plant debris left sitting in the bed becomes the perfect hiding spot for pests and disease spores that survive the cold and cause trouble again next season.
There’s also the bed itself to think about. Wood frames soak up moisture and rot faster when snow sits against them all winter. Metal beds can rust where water pools. None of this is dramatic on its own, but it adds up year after year if the beds never get proper winter care.
Know the Zone Before Doing Anything
How a raised bed gets prepped depends heavily on climate. Someone gardening in Zones 3 and 4 needs a completely different plan than someone in Zone 8. Checking the local USDA hardiness zone (or the equivalent in Canada and the UK) before buying materials saves both money and wasted effort.
| Zone | Winter Style | What to Do |
|---|---|---|
| Zones 3–4 | Harsh, long winters | Heavy mulch or leave fallow, no winter crops without a greenhouse |
| Zones 5–6 | Cold with hard frosts | Mulch plus a row cover or low tunnel for hardy crops |
| Zones 7–8 | Mild, occasional freeze | Light mulch, cold-hardy greens can grow through winter |
| Zones 9–10 | Rarely freezes | Minimal covering, focus on soil feeding instead |
A backyard grower in Zones 4, 5, 6, or 7 typically needs some form of insulation, while warmer zones can often get by with a thin layer of mulch and nothing more.
Step 1: Clear Out the Bed Completely
Pull every dead plant, weed, and stray leaf out of the bed. Cutting stems at the base instead of yanking the whole plant out is worth doing the roots left behind break down naturally and feed the soil over winter. Diseased or pest-infested plants should go straight into the trash, not the compost pile, since compost heaps rarely get hot enough to kill off pathogens.
Zucchini and eggplant vines, or courgette and aubergine plants for anyone gardening on an allotment in the UK, tend to be some of the messiest to clear since they sprawl and leave heavy stems behind. Getting these out early avoids a soggy, tangled mess once the rain sets in during autumn.
Step 2: Feed the Soil Before Closing It Up
Growing plants pull a lot out of the soil, and winter is the window to put some of it back. A 1 to 2 inch layer of compost worked lightly into the top of the bed gives soil microbes something to break down slowly over the cold months.
Aged manure, leaf mold, or shredded leaves work just as well if compost isn’t available. Skip synthetic fertilizer at this stage it isn’t necessary going into dormancy and can wash away with winter rain before plants ever get to use it.
Step 3: Choose the Right Cover Material
This is where most of the confusion happens, and where cost actually matters. Not every cover does the same job, and picking the wrong one wastes money or damages the soil underneath.
| Material | Approx. Cost | Best For | Watch Out For |
|---|---|---|---|
| Straw mulch | Low | Zones 3–6, fallow beds | Blows away without weight, needs 4–6 inches |
| Burlap | Low–Medium | Wrapping low-growing crops | Breaks down after one season |
| Cardboard | Free–Low | Smothering weeds | Needs anchoring, decomposes by spring |
| Poly tarp | Medium | Long fallow stretches | Must be checked for pooled water |
| Rigid foam board | Medium–High | Reusable, multi-year use | Needs cutting to fit each bed |
A layer 2 to 3 inches thick is the general rule for loose mulch. Anything thinner barely insulates, and piling it too high can actually trap moisture against stems and invite rot. Clear plastic laid directly on soil is worth avoiding altogether it blocks airflow and can overheat the bed on a sunny winter afternoon even when the air temperature sits well below 32°F (0°C).
Step 4: Don’t Forget the Bed Itself
Soil care gets most of the attention, but the frame holding that soil needs checking too.
- Wood beds: Inspect corners and joints for loose screws before the ground freezes solid. Moisture trapped against untreated wood through winter is what shortens a bed’s lifespan the fastest.
- Metal beds: Look for spots where water tends to pool, since standing moisture against metal walls speeds up rust.
- Plastic and composite beds: These hold up well with minimal effort, just a clean-out and a check that drainage holes aren’t blocked.
Clearing blocked drainage gaps matters more than people expect. A bed that holds standing water through a freeze can crack at the seams by spring, wood or otherwise.
Step 5: Growing Something Through the Cold
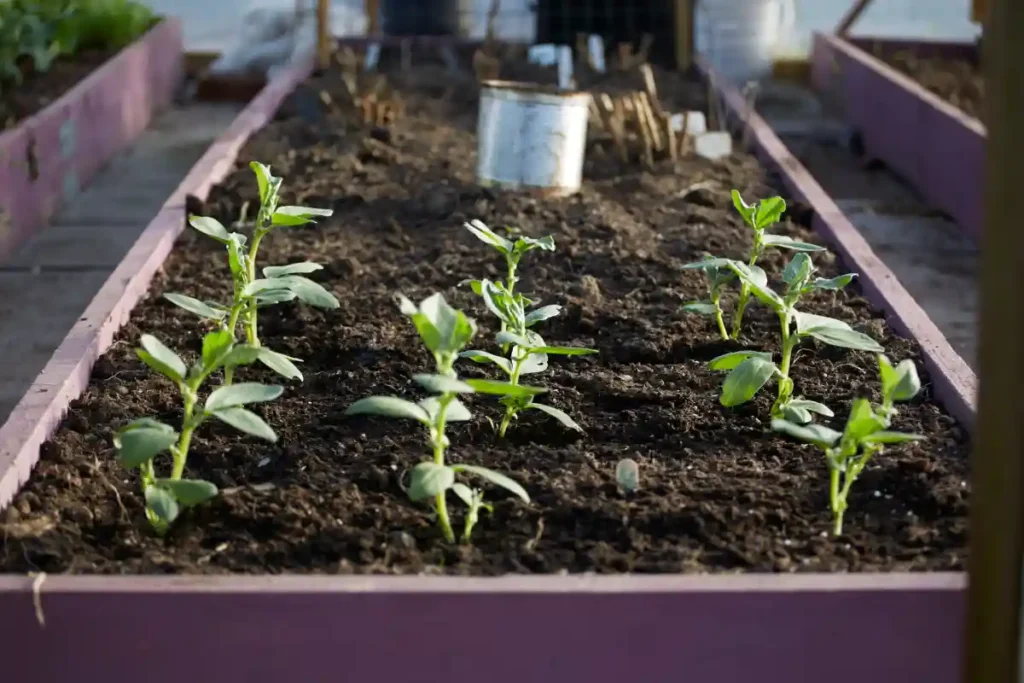
Not every bed has to sit empty all winter. In Zones 7 and warmer, garlic, kale, spinach, and other cold-hardy greens can keep producing right through the season. Cover crops like clover, winter rye, or fava beans work well too they hold the soil in place and add nitrogen back in as they break down.
For anyone wanting a harvest through the colder months, a simple hoop of bent wire or PVC with row cover fabric stretched over it creates a small tunnel that traps just enough warmth for tender greens to keep going, even with frost sitting on the ground outside it.
When to Start: A Rough Timeline
Waiting too long into fall (or autumn, depending on which side of the Atlantic the garden sits on) is the most common timing mistake.
A general schedule looks like this:
- 3 weeks before first frost — Clear out spent plants and debris
- 2 weeks before first frost — Add compost or amendments
- 1 week before first frost — Lay mulch or cover, plant any winter crops
- Through winter — Check monthly for shifting covers or standing water
- Early spring — Pull covers back once the ground starts thawing
Common Mistakes to Avoid
A few habits quietly undo all the winterizing effort:
- Covering a bed that still has old plant debris underneath, which just traps rot.
- Using mulch that’s too thin to actually insulate anything.
- Leaving a tarp unanchored, so wind flips it off during the first storm.
- Piling wet leaves straight from the yard without letting them dry slightly first, which can mat down and smother the soil.
- Forgetting to check the bed frame itself until spring, by which point rot or rust has already set in.
Checking Beds Through the Winter Months
Once everything is covered, the job isn’t fully done. A quick walk-through once a month catches small problems before they turn into big ones brushing off heavy snow buildup, re-anchoring a corner that’s lifted in the wind, and pressing a finger into the soil through a gap to make sure it hasn’t dried out completely underneath the cover.
Final Thoughts:
Winterizing raised garden beds isn’t a big weekend project it’s a handful of small steps done in the right order, at the right time. Clear the debris, feed the soil, pick a cover that matches the zone, and give the bed frame itself a quick once-over before the cold sets in. Do that, and spring planting starts on soil that’s ready to go instead of soil that needs fixing first. Whether it’s a backyard bed in Zone 5 or an allotment plot getting ready for a UK winter, the same basic routine holds up season after season.