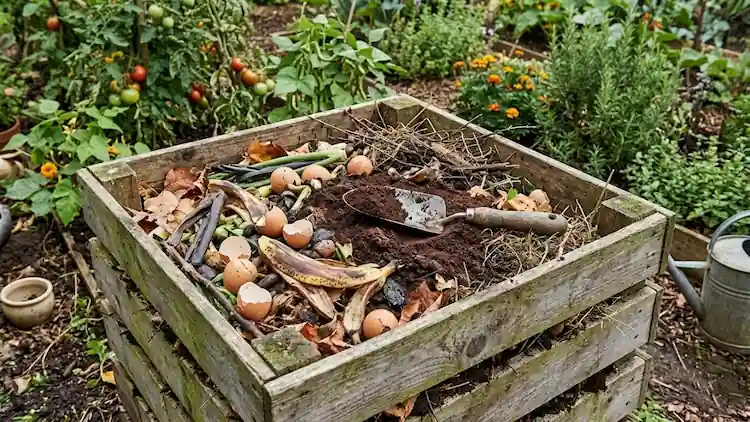
Every November I look at my backyard pile and wonder if it’s still doing anything. It isn’t dead, it’s just slow. If you actually want to know how to speed up compost decomposition in winter instead of just waiting around, I can walk you through what’s worked for me after years of running a pile through brutal cold real trial and error, not generic advice that falls apart once it drops below 32°F.
Why Your Compost Pile Slows Down When It Gets Cold
Composting is basically a bacteria party, and like most parties, it slows way down once things get uncomfortable. The microorganisms responsible for breaking down your kitchen scraps and yard waste are most active in warm, moist conditions. Once temperatures drop, their metabolism slows, and so does the whole process.
Here’s a fact worth knowing: according to the EPA’s guidance on home composting, a well-maintained backyard pile can reach internal temperatures of 130°F to 160°F during active decomposition hot enough to kill off weed seeds and pathogens. When outdoor temps crash, your pile struggles to hold that heat, especially if it’s small or exposed to wind.
Cornell’s Cooperative Extension has also pointed out that the organisms living in your pile bacteria, molds, mites, and actinomycetes don’t die in cold weather, they just go dormant, and they need consistent warmth, food, air, and moisture to stay productive through winter (source: Cornell Cooperative Extension, Compost Winter Composting fact sheet).
That single fact changed how I think about winter composting. I stopped panicking about a frozen pile and started focusing on giving it what it needs instead.
Know Your Zone Before You Do Anything Else
I made this mistake early on I followed generic advice meant for someone in a mild climate while I was dealing with a real freeze. Your approach should depend heavily on where you live.
- USDA Zones 7 and 8: (mild winters) minimal changes needed, your pile may barely slow down.
- USDA Zones 5 and 6: (moderate cold) insulation and pile size become important.
- USDA Zone 4 and colder: (severe, prolonged freeze) you’ll want a hybrid approach, maybe pairing an outdoor pile with an indoor method.
If you’re not sure what zone you’re in, a quick search of your zip code will tell you. It matters more than people realize.
Which Composting Method Actually Fits Your Winter Setup
Before troubleshooting a slow pile, make sure you’re even using the right method for your situation. I hear from folks running a tiny apartment bin trying to force it into a backyard hot-pile routine, and that never ends well.
- Got real yard space and want fast results? Build a large hot pile, at least 3 feet on every side.
- Living in an apartment with no yard? A bokashi bucket or an indoor worm bin makes more sense.
- Prepping garden beds for spring? Trench composting straight into the soil works well before the ground fully freezes.
- Fine with waiting and want zero maintenance? A simple cold pile still works, just slower
- Already running a tumbler? Keep it in full sun and never force it to spin if it’s frozen solid.
How To Speed Up Compost Decomposition In Winter: The Fixes That Work
If your compost pile is decomposing slowly in winter, here’s what actually helps, and it’s also how you speed up winter composting without babysitting it every day:
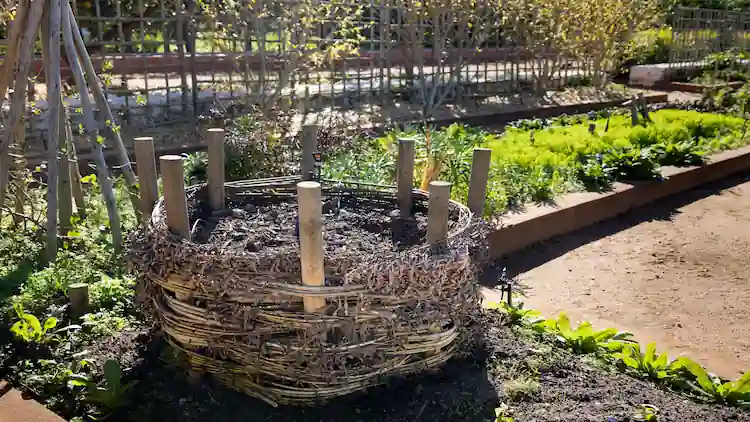
- Build it bigger: A pile at least 3 feet wide, 3 feet tall, and 3 feet deep holds heat far better than a small one. Bulk equals insulation.
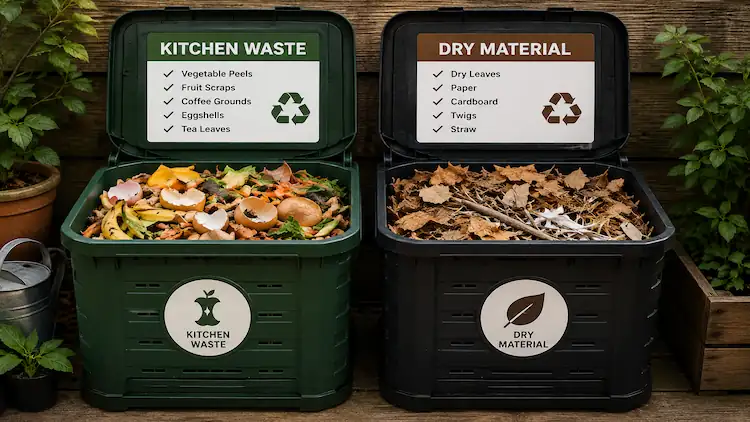
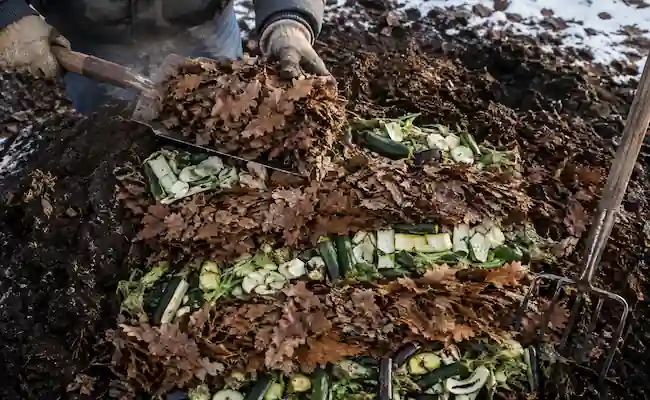
- Balance your greens and browns properly: The EPA recommends two to three times the volume of browns (dry leaves, shredded paper) to greens (food scraps, coffee grounds). Cover fresh scraps with 4 to 8 inches of browns every time.
- Chop everything smaller: Cut scraps and yard waste into 1 to 2 inch pieces so microbes have more surface area to work with.
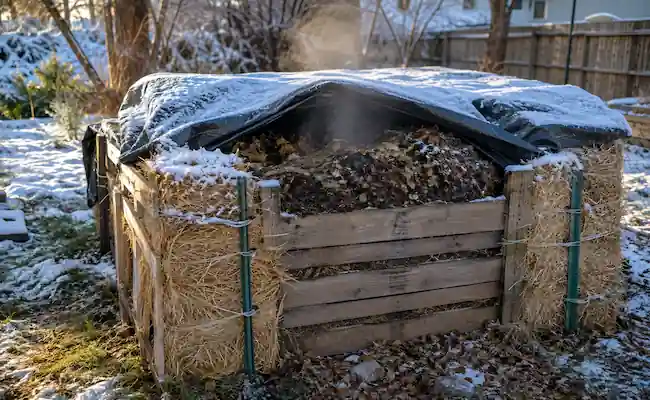
- Insulate the outside: Straw bales, bagged leaves, or old cardboard stacked around the pile trap heat inside.
- Cover the top: A tarp or lid keeps snow and rain from soaking the pile and chilling it from above.
- Cut back on turning: Turning too often in winter actually releases the heat your pile worked hard to build.
If your goal is genuinely hot composting in cold weather, size and insulation matter more than anything else here. A pile under 3 feet wide almost never holds enough heat once the mercury drops.
Insulating Without Spending A Fortune
I’ve tried most of these myself, and honestly, you don’t need to buy anything fancy.
| Insulation Method | Rough Cost | Effort | Best For |
|---|---|---|---|
| Straw bales stacked around pile | Low | Low | Backyard piles |
| Bagged dry leaves | Free | Low | Any size pile |
| Old cardboard sheets | Free | Low | Small to medium bins |
| Insulated compost bin (store-bought) | Higher | One-time setup | Long-term community gardener use |
| Burying bin partially in ground | Free | Medium | Severe cold climates |
My personal favorite is bagged leaves. I stockpile a few garbage bags every Fall when they’re falling off the trees anyway, and I use them all winter both as insulation and as browns.
Should You Even Turn The Pile?
In summer, I turn my pile every week or two without thinking twice. Winter is different, Every time you open a pile and mix it, you’re letting the warm center air out into the cold. Unless it smells bad, feels soggy, or looks compacted, I leave mine alone for weeks at a time in the coldest stretch of January.
Keep An Eye On The Temperature
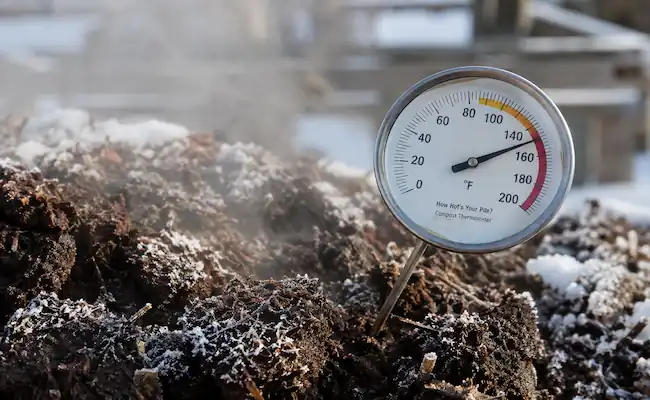
A cheap compost thermometer is one of the best purchases I’ve made for my yard.
- 130°F–160°F means it’s cooking, leave it be.
- 90°F–130°F means it’s still working, just slower.
- Near freezing means it’s dormant, not dead.
Vermicomposting runs on a completely different scale, by the way the EPA notes the ideal range for a worm bin is only 55°F to 80°F, which is why a lot of people bring their bins indoors once real winter hits. If you’re curious about the finished output, I wrote a separate piece on using worm castings as fertilizer inside the house that pairs well with this.
Realistic Timelines By Method
People always want a straight answer on timing, so here’s roughly what to expect:
- Large hot pile, mild winter (Zones 7-8): finished compost in about 2 to 3 months.
- Large hot pile, colder zones (Zones 4-6): more like 4 to 6 months, sometimes longer.
- Cold composting, any zone: plan on 1 to 2 years regardless of effort.
- Bokashi: about 2 weeks to ferment indoors, then it still needs to finish in soil once buried.
- Indoor worm bin: 2 to 4 months for usable worm castings.
- Trench composting: several months, working quietly underground the whole time.
These are ranges, not guarantees. Moisture, pile size, and how consistently you’re adding material all shift the timeline.
What To Do When Things Go Wrong
If you’ve got a pile that’s breaking down slowly in winter for reasons beyond just the cold, it’s usually one of these:
- Frozen solid: don’t force it to turn, you’ll strain your pitchfork or tumbler handle for nothing. Wait for a thaw.
- Smells sour: almost always too wet or too many greens. Add dry browns and loosen it gently.
- Too dry: cold wind pulls moisture out fast. Add a little water on a day above freezing.
- Animals digging around: winter makes food scarce for raccoons and rodents, so they’ll go after your Trash cans and your compost bin both. Bury scraps deep and skip meat, dairy, and grease entirely.
- Bin totally full: winter breakdown can’t always keep pace with what you’re adding. A second bin or a bucket in the garage bridges the gap.
If you’re still figuring out what actually belongs in there, I put together a full breakdown of what to put in your garden compost bin, including which fall leftovers old Zucchini vines, spent Eggplant plants, that kind of thing are fine to toss in. One thing worth flagging separately: pet waste doesn’t belong in a regular pile. If you’re a dog owner, I wrote a dedicated guide on how to compost dog poop safely for ornamental lawn use, since it needs its own contained system.
Check Your Local Rules Too
Something people forget some cities pause or slow curbside organics pickup once real winter hits, and community garden sites often have their own rules about drop-offs between November and March. Before assuming your usual routine will carry you through, it’s worth a quick check with your local sanitation department or your community garden’s board, especially if you rely on a shared bin instead of your own Backyard pile.
A Few Winter Composting Myths Worth Dropping
A frozen pile is not a dead pile it just pauses until things warm back up. Snow sitting on top isn’t the enemy either; a light layer actually acts as insulation, and most moisture problems show up after it melts, not while it’s sitting there. And turning your pile every single week through January isn’t doing you any favors it’s mostly just letting your hard-earned heat escape into the cold air.
Mistakes I See Neighbors Make Every Winter
After years of doing this, the same mistakes keep popping up around my neighborhood and in my local community gardener group:
- Tossing in giant, uncut vegetables that just freeze into a solid block.
- Turning the pile every week out of habit, killing the heat they built up.
- Forgetting to clear out finished compost before winter, leaving no room for new material.
- Using pine needles or wood ash from the fireplace, both of which slow decomposition down.
- Giving up entirely and letting scraps pile up in the trash instead.
If you want the full basics down cold, my guide on how to make compost at home covers the year-round fundamentals this winter-specific advice builds on.
Final Thoughts:
Winter composting comes down to giving your pile what it needs instead of fighting the season. Once you understand how to speed up compost decomposition in winter the right pile size, smart insulation, less turning, and a method that fits your setup you stop guessing. My pile still slows down every January, and that’s normal. It never fully stops, and by Spring I’ve got a real head start most of my neighbors don’t.