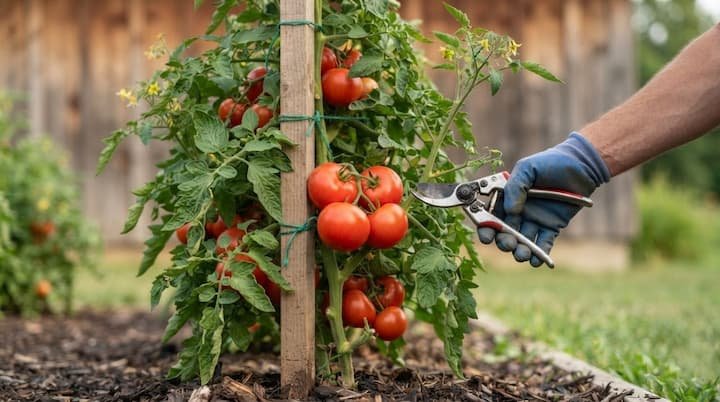
Ever wonder why some backyard tomato plants stand tall and loaded with fruit while others flop over by July and rot on the soil?
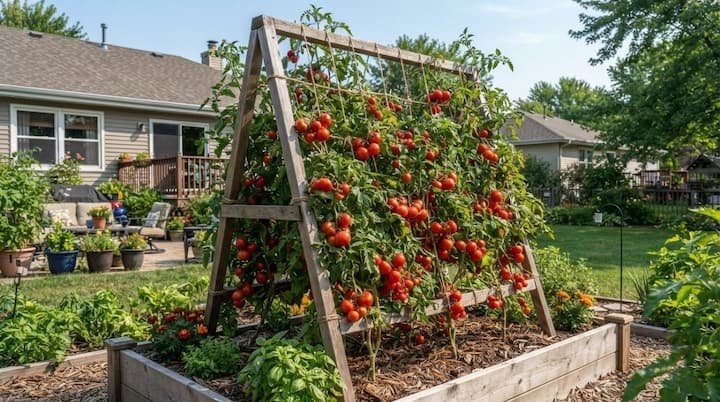
The difference usually comes down to one cheap structure. Once you know how to build a tomato trellis that fits your yard, your plants stay clean, your harvest gets easier, and one setup can last for years. Here are five methods, plus the details most guides skip.
Why Tomatoes Need a Trellis
Heavy fruit makes unsupported vines sag, snap, or land in the dirt. A trellis fixes that:
- Fruit stays off the soil, so you see less rot.
- Air moves through the leaves, and they dry faster after rain.
- You fit more plants into the same backyard space.
- Fruit hangs at an easy height, so harvest goes quicker.
- Pests have a harder time climbing up.
University of Minnesota Extension notes that staking and trellising can reduce the amount of fruit rot on tomatoes. I think that one fact is reason enough to spend a weekend on this.
Indeterminate vs Determinate: Who Needs One
Tomatoes grow in two habits, and that decides your support.
Indeterminate (vining) plants keep growing until frost and can reach 5 to 8 feet. Brandywine, Giant Belgium, Sungold, and Yellow Pear fit here. Determinate (bush) plants stay compact and set most of their fruit in one stretch.
In my experience, a cage works fine for a bush type, but a vining plant outgrows it by midsummer.
Here’s how the three common supports compare:
- Stake: cheapest, fine for a plant or two, needs frequent tying.
- Cage: best for bush types and pots, bulky to store.
- Trellis: best for rows and tight yards, handles tall vining plants.
A couple of plants? A stake is enough. A full row? Time to learn how to make a tomato trellis.
Tomato Trellis Ideas at a Glance
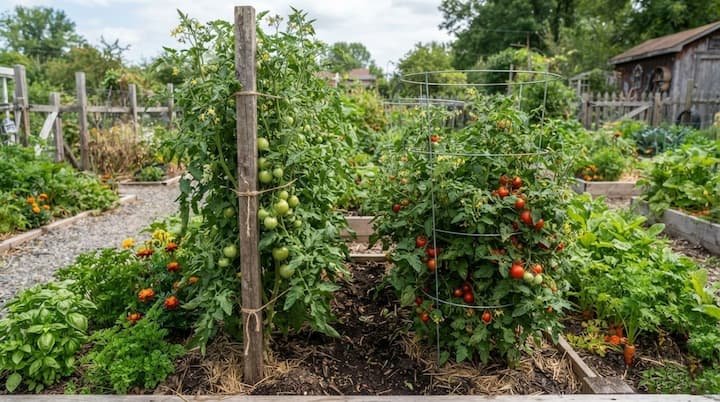
Not every setup fits every yard, so compare them before you buy anything. The table below lines up all five methods by best use, rough cost for a four-plant row, support height, build time, and difficulty.
Start with how many plants you’re growing and whether they’re in a raised bed, open ground, or a greenhouse. That narrows the list fast.
| Method | Best For | Rough Cost | Height | Time | Difficulty |
|---|---|---|---|---|---|
| T-post | 1 to 2 plants in open ground | $25 to $45 | 6 to 8 feet | Under 1 hour | Easy |
| Stake and weave | Rows of 4 or more plants | $30 to $60 | 8 feet | 1 to 2 hours | Easy |
| A-frame | Raised beds and windy yards | $40 to $120 | About 8 feet | Half a day | Medium |
| Cattle panel | Long rows and heavy producers | $35 to $55 | 50 inches, extendable | 1 to 2 hours | Medium |
| String | Greenhouse or hoop house | $20 to $50 | Overhead beam | 1 to 2 hours | Medium |
Costs are rough totals for a four-plant row, based on recent store prices.
Materials, Tools and Cost
Cedar looks good and resists rot, steel lasts for years but needs a driver, and bamboo is cheap but short-lived.
The table below shows rough prices and the main pros and cons of each material, so you can match your budget to how many seasons you want the trellis to last.
| Material | Rough Price | Pros | Cons |
|---|---|---|---|
| Cedar or redwood 2×2 (8 ft) | $10 to $15 | Resists rot | Costs more |
| Steel T-post (6 ft) | $5 to $9 | Strong, easy to clean | Needs a driver |
| Rebar (1/2 in x 10 ft) | $7 to $10 | Cheap and long | Rusts |
| Metal conduit (1/2 in x 10 ft) | About $7 | Light, flexes | Needs a pipe cutter |
| Bamboo (8 ft) | About $3 | Very cheap | Splits fast, so soak 30 minutes before bending |
| Cattle panel (16 ft x 50 in) | $25 to $40 | Lasts for years | Hot in summer sun |
| Jute twine (roll) | $5 to $15 | Soft, composts | Stretches |
I like cedar or redwood for frames because they resist rot on their own. Skip railroad ties and salvaged boards from before 2004, since those can carry creosote or arsenic.
For tools, grab a post driver or heavy mallet, a drill with 3-inch screws, a saw or pipe cutter, 3-ply or 4-ply jute twine (about 1/8 inch thick), and soft ties or clips for the main stem. Money and time look like this:
- A DIY tomato trellis for four plants usually costs $25 to $120.
- Posts and frames last for years.
How to Build a Tomato Trellis: Timing, Spacing and Height
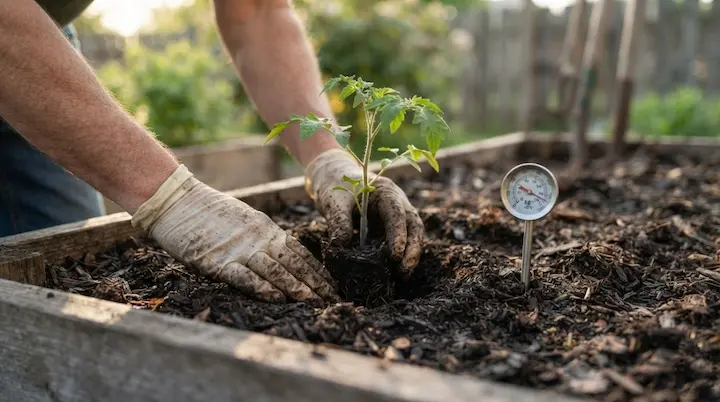
Pick a spot with full sun and good airflow, and put the trellis in at planting time. Wait until the last frost (32°F or lower) is behind you and nights stay above 50°F. In USDA Zones 4 and 5 that is often mid to late May, while Zones 7 and 8 can usually plant in April. See when to plant for your date.
If the plant is already in the ground (12 to 18 inches tall is the sweet spot), set posts 6 to 8 inches from the base so you don’t slice roots.
Then follow these rules:
- Plant spacing: 18 to 24 inches apart along the row.
- Stake depth: 12 to 18 inches into the soil.
- Height above ground: 6 feet at minimum, 8 feet for all-season support (rebar comes in 10 foot lengths if you need more).
- Row ends: one extra stake at each end.
Some guides say 5 feet is plenty, but vining plants blow past that by July.
Method 1: T-Post Trellis
The simplest option: one steel post beside each plant, plus twine.
- Pick a 6 to 8 foot T-post and pound it at least 12 inches deep, studded side facing away from the plant.
- Set it 6 to 8 inches from a mature plant. Young transplants can go closer.
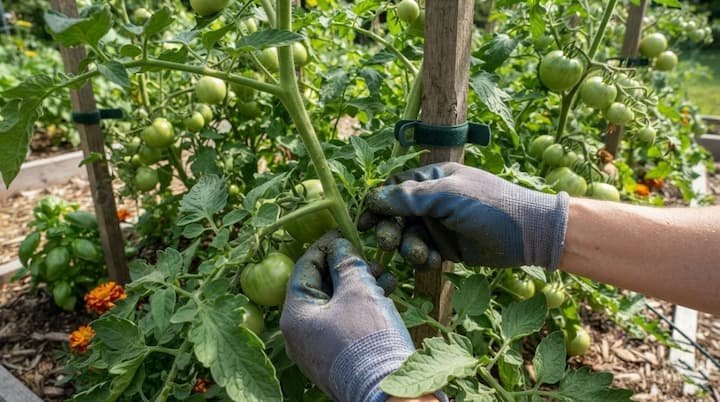
- Wrap twine around the stem twice, then tie it to the post with a slip-proof knot.
- Add a new tie every 12 inches of growth, leaving a finger’s width of slack so the stem can thicken.
- Snap a safety cap on top so nobody gets poked.
Method 2: Stake and Weave
This system borrows from two training styles:
- Single leader: plants sit 12 inches apart, all side shoots come off, and you prune constantly.
- Florida weave: plants sit 24 to 36 inches apart with light pruning, a dense, heavy wall of vines.
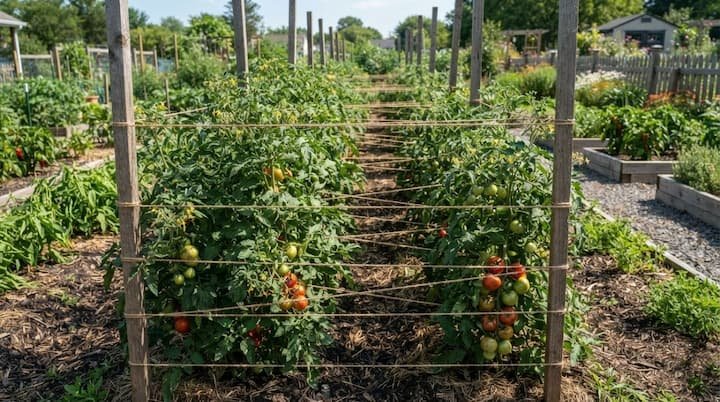
My go-to for any row of four or more plants is a hybrid of both. Space plants 18 to 24 inches apart and keep one main leader plus 4 to 6 side branches. It’s the easiest way to build a trellis for tomatoes in a row without buying panels.
- Drive 8 foot stakes 12 to 18 inches deep, one per plant plus one at each row end.
- Tie each stake to a top rail or frame if you have one, and brace the two end stakes with an angled stake or T-post so the row can’t lean.
- Run two lines of twine about 6 inches apart, starting 1 foot above the soil, then repeat every 12 inches up the stakes.
- Add rows as plants grow, which keeps the twine tight.
- Tuck side branches between the two lines while they’re small. If a branch is too long, skip a row instead of forcing it.
Method 3: A-Frame Trellis
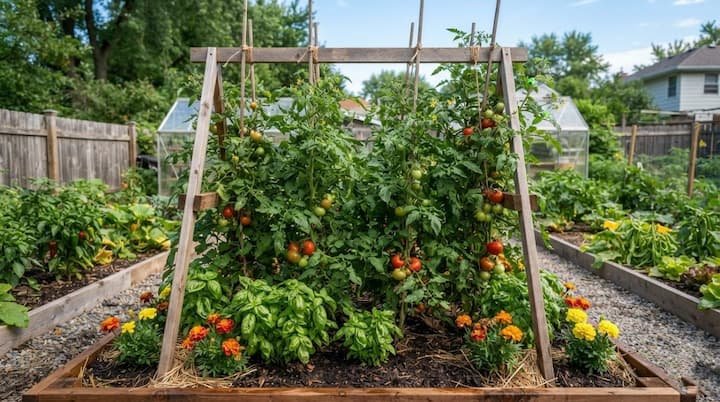
An A-frame is the strongest choice for a raised bed. Build two A-shaped frames from 8 foot cedar or redwood 2×2 boards, one for each end of the bed.
Cut the legs at a slight angle so they sit flush on the bed corners, join the tops with screws and a metal brace, and add a low cross piece to each pair. Then run a top rail between the frames, either a 2×2 or a length of 1-inch metal conduit, and tie your stakes to it with several wraps of twine.
A wider base, around 3 feet, keeps the frame from tipping in a storm. Set it on the bed or screw it down. Plant basil and marigolds at the base, since they make good companion plants.
The frame comes apart and stores flat in a shed between seasons. A pre-made frame works too, and the design also fits a ground bed or a wall.
Method 4: Cattle Panel Trellis
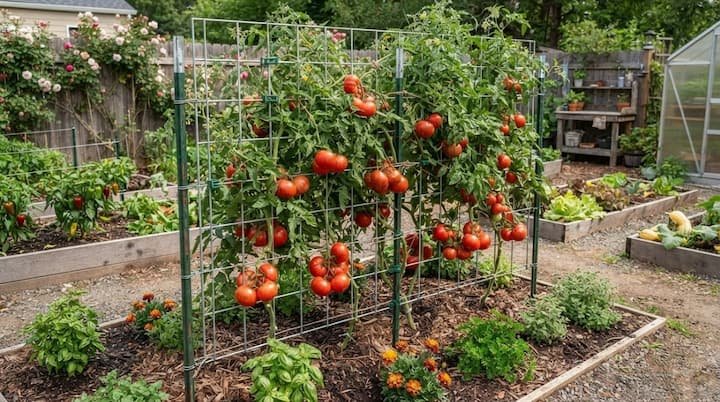
A cattle panel is a sheet of stiff welded wire sold at farm stores, usually 16 feet long and 50 inches tall. For vines past 4 feet, stack a second panel or tie twine above it.
Pound a T-post at each end, plus one in the center for long runs, and wire or zip-tie the panel upright to the posts. Plant tomatoes 18 to 24 inches apart along the base and clip stems to the panel about every foot as they climb. Metal gets hot on a 90°F afternoon, so keep leaves off it.
Method 5: String Trellis
String works best in a greenhouse or hoop house, where a strong overhead beam is already there. Fix a wire or beam overhead, drop one string to the base of each plant, and clip the main stem to it as it grows.
Or run horizontal strings 12 to 18 inches apart between posts. Keep strings taut, not strangling.
Build a Trellis for Tomatoes in Raised Beds and Containers
Raised beds are easy, since an A-frame or weave row sits right on top. For tomatoes in pots, use a container of at least 5 gallons. Bigger stays put in wind. Set the stake or tower on planting day, since driving one later damages roots. Need other crops for your patio? Look at these container vegetables.
In the ground, drive stakes 12 to 18 inches into native soil. In a shallow bed, use a frame that sits on the corners, or add concrete blocks at the base for weight. Wind is the biggest threat.
Widen the base of any frame, brace end stakes with angled stakes or T-posts, tie stems at every foot, and check everything after each storm.
Pruning and Training Week by Week
A trellis only works if you train the plant.
- Planting day: bury several inches of stem, trim the lowest 2 to 3 branches, and tie the main stem.
- First 3 to 4 weeks: pinch suckers while they’re small and keep the lowest ones off.
- Every week: tie the leader, tuck side branches, and remove extras.
- Midsummer: keep one leader plus 4 to 6 side branches, and leave a few for shade.
I check my plants every weekend with pruners and a handful of clips. Work when leaves are dry, since wet leaves spread bacteria. Keep a step ladder handy for tall plants and hornworm checks. Get more detail on pruning tomato plants. Trellised plants grow fast, so stay on a steady watering schedule and use a good tomato fertilizer.
Common Mistakes and Quick Fixes
- Stakes too short: swap in 8 foot stakes.
- Twine too tight: it cuts into the stem, so re-tie with a finger’s width of slack.
- Sagging twine: jute stretches, so re-tighten it in July.
- Installing late: roots and brittle branches get hurt, so set posts at planting.
- Topping too early: it stops upward growth, so wait for the end of the season.
- Forcing branches: skip a row instead.
- No end bracing: the row leans, then collapses.
- Leaning plant: reset the stake straight and add a tie.
- Plant outgrows the trellis: once it reaches the top, pinch the growing tip.
I always re-check the end stakes after a storm, because that’s where rows fail first.
Heat, Zones and Disease Control
In USDA Zones 4 and 5, summers are short, so get the trellis in early. In Zones 6, 7 and 8, vines run longer and hotter, so go with 8 foot supports. Hot spells above 90°F can scorch fruit, so leave a few side branches for shade.
Disease habits:
- Dunk reused stakes in a diluted bleach mix for about 20 minutes.
- Pick metal posts when you can, since they clean up easier than wood.
- Rotate tomatoes to a new bed each year.
- If you notice yellowing leaves, check airflow and watering first.
End of Season: Topping, Cleanup and Storage
Don’t top the main leader while the plant is still growing, because it signals the plant to stop. Once it hits the top of the trellis or fall frost is a few weeks away, cut the tops. If vines flop over the frame, just let them hang. Cutting pushes energy into ripening the fruit that’s left.
Then clean up. Cut the plants at soil level, leave the roots in place, and put healthy ones in your compost pile. Bag diseased plants and put them in the trash. Compost jute twine, but toss synthetic twine. Wipe dirt off stakes and store everything in a dry shed.
Next spring, test one of these tomato trellis ideas on a few plants.
Final Thoughts:
Now you know how to build a tomato trellis that fits your garden, whether it’s one T-post or a full A-frame. Match the method to your plant count, set it up at planting, and keep up with weekly ties. A fellow community gardener will probably ask what you’re doing differently. Start with one row this year.