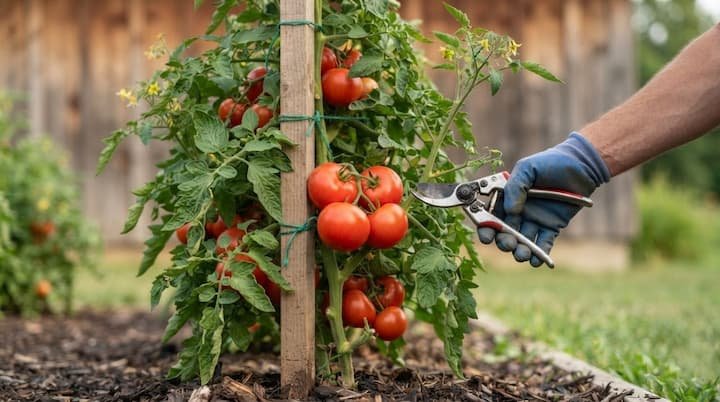
Ever pick a perfect-looking tomato and find a black, leathery patch hiding on the bottom?
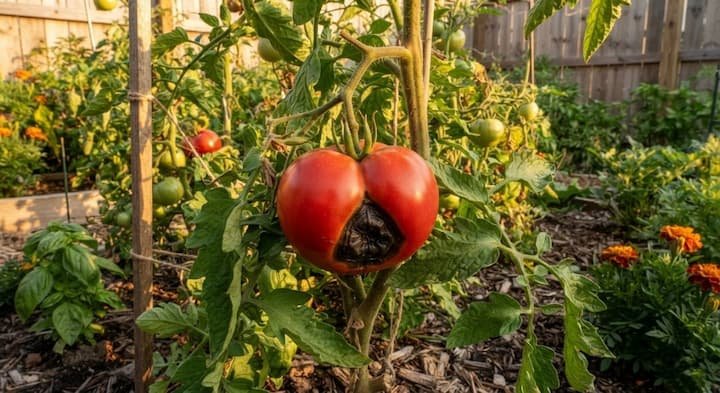
That ugly spot is no bug bite, and tomatoes blossom end rot has little to do with pests. The real trigger is a calcium traffic jam inside the plant, and the fix is surprisingly simple. Keep reading to learn why it happens and how to stop it for good.
What Is Blossom End Rot?
Blossom end rot is a physiological disorder, which means the plant itself is struggling, not an invader. It does not spread from fruit to fruit, so nothing needs to be sprayed or quarantined.
The plant keeps producing, and future fruit will be fine once watering is corrected. Tomato blossom end rot rarely appears overnight, since the damage begins weeks before any spot shows. Peppers, eggplants, squash, cucumbers and melons get the same bottom-end damage when calcium delivery stalls.
How to Identify Blossom End Rot
It starts as a small, water-soaked bruise on the bottom of a green fruit still growing. The spot grows, sinks inward, and changes color from tan to dark brown, then black. Skin turns dry and leathery while the flesh underneath softens, and half the fruit can go.
The first fruits of the season are hit hardest, since young roots are still shallow. External rot is easy to spot, but internal rot hides inside and only shows when sliced. Sometimes the lesion shows up on the side, where it looks a lot like sunscald. Black mold often moves into the damaged spot and makes the fruit unfit to eat.
Catching blossom end rot on tomatoes early lets a gardener save the next round of fruit. Blossom end rot in tomato plants usually fades by midsummer once roots deepen and watering stays steady. Several other tomato problems look similar, so check this table before treating anything at all.
| Problem | Where it shows | Key sign |
|---|---|---|
| Sunscald | Side facing the sun | Pale, papery patch on the shoulders |
| Catfacing | Blossom end | Puckered, scarred fruit with no rot |
| Anthracnose | Ripe fruit anywhere | Small sunken circles with dark rings |
| Alternaria | Stem end | Dark, fuzzy lesions with rings |
| Bacterial spot | Skin and leaves | Small, raised, scabby spots |
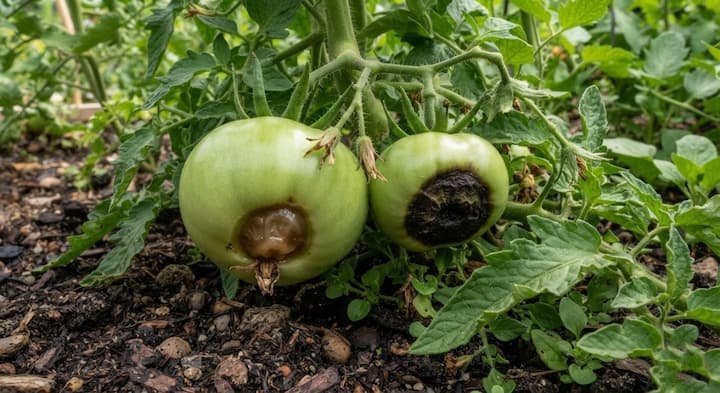
Tomatoes Blossom End Rot: What Causes It
Calcium travels up through the plant inside water, and it cannot move around once it lands. Developing fruit needs a fresh supply every day, so any water hiccup starves the bottom cells first.
- Wet-then-dry swings in the soil are the number one trigger, even with plenty of calcium.
- Hot, sunny, windy days pull water through leaves fast and leave the fruit short.
- Damaged, crowded, or root-bound roots, plus nematodes, cannot pull enough water and calcium upward.
- Too much nitrogen, especially ammonium types, pushes leafy growth that steals calcium from fruit.
- High potassium, magnesium, or salts in the soil compete with calcium at the roots.
- Soil pH below 6.0 locks calcium up, so the roots cannot absorb it very well.
- Heavy rain or soggy soil starves roots of oxygen, and that sharply limits calcium uptake.
- A heavy fruit load on a weak plant spreads calcium too thin across many tomatoes.
- Old, worn-out soil or sandy beds can truly run low on calcium over the years.
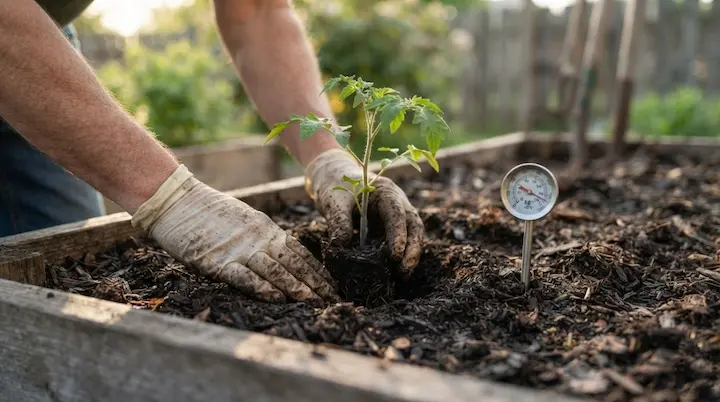
- Cold soil under 70°F and transplant shock both stunt roots, which hurts calcium uptake later.
- Heavy pruning can bring on blossom end rot in tomato plants, so keep pruners light.
Safe limits for removing leaves and suckers are covered in this guide to pruning tomato plants. Oregon State University Extension says calcium and water needs rise as weather warms, and heat snaps favor it. Anything above 90°F for several days counts as a heat snap in my experience. I’ve seen neighbors lose half their early crop by watering only on busy weekends.
Some sources blame low soil calcium, while others blame watering, and honestly both are partly right. The fruit does lack calcium, but the cause is usually delivery, not an empty bed.
I think that mix-up explains why advice online sounds so different from site to site. Most backyard soil already holds enough, so test first before dumping amendments on the plants.
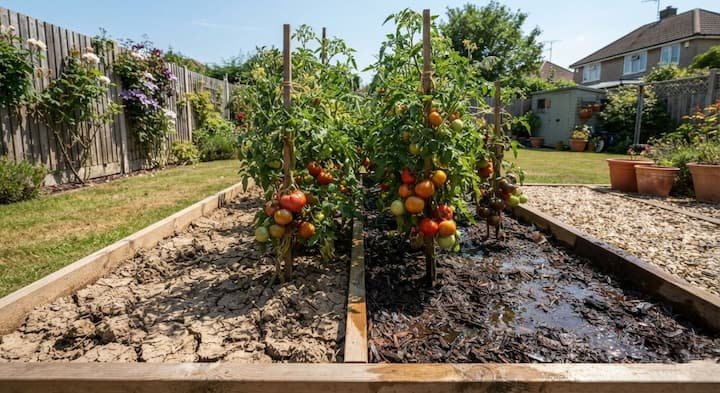
Which Tomatoes Are Most Prone?
No variety is immune, but some shapes and growing setups run into trouble more often. Paste and Roma types top the list because of their long, dense, slow-growing fruit shape.
Big beefsteaks and plum or pear shapes take longer to ripen, so they face more water swings. Heirlooms and container tomatoes get hit more often, mostly because pots dry out so fast. Cherry types rarely struggle, and Mountain Fresh and Mountain Spring get fewer complaints from growers.
How to Fix Blossom End Rot Step by Step
- Pick off every affected fruit so the plant stops wasting energy on damaged tomatoes.
- Water 1 to 2 inches per week, deep and slow, at ground level on a steady schedule.
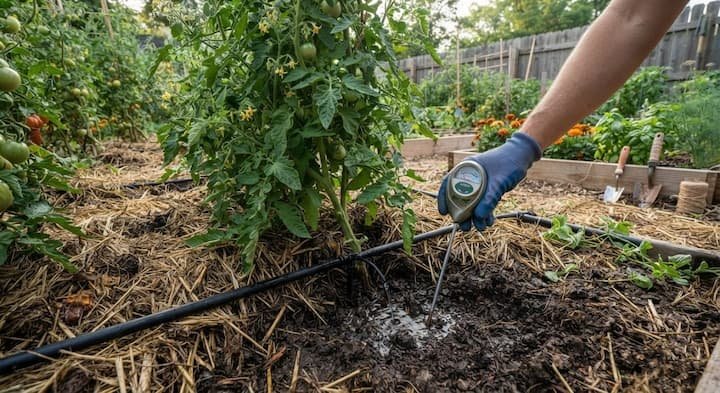
- Spread 2 to 3 inches of straw or wood chips around each plant to hold moisture steady.
- Switch to drip irrigation, which delivers slow, steady water right to the root zone.
- Push a moisture meter or a finger 4 inches into the soil before every watering.
- Run a soil test through the county extension office, then adjust pH to 6.2 to 6.8.
- Move to a low-nitrogen, nitrate-based fertilizer such as 5-20-5 once flowers appear, and skip ammonium products.
- Keep hoes and shovels away from the root zone, since damaged roots cannot carry calcium.
- Skip fungicide, because this disorder is not a fungus and sprays only waste money.
- Expect fruits set after the fix to look normal, usually within two to four weeks.
Exact schedules by weather and soil type are covered in this guide to watering tomato plants. After a dry spell, rewet the soil gradually instead of flooding it all at once. Plastic mulch also holds moisture well, and any mulch should stay a few inches off the stems.
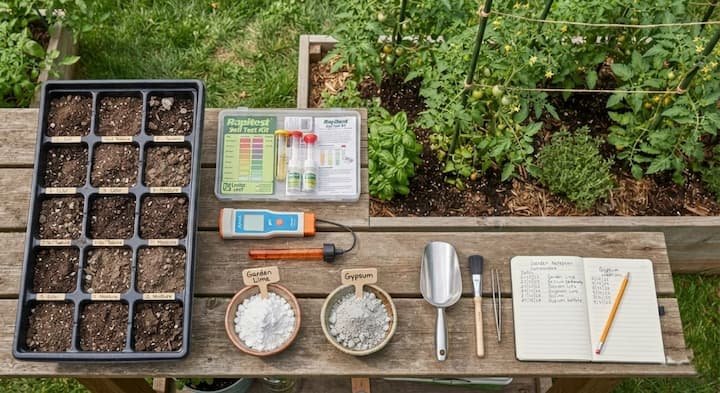
Specific product picks are listed in this roundup of the best tomato fertilizer options. Collect samples 6 to 8 inches deep from several spots, then mix them together. Ask the lab to report pH and calcium levels, and follow their lime advice exactly.
I like straw best because it is cheap and breaks down into the bed by fall. In my own backyard, switching to drip tape ended the problem within one season. Knowing how to fix blossom end rot also means being patient, because damaged fruit never heals.
Calcium Fixes: What Works and What Does Not
Calcium helps in three cases: container growing, a soil test showing low calcium, and waterlogged soil.
| Source | Best use | Watch out |
|---|---|---|
| Gypsum | Adds calcium without changing pH | Needs a soil test first |
| Garden lime | Raises low pH and adds calcium | Overuse pushes pH too high |
| Calcium nitrate | Fast feeding for pots | Follow label rates carefully |
| Bone meal | Slow calcium before planting | Works over months, not days |
| Eggshells | Light soil booster | Break down very slowly |
| Foliar spray | Short-term emergency bridge | Leaves absorb little calcium |
Foliar sprays absorb poorly, so treat them as a short bridge, never the main plan. Epsom salt is magnesium, and extra magnesium can actually make this problem even worse.
Crushed antacid tablets and raw eggshells are popular backyard tricks, but results are mostly stories, not tested facts. A healthy compost pile adds minerals and improves soil structure, which helps roots move water and calcium.
Retest the soil about 4 weeks after adding lime to confirm that pH actually moved. Worm castings give pots a gentle mineral boost, even when the setup sits indoors.
Tomato Blossom End Rot in Pots and Raised Beds
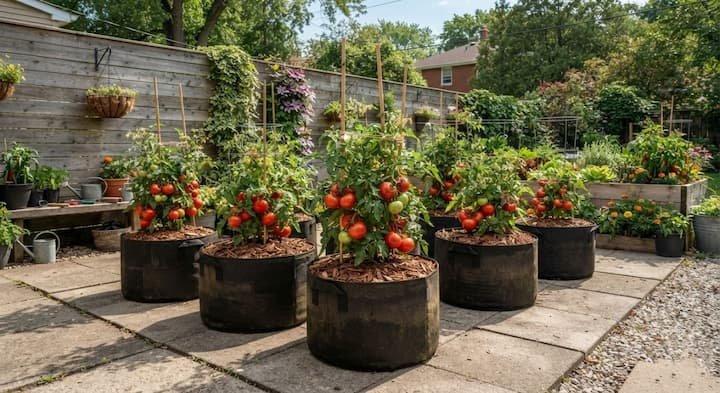
Pots swing from soaked to bone dry in hours, so they cause more trouble than ground beds.
- Blossom end rot on tomatoes grown in pots hits sooner, since containers dry out so quickly.
- Use a pot holding at least 5 gallons, and 10 gallons is better for big varieties.
- Fill it with fresh potting mix, since old mix packs down and sheds water unevenly.
- Water deeply every morning in summer, and add a second drink on hot afternoons.
- Self-watering containers and a 2-inch mulch top layer smooth out the dry-wet cycle nicely.
- Containers lose calcium to drainage, so a monthly calcium feeding helps, following the label.
Since I started using 10-gallon pots, my tomatoes rarely wilt in the afternoon heat anymore. Pot setup details live in this guide on tomatoes in pots and in the list of container vegetables. Raised beds drain faster than flat in-ground rows, so mulch matters even more there.
Too Much Rain? What Helps
A rainy week takes watering control away, yet a few moves still limit the damage. One storm after a dry week rarely causes harm; repeated soaked-then-dry swings do the damage.
- Build slight ridges or raised mounds so extra water drains away from each root ball.
- On heavy clay, work compost or coarse sand into the beds between growing seasons.
- Keep mulch down all season, because it slows soaking during storms and drying afterward.
- Hang clear plastic over a hoop frame with open sides to keep the heaviest rain off.
- Take the cover off once the weather settles so heat and humidity do not build.
- A calcium feeding can bridge a soggy week, since oxygen-starved roots take up calcium poorly.
- Accept some fruit loss, because plants bounce back once the soil dries to normal.
Prevention Calendar
Before planting, test the soil, and mix in lime about 2 months ahead if pH runs low. At planting, wait for soil to reach 70°F, space plants well, and stake them early. Timing advice lives in this guide on when to plant, and a tomato trellis keeps vines steady.
At fruit set, water evenly, hold back heavy fertilizer, and keep roots undisturbed by weeding. During heat waves above 90°F, add shade cloth, extra mulch, and one more deep watering. Companion plants like basil can also shade soil and slow moisture loss around stems.
Yellow tomato leaves often signal related watering or nutrient stress, so read that guide too. In fall, pull spent vines, add compost, and retest soil so next year starts clean.
Can Tomatoes With Blossom End Rot Be Eaten?
Yes, a mildly affected tomato is fine to eat once the damaged part is cut away. Slice off the rotten area plus at least 1 inch of flesh around it. Green fruit with deep damage will not ripen well, so pick it and toss it.
If black mold or soft, sour-smelling spots appear, send the whole tomato to the garbage. Internal rot shows only after slicing, so discard any tomato with brown flesh inside.
Blossom End Rot by Region
Hardiness zones change when the problem shows up more than they change the basic cause. In USDA Zones 4, 5, 6, 7 and 8, it mostly strikes the first fruits of summer. Cooler areas in Zones 4, 5 and 6 see trouble after cool springs and late 32°F frosts.
Zones 7 and 8 get spring rains plus summer heat, which swing the soil from soggy to dry. In USDA Zones 9 and 10, intense heat above 95°F demands mulch, shade cloth, and daily checks. Sandy soils in any zone drain fast, while heavy clay holds water too long.
A community gardener sharing a plot should agree on one watering schedule to avoid swings.
Handy Tools Worth Buying
A few inexpensive tools take most of the guesswork out of watering and soil care. A soil moisture meter shows exactly when roots are dry, down at 4 inches.
A drip irrigation kit with a timer keeps watering steady while away on weekends. A basic soil test kit, or a lab test from extension, checks pH and calcium. A bag of straw or wood chips from the garden center covers a whole bed.
Printable Checklist
Print this short list and tape it inside the shed door for quick weekly checks.
- Test the soil each spring and bring pH into the 6.2 to 6.8 range.
- Water 1 to 2 inches weekly on a fixed schedule, and check moisture at 4 inches.
- Mulch every plant with 2 to 3 inches of straw or wood chips by early summer.
- Go easy on nitrogen once flowers open, and keep hoes away from the roots.
- Check the bottoms of young fruit weekly, and pick off any dark spots right away.
Final Thoughts:
Tomatoes blossom end rot looks scary, but it comes down to steady water, healthy roots, and balanced soil. Fix the watering first, test the soil second, and add calcium only when a test says so. Fruit already damaged will not recover, but the next set can come in clean and healthy. Start this week, and check the bottoms of those young green tomatoes every few days.