I’ve been growing through winter in my own backyard greenhouse for a few years now, and if there’s one thing I learned the hard way, it’s this you don’t need a fancy heater to keep plants alive when the temperature drops.
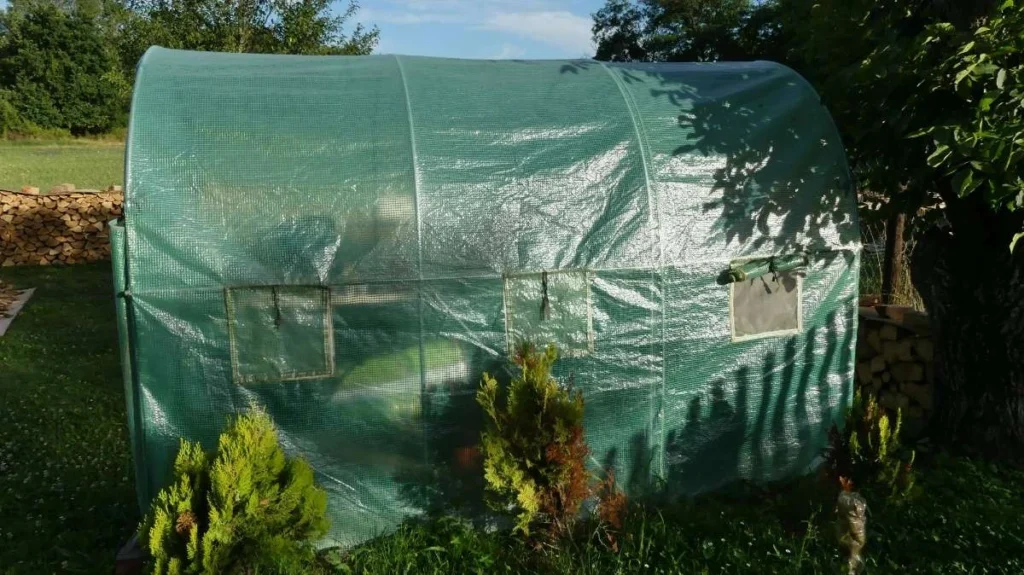
What you need is a plan. When people ask me about cheap ways to heat a greenhouse in winter, I always tell them the same thing: stop the heat from leaving before you try to add more of it. That one shift in thinking saved me more money than any gadget I ever bought.
Why Your Greenhouse Loses Heat in the First Place
Before I get into methods, you need to understand where the warmth actually goes.
In my experience, most beginners lose heat through four spots thin glazing, gaps around doors and vents, warm air rising and escaping through the roof, and heat radiating back out on clear cold nights. If you skip fixing these and jump straight to buying a heater, you’re basically heating the outdoors.
My advice: grab a flashlight one evening after dark and walk the perimeter of your greenhouse or polytunnel. Feel for drafts near the door, the base, and any joints. That five-minute check told me more than any article ever did.
I also keep an old thermometer hanging inside and one outside, so I can compare readings morning and night it’s a basic DIY heat-loss test, but it shows you exactly how much protection your setup is actually giving you.
Size Your Greenhouse Before You Plan Anything
This is a step most people skip, and it’s the one that wastes the most money.
Before you buy barrels or bubble wrap, measure your glazing area that’s the total square footage of glass or plastic covering your structure. A small 6x8ft greenhouse and a 10x12ft one need completely different amounts of thermal mass and completely different heater sizes.
As a rough guide from my own setup:
- Small greenhouse (6x8ft, around 48-70 sq ft glazing) two water barrels, one layer of bubble wrap.
- Medium greenhouse (8x10ft to 10x12ft) three to four barrels, double-layer bubble wrap on the north side.
- Large greenhouse (12x16ft or more) you’re better off combining barrels with a proper backup heater sized for the space, since passive methods alone start to fall short.
Getting the size right first stops you from either overspending or under-protecting your plants.
Cheap Ways to Heat a Greenhouse in Winter That Actually Work
Once the leaks are sealed and you know your size, here’s what I actually use, ranked by how much difference they make in my own backyard:
- Bubble wrap on the inside of the glazing I use the horticultural type with big bubbles because it lets more light through. It cut my night-time heat loss noticeably in my first winter using it.
- Black water barrels along the north wall this is thermal mass working for free. Sun heats the water during the day, and it slowly gives that warmth back at night.
- A compost pile in a back corner I keep this away from the plastic wall so it doesn’t melt anything, but it adds real warmth and humidity.
- Row covers and fleece over individual beds for extra frost protection on the coldest nights, this saved my seedlings more than once.
- Rigid foam board on the north-facing knee wall that side gets zero sun anyway, so losing a bit of light there doesn’t matter.
These are honestly the cheap greenhouse heating ideas I keep coming back to every single year, because they cost almost nothing after the first setup.
How to Heat a Greenhouse Without Electricity
A lot of people write to me asking how to heat a greenhouse without electricity, especially those with allotments or off-grid backyard setups where running a power line isn’t practical.
Here’s what has worked for me:
- Water barrels (the single best no-electricity option I’ve tried).
- An active compost heap using kitchen scraps, straw, and manure.
- Passive solar gain by keeping the south side completely clear of clutter so sunlight hits the floor and thermal mass.
- A hotbed built by burying fresh manure and straw under your growing beds old-school, but it genuinely works.
If your goal is heating a greenhouse without electricity from day one, I’d start with barrels and a hotbed together. On their own they’re decent. Combined, they carried my zucchini and eggplant seedlings through some surprisingly cold nights.
Step-by-Step: Installing Bubble Wrap and Water Barrels
I get a lot of questions on the actual install, so here’s exactly how I do both:
Bubble wrap install:
- Clean the inside of the glazing so the wrap sticks properly.
- Cut panels slightly larger than each glazing section.
- Use greenhouse clips or a staple gun to attach it directly to the frame, bubble side facing the glazing.
- Leave the wrap loose or removable near the door so you can still get in and out.
- Do the roof last it’s the hardest part but also where you lose the most heat.
Water barrel placement:
- Paint plain barrels black if they’re not already, so they absorb more heat.
- Place them along the north wall or in the sunniest corner you have.
- Fill completely a half-full barrel holds less heat and can slosh around.
- Leave a small gap between barrels so air can still circulate around your plants.
- Top them up occasionally since evaporation happens even in winter.
Neither of these takes more than an afternoon, and both keep working season after season with almost no maintenance.
Water Barrels and Thermal Mass Getting the Size Right
This part trips people up. You can’t just toss in one bucket and expect results. As a rough rule from my own trial and error, aim for about 5 to 10 gallons of water storage per square foot of glazing.
So if you’ve got a small 8x6ft greenhouse, you’re looking at somewhere around 60 to 120 gallons total two or three 55-gallon drums, painted black, placed where they’ll catch the most sun. Small jugs work in tight corners too, but don’t rely on them alone. The bigger the mass, the steadier your night-time temperature stays.
Active Heating Options for Backup
Even with every passive method in place, there are nights the sun just doesn’t cooperate. That’s when a backup heater earns its keep:
- Electric fan heaters: cheap to buy, easy to plug in, and best used with a thermostat set just above freezing so it only kicks on when truly needed.
- Propane or gas heaters: heat faster and cost less to run than electric in some regions, but they need proper ventilation, which I’ll get into below.
- Hydronic or bench heating: pipes carrying warm water under your growing benches, gentler and great for seedlings, though the setup cost is higher.
I treat all three as backup, not the main plan. The passive methods above should be doing 80% of the work.
Budget-Friendly Greenhouse Heating by Growing Zone
Where you garden changes everything about what you actually need. I’ve grown in different zones over the years, and my approach shifted every time.
| Zone | Typical Winter Low | What I’d Actually Do |
|---|---|---|
| Zone 7 | 0°F to 10°F | Bubble wrap + a few barrels, that’s usually enough |
| Zone 6 | -10°F to 0°F | Add compost heat and rigid foam on the north wall |
| Zone 5 | -20°F to -10°F | Full thermal mass setup plus a small thermostatic backup heater |
| Zone 4 | -30°F to -20°F | All of the above, and I wouldn’t skip electric backup for the worst nights |
For anyone in Zones 4, 5, 6, and 7, this is basically the same layered approach I use you just add more layers as the winter gets harsher. This kind of budget-friendly greenhouse heating strategy is really about matching effort to your actual climate instead of copying advice meant for somewhere warmer.
A Simple Decision Framework
If you’re not sure where to start, here’s how I’d break it down based on budget and zone:
- Tight budget, mild zone (6-7): Seal gaps, add bubble wrap, done. Skip barrels if space or budget is limited.
- Moderate budget, mid zone (5-6): Bubble wrap plus two to three water barrels plus a small compost pile.
- Larger budget or harsh zone (4 and below): Everything above, plus a thermostatic electric or gas heater kept purely as backup for the worst nights of the season.
This isn’t a strict rulebook it’s just the logic I use in my own backyard every fall before the first real cold snap hits.
Safety First Please Don’t Skip This
I have to be honest here because I’ve seen people get this wrong. If you ever use a gas or propane heater inside an enclosed greenhouse, ventilation isn’t optional carbon monoxide builds up fast in a sealed space, and it’s genuinely dangerous, not just an inconvenience.
Open-flame heaters also release ethylene gas, which can damage flower buds and stunt growth, so I avoid them near anything I’m trying to fruit, like tomatoes or courgettes.
If you’re running any electric heater, keep it away from water barrels, hoses, and anything flammable like dry straw or trash bags stored nearby. A simple thermostatic plug can prevent it running all night when it doesn’t need to, which also saves on the electric bill.
Real Cost Comparison What I’ve Actually Spent
| Method | Upfront Cost | Running Cost | How Well It Worked For Me |
|---|---|---|---|
| Bubble wrap insulation | $10-$40 | None | Very good, do this first |
| Water barrels | $20-$100 | None | Reliable overnight buffer |
| Compost pile | Free | None | Modest but steady |
| Small electric fan heater with thermostat | $30-$80 | $0.10-$0.30/night | Only for extreme cold snaps |
| Gas heater | $60-$150 | Higher, needs ventilation | Fast but costly and riskier |
A Real Example From My Own Setup
Two winters back, my 8x6ft greenhouse in Zone 6 was losing heat fast mornings inside were barely warmer than the yard outside. I sealed every gap I could find, added two black 55-gallon barrels, and put up a double layer of bubble wrap on the north side.
The following month, my electric backup heater ran maybe four or five nights total, instead of running every single night like it had the winter before.
My electric bill for that stretch dropped by roughly a third, and I didn’t lose a single seedling tray to frost. That one change is what convinced me passive methods aren’t just a nice idea they actually work.
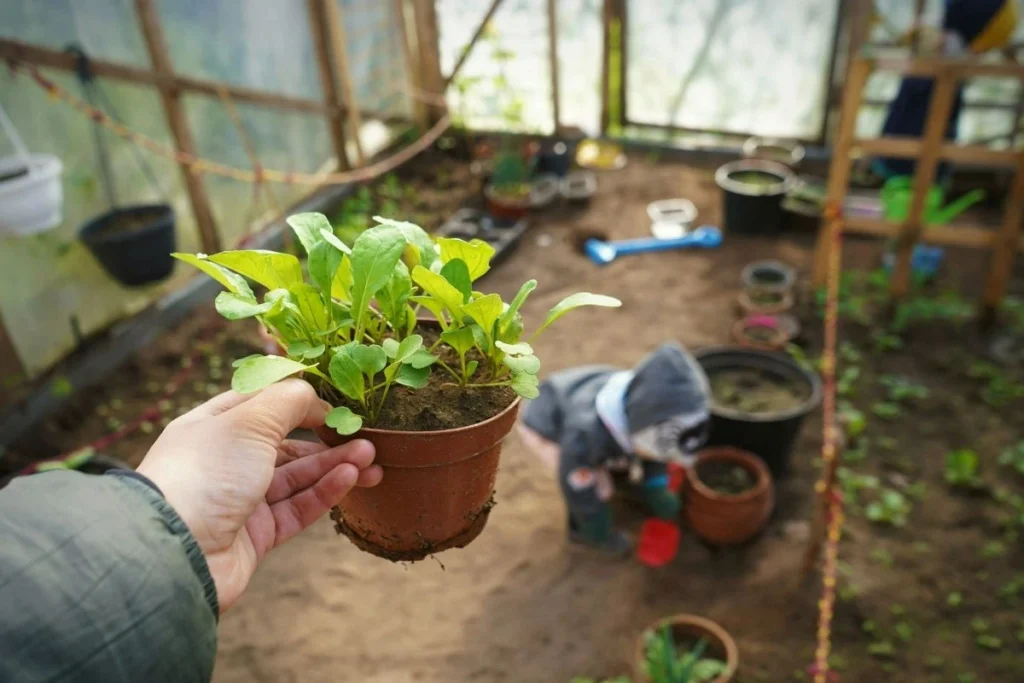
Cheap Greenhouse Heating Ideas for a Small Backyard or Allotment
If your space is tiny a lot of my readers on allotments and courgette-and-aubergine growers back in the UK deal with this exact problem you don’t need barrels the size of drums.
A few smaller jugs, a tight bubble wrap seal, and fleece over your most sensitive plants can carry you through most of autumn and into the harder frosts.
I’ve also used terracotta pot heaters with a candle underneath in a pinch they won’t heat the whole space, but they can raise the air around one bed by 4-5°F on a rough night, which is sometimes all a tray of seedlings needs.
Final Thoughts:
After a few winters of trial and error, my honest opinion is this the cheap ways to heat a greenhouse in winter aren’t really about buying the right gadget. They’re about layering simple, low-cost habits: seal it, size it properly, store heat in water or compost, and only add electric or gas heat as backup for the nights that truly need it. Start with what’s free, add what’s cheap, and save the expensive stuff for last.