
I’ve been mulching my backyard beds every fall for close to fifteen years now, and I still remember the first winter I got it completely wrong. I piled wood chips against the base of a young hydrangea like I was building a little volcano, and by spring the stem had rotted right through. That one mistake taught me more than any article ever did it’s exactly why I started digging deeper into what actually counts as the best mulch for winter plant protection, instead of just grabbing whatever bag was cheapest at the store.
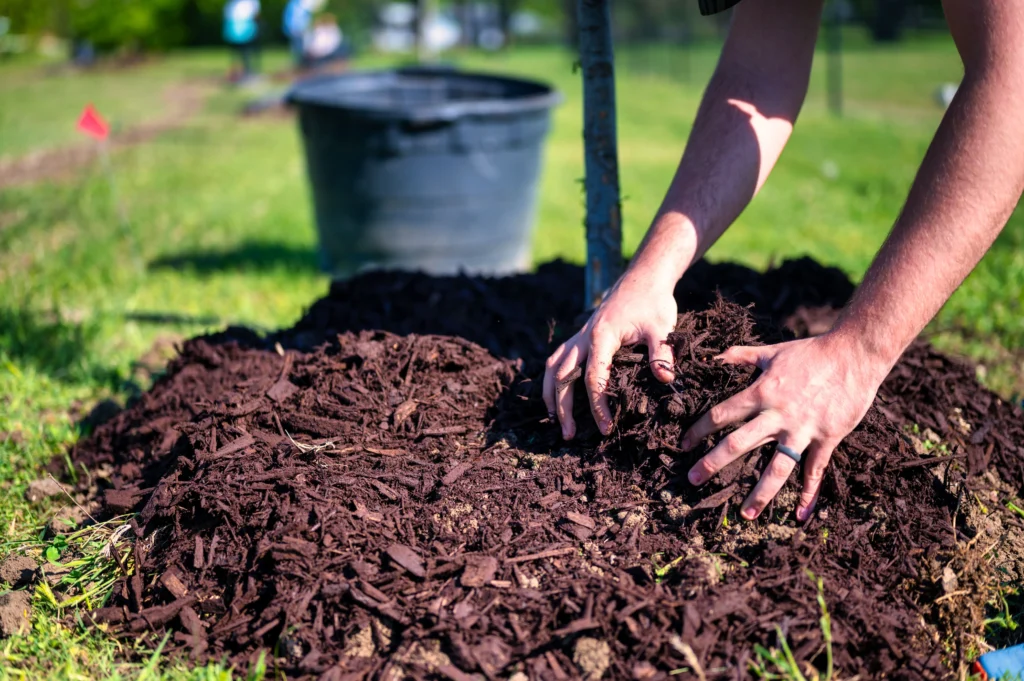
So when I sat down to write this, I wanted to actually explain what nobody tells you upfront the timing that matches your actual zone, what it costs to cover a real bed, and the stuff that goes wrong when you get it wrong. If you’re searching for the best mulch for winter plant protection, I promise this isn’t just another list of straw and pine needles with no context behind it.
Winter Mulching Timing By Zone: What I Wish Someone Told Me Earlier
Here’s the thing that most guides skip completely “apply after the first hard frost” means something totally different depending on where your garden sits. I’ve gardened in Zones 5 and 6 most of my life, and my sister-in-law gardens in Zone 8 in the UK, where autumn stretches out much longer than mine does. Our timing is never the same, and treating it like it is just sets people up to mulch too early or too late.
Here’s roughly how I break it down based on my own experience and what fellow gardeners in different zones have told me over the years:
| Zone | Typical First Hard Frost | When I’d Mulch |
|---|---|---|
| Zones 3–4 | Early to mid-October | Mid-October |
| Zones 5–6 | Late October to early November | Early to mid-November |
| Zones 7–8 | Mid to late November | Late November to early December |
| Zones 9–10 | Rare or very light frost | Late December, if at all |
The idea behind proper winter mulching timing is simple you want the soil to already be cold, ideally sitting right around 32°F (0°C), but not yet frozen solid. If you mulch while the ground is still warm above 40°F (4°C), you’re basically trapping heat under a blanket, and that can trick your plants into staying active when they should be settling into dormancy. I made that mistake once with a batch of peonies and lost half of them to a sudden cold snap because they hadn’t hardened off properly.
Which Mulch Actually Works And Which Ones I Skip
I’ve tried nearly everything in my yard over the years straw, shredded bark, pine straw, shredded leaves, even compost one year when I ran out of everything else. Here’s what I’ve learned about mulch depth for winter protection with each one:
- Straw: Light, cheap, and easy to fluff up. I use 4 to 6 inches around my vegetable beds and strawberries.
- Pine needles: My favorite around blueberries and azaleas since they’re slightly acidic. I go 3 to 5 inches deep.
- Shredded hardwood bark: Great for shrubs and trees, lasts longer. I keep it to 2 to 4 inches so it doesn’t smother roots.
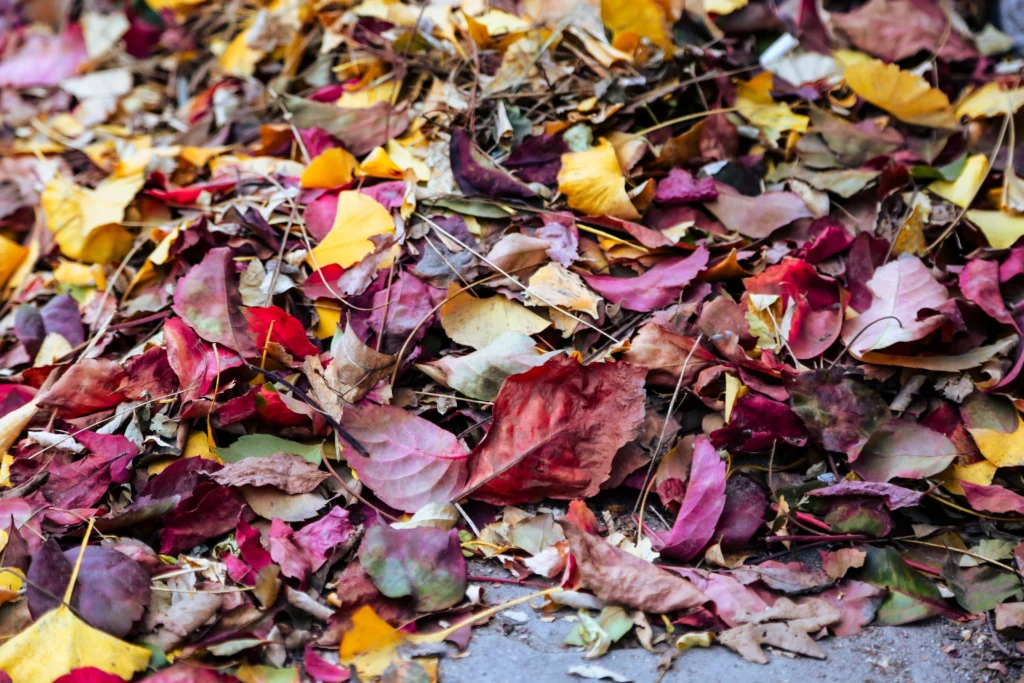
- Shredded leaves: Free if you have trees nearby, but I always run them through the mower first so they don’t mat down into a soggy layer.
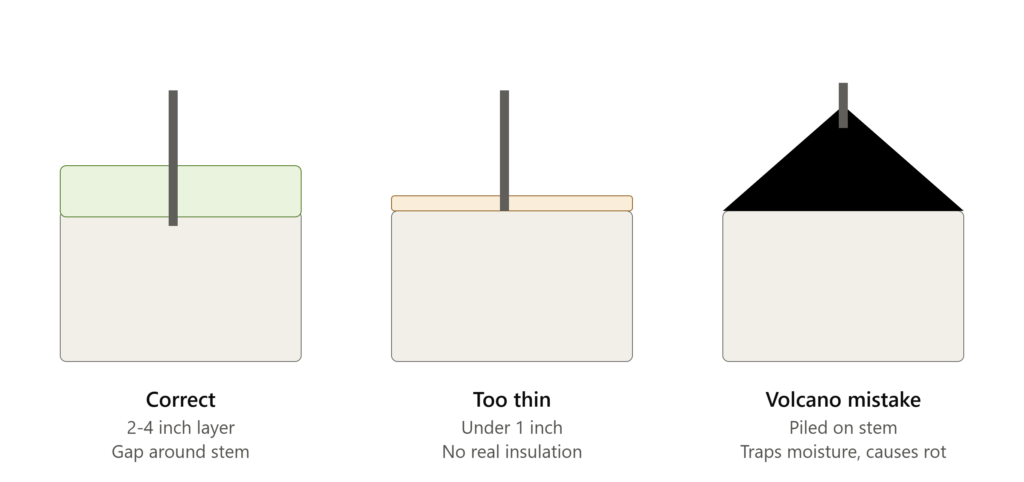
One thing I’ve noticed after years of doing this by hand the correct mulch depth for winter protection really depends on the material. Fine bark compacts faster, so I keep it thinner. Straw fluffs up and settles, so I start a little thicker than I actually need, knowing it’ll pack down by January.
A quick note on hay versus straw, because I confused these two my first year and regretted it hay is full of seeds and turns your bed into a weed patch by spring. Straw is the clean, seed-free stalk left over after harvesting grain. Always ask for straw specifically at the garden centre or hardware store.
Mulch for Potted Plants in Winter Don’t Treat Them Like In Ground Beds
This part gets skipped in almost every article I’ve read, and it drives me a little crazy because container plants freeze so much faster than anything planted in the ground. A pot has exposed roots on every side, not just the top, so the same rules don’t apply.
For any mulch for potted plants in winter, here’s what’s worked for me:
- Keep the mulch layer thinner, around 1 to 2 inches, since there’s less soil volume to protect.
- Wrap the outside of the pot itself in burlap or bubble wrap for extra insulation.
- Group containers together against a wall, which cuts wind exposure noticeably.
- For anything genuinely tender, I move the pot into my garage or an unheated shed for the coldest stretch of winter rather than relying on mulch alone.
My courgette and aubergine pots (or zucchini and eggplant, if you’re on this side of the pond) never survive outdoors past the first freeze anyway, so those come in early. But my potted rosemary and lavender stay out with just the burlap wrap, and they’ve made it through several winters in Zones 5 and 6 without trouble.
The Cost Nobody Talks About
I priced this out properly one fall after getting frustrated with how vague the cost comparisons online always are. For a rough 100-square-foot bed at a 3-inch depth, here’s roughly what I’ve paid over the years:
| Mulch Type | Approx. Cost per 100 sq ft |
|---|---|
| Bulk straw bale | $10–$15 |
| Bagged pine straw | $25–$35 |
| Bagged shredded bark | $30–$45 |
| Homemade shredded leaves | Free (just your time) |
If you’ve got a big allotment or a full backyard border to cover, buying straw in bulk from a local farm supply store beats bagged mulch every single time. I only buy bagged mulch now for small accent beds near my front porch, where appearance matters more than pure economy.
Watch Out for Rodents Under That Cozy Layer
This is the part that genuinely surprised me the first winter I mulched heavily. A thick layer of straw or leaves makes a perfect hiding spot for voles and mice, and they’ll happily chew through the bark of young trees and shrubs while they’re tucked in under there, safe from hawks and cold wind.
A couple of things I do now every single year:
- Keep mulch pulled back at least 6 inches from tree trunks and shrub stems.
- Use a plastic or hardware cloth trunk guard around young trees before mulching.
- Avoid piling mulch until after the first hard freeze, since that’s when rodents are still settling into their winter routes and haven’t claimed your beds yet.
I lost a young apple tree to vole damage one year, and the bark was completely girdled by spring. That’s a mistake I only had to make once.
Spring Mulch Removal: When and How
Spring mulch removal isn’t something you do on a set calendar date it depends on your soil, not the month. I check soil temperature with a simple probe thermometer once the snow clears, and once it’s holding steady above 50°F (10°C) during the day, that’s my signal.
Here’s how I sort it out:
- Straw and shredded leaves: I usually just leave these to break down into the soil, since they add organic matter as they go.
- Pine needles and bark: I pull these back or thin them out, since a thick layer left in place slows soil warming and can delay new growth.
- Anything piled against stems or crowns: always pull this back first, regardless of the material, so new shoots aren’t fighting through a soggy mat.
Common Mistakes I See and Made Myself
A few things worth repeating, because I still see them happen every year in my own neighborhood:
- Piling mulch up against the trunk like a volcano, which traps moisture and invites rot.
- Using hay instead of straw and ending up with a weed-filled bed by June.
- Mulching too early while soil is still warm, which delays proper dormancy.
Quick Reference: Everything at a Glance
| Zone | Mulch Timing | Best Depth | Spring Removal |
|---|---|---|---|
| Zones 3–4 | Mid-October | 3–4 inches | Late April |
| Zones 5–6 | Early to mid-November | 2–4 inches | Mid-April |
| Zones 7–8 | Late November to early December | 2–3 inches | Early April |
| Zones 9–10 | Late December (if needed) | 2 inches | Late March |
Final Thoughts:
After all these years of trial and error, my honest takeaway is that the best mulch for winter plant protection isn’t really about picking one perfect product off a shelf it’s about matching the material, the depth, and the timing to your own zone and your own garden. Pay attention to your soil temperature, keep mulch away from stems and trunks, and don’t be afraid to pull it back in spring once things warm up. That’s really all it takes to get your beds through winter and back into bloom.

Pingback: Tulips Winter Care: 5 Proven Steps for a Thriving Backyard