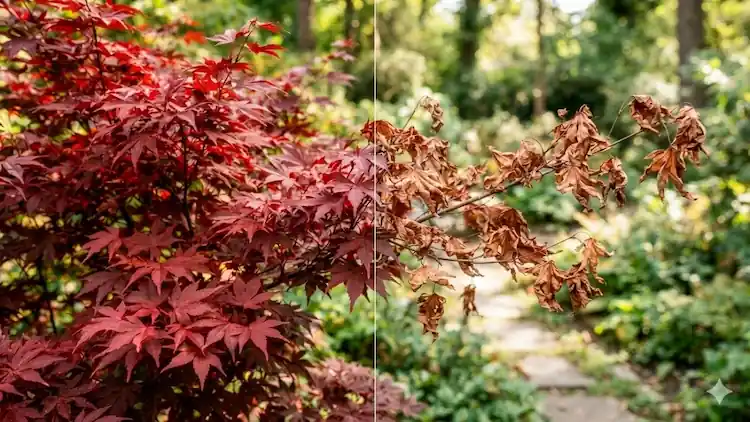
I garden right on the line between USDA Zones 5 and 6, and my very first dahlia season taught me a hard lesson. I left a beautiful clump of dinnerplate dahlias in the ground through October because I figured “a little frost never hurt anybody.” By the time I finally went out with my fork, the whole clump had turned to mush in my hands.
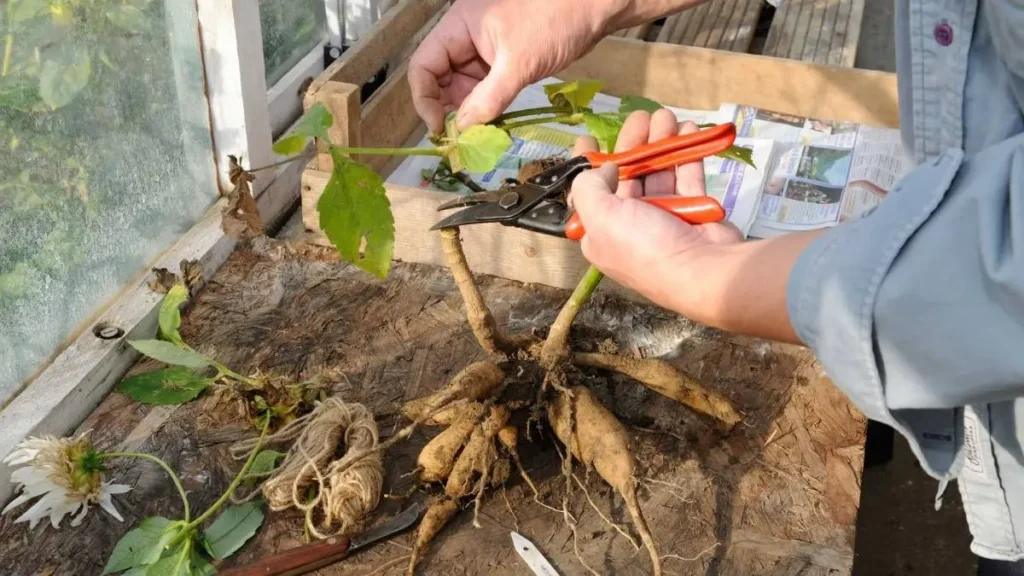
That was the year I actually sat down and learned how to store dahlia tubers for winter the right way, instead of guessing and hoping for the best. Since then I’ve dug, divided, and packed away hundreds of tubers, lost a few boxes to rot, and slowly figured out what actually keeps them alive until spring. This is my real backyard method, tested over several fall seasons in my own garage.
Why I Bother to Dig Up Dahlia Tubers Every Fall
Dahlias come from Central America, and cold weather is simply not something they’re built to survive. If you garden in USDA Zones 8 to 11 (or roughly RHS rating H4 and above), you can usually leave your tubers right in the ground with a thick layer of mulch over the crown. My own backyard is nowhere close to that lucky.
In Zones 4, 5, 6, and 7, and anywhere the RHS would rate your winter conditions H5 or colder, the ground freezes hard enough to kill dahlia tubers outright. That means every single year, I have to dig up dahlia tubers before the ground locks up for the season, or I lose the whole plant.
Here’s a quick way to think about it by zone:
- Zones 8 to 11 (RHS H4): Leave tubers in the ground, mulch the crown heavily
- Zones 6 and 7 (RHS H5): Dig after frost, store indoors through winter
- Zones 3 to 5 (RHS H6 and H7): Frost arrives early, so start checking your plants by mid-September
When to Dig Up Dahlia Tubers: Timing Actually Matters
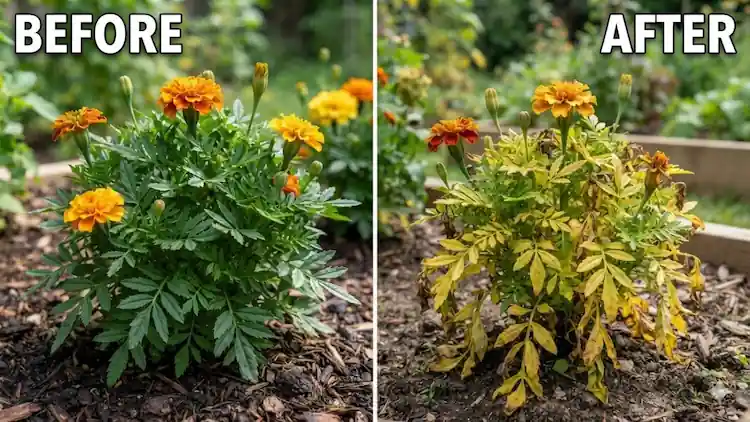
Timing is honestly the part people rush the most, and it’s the reason so many gardeners end up with weak tubers that never sprout. Once the first hard frost blackens the foliage, I don’t rush out with a shovel that same afternoon. I wait roughly two weeks.
That waiting period matters because the tubers are still pulling the last bit of energy down from the dying stems, and they’re forming the eyes, the small buds that turn into next year’s growth. Dig too early and you cut that process short. Dig too late, especially in my Zone 5/6 yard, and a hard freeze can ruin the tubers before you ever get to them.
A few things I check before I dig:
- The foliage has gone fully black and mushy, not just a little droopy.
- I’ve waited at least ten to fourteen days after that first frost.
- The forecast doesn’t show another hard freeze sneaking up on me that week.
- The soil isn’t frozen solid yet (mine occasionally does this by early November).
For readers over in the UK working an allotment, the timing logic is identical you’re just watching for autumn’s first proper frost instead of fall’s, and your dahlias will show the same blackened, wilted leaves as a signal.
How to Store Dahlia Tubers for Winter, Step by Step
Once the timing is right, the actual process of how to store dahlia tubers for winter breaks down into four stages in my garage: digging, cleaning, drying, and packing. I’ll walk through exactly what I do at each stage.
Digging the clump:
- Cut the stems back to about 4 to 6 inches (10 to 15 cm) above the ground, leaving a stub to hold onto.
- Use a garden fork, not a shovel a shovel slices right through the necks that connect tubers to the stem.
- Work in a circle roughly 12 inches (30 cm) out from the stem so you don’t spear a tuber by accident.
- Lift the whole clump from underneath rather than yanking on the stem.
- Set the clump somewhere shaded for a few hours so the fragile necks stiffen up before you handle them much.
I learned the hard way that rushing this step snaps necks left and right. Patience here saves you tubers later.
Cleaning and Dividing the Clump:
Once the clump has dried a bit, I brush off the big clumps of soil and give it a gentle rinse with the hose. This is also when I decide whether to divide the clump now or wait until spring. Dividing in fall is easier while the eyes are still somewhat visible, though honestly they’re clearer once spring rolls around.
If you divide now, use a clean, sharp knife, and make sure every single division has at least one visible eye attached without one, that piece won’t sprout at all. I also look for the “mother tuber,” which grew last season’s flowers. It’s usually the darkest, oldest-looking piece, and I toss it straight in the trash since it rarely produces well a second time.
Drying Before You Pack Them Away:
This step gets skipped more than any other, and it’s probably the single biggest reason boxes of tubers rot in storage. Wet tubers packed into a box are basically an invitation for mold. I lay mine out on an old window screen in the garage for one to two days, sometimes longer if the weather’s been damp, until the skin just barely starts to look a little dull, not shriveled.
Choosing the Right Storage Medium
This part of storing dahlia tubers trips up a lot of beginners, mainly because there isn’t one single “correct” answer. It depends on your basement or garage, and honestly, on your own patience for checking on things through the winter.
| Medium | Pros | Cons |
|---|---|---|
| Peat moss | Holds moisture evenly, cheap, widely available | Needs monthly moisture checks |
| Vermiculite | Lightweight, clean to handle, drains well | Can dry out faster in a warm garage |
| Sand | Drains fast, good for damp basements | Heavy, can dry tubers out too much |
| Wood shavings | Cheap, good airflow | Less consistent moisture retention |
I’ve settled on peat moss mixed with a bit of vermiculite most years, packed into cardboard boxes with a few air holes poked in the sides. Whatever you pick, squeeze a handful first it should hold together loosely and only release water if you really press hard.
If you already grow vegetables in pots on your patio or porch each summer, you’ve basically got a head start here too the same instinct for good drainage and not overdoing the moisture applies just as much to a box of tubers as it does to a container of tomatoes.
Storage Conditions That Keep Tubers Dormant
Dormant tubers want a cool, dark spot with steady humidity. My personal sweet spot is 40°F to 50°F (4°C to 10°C), and I keep my boxes tucked against an interior wall of my unheated garage, away from the garage door where a cold snap could freeze them solid.
A few conditions I watch for:
- Never let the space drop below freezing, or the tubers will die outright.
- Don’t let it climb above 55°F (13°C) either, or the eyes may sprout too early.
- Keep the boxes out of direct light, since light isn’t harmful but does encourage early waking.
- Label every box with the variety name trust me, you will not remember by March.
Mistakes I’ve Made Storing Dahlia Tubers
I’ll be honest, even after years of doing this, I still mess up occasionally. Here are the mistakes that actually cost me tubers:
- Packing them away wet: One damp box turned into a moldy disaster within six weeks.
- Forgetting the monthly check: I once ignored a box for three months and lost half of it to rot I could have caught early.
- Storing them too close to the garage door: A sudden cold snap in December got in and froze that whole shelf.
- Overcrowding the box: Tubers touching each other spread rot fast if even one starts going bad.
Every one of these is an easy fix once you know to watch for it, which is really the whole point of writing this down.
Checking on Your Tubers Through Winter
I mark the first of every month on my calendar as a check-in day. I open a box, squeeze the packing medium, and inspect a handful of tubers for mold or shriveling. If the medium feels bone dry, I mist it lightly with water. If I spot a soft or rotting tuber, I pull it out immediately before it spreads to its neighbors.
One thing worth knowing: damp peat moss sitting in a warm spot can occasionally attract gnats in plant soil, the same fungus gnats that show up in overwatered houseplants. If you notice tiny flies near your storage boxes, it usually means the medium is too wet, not that anything is seriously wrong.
A Note for US and UK Gardeners
My own backyard sits right on the Zone 5/6 line, which gives me both an early fall frost and a stretched-out spring one. If you’re in Zone 4, plan to have everything dug by mid-September. Zone 7 gardeners get more breathing room, but a rogue cold snap doesn’t check your hardiness zone before it shows up.
For UK readers tending an allotment, the same principles hold courgettes, aubergines, and dahlias all react to that first proper autumn frost the same way their American cousins (zucchini, eggplant) do. Just swap “backyard” for “garden” and the calendar for your own local frost dates.
Interestingly, dahlia tubers aren’t the only underground storage organs that confuse people about watering and moisture. If you’ve ever wondered how often to water a ZZ plant, it’s a similar idea that plant stores water in its own rhizomes the same way a dahlia tuber stores energy, and both rot fast if kept too wet. The same lesson applies to a snake plant sitting on a windowsill it’s another one people love because it barely needs attention, right up until someone waters it too often and the base starts going soft.
If you keep a few indoor plants around the house through winter anyway, you’ll notice the whole mindset carries over nicely check before you water, don’t trust a calendar, and a little neglect is almost always safer than too much care.
Overwintering and Replanting in Spring
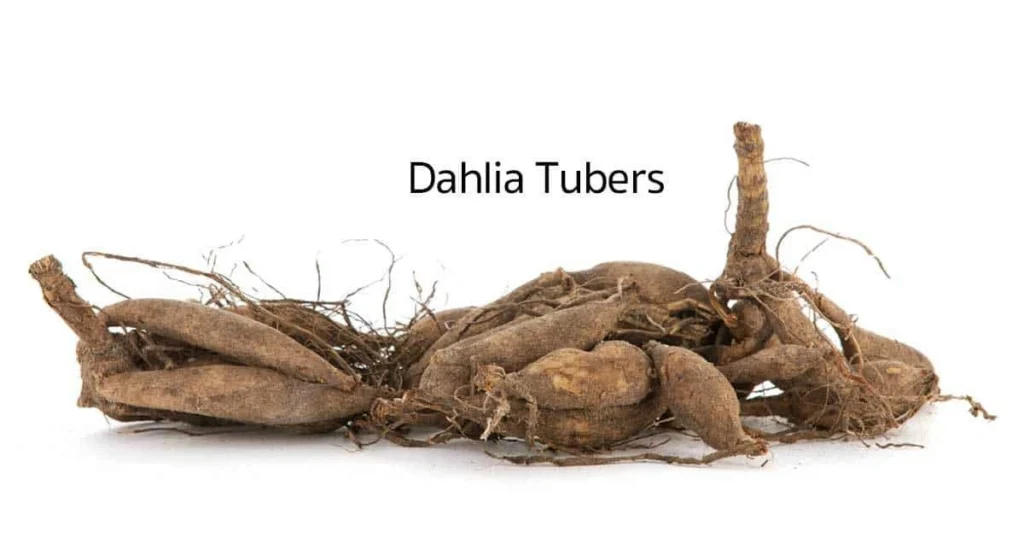
Once you overwinter dahlia tubers successfully, spring is the easy part. I bring the boxes out about two to four weeks before my last expected frost date and let them warm up gradually at room temperature. Some years I start them early in pots indoors, four to six weeks ahead, just to stretch the bloom season a bit longer in my short summers.
Plant them 4 to 6 inches (10 to 15 cm) deep with the eyes facing up, and stake taller varieties right at planting time so you’re not fighting to add supports later once the stems are already tall and floppy.
Final Thoughts:
Once you’ve done it a season or two, how to store dahlia tubers for winter stops feeling like a mystery and just becomes part of your fall routine dig, dry, pack, and check back once a month. I still lose the occasional tuber every year, and honestly, that’s just part of gardening. But ever since I slowed down and stopped rushing the digging and drying steps, my boxes come out of storage every spring with far more healthy tubers than I used to lose in that first disastrous year.