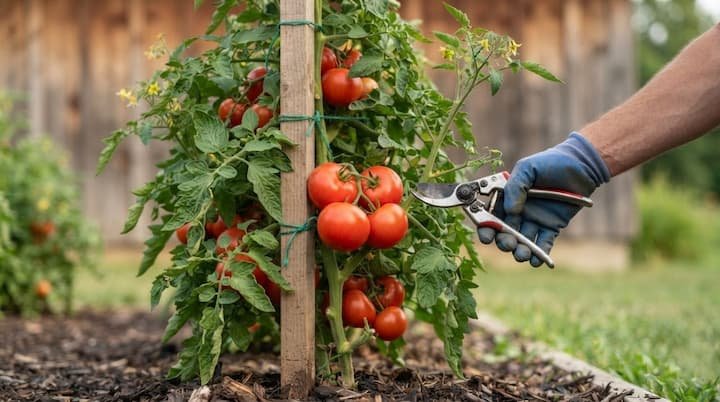
Ever fed your peppers all season and ended up with a leafy green bush and three tiny pods?
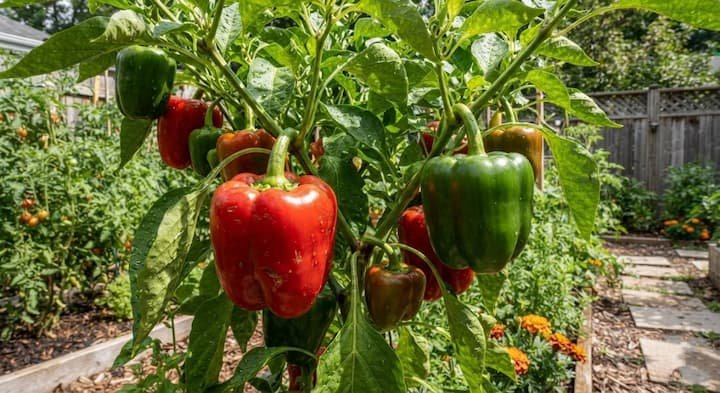
That’s a feeding problem, and it’s more common than you’d think. Picking the best fertilizer for pepper plants comes down to three things: the right ratio, the right timing, and the right soil. Here’s how all three work, one step at a time.
What Peppers Actually Want From the Soil
Peppers are medium-to-heavy feeders, and every nutrient has its own job. Mix them up and you get a plant that looks great but sulks when it’s time to set fruit.
- Nitrogen (N): builds leaves, stems, and chlorophyll. Too much gives you a big plant with few pods, so split it into smaller doses.
- Phosphorus (P): drives roots and flower formation.
- Potassium (K): sets fruit size, firm walls, and heat in hot varieties.
- Calcium: strengthens fruit cell walls and keeps blossom end rot away.
- Magnesium: runs photosynthesis and keeps leaves green.
Tissue analysis points to a ratio near 4-1-4 for most of the season, then a shift toward phosphorus and potassium once flowers show. That switch matters more than any brand name.
Test Your Soil Before You Buy Anything
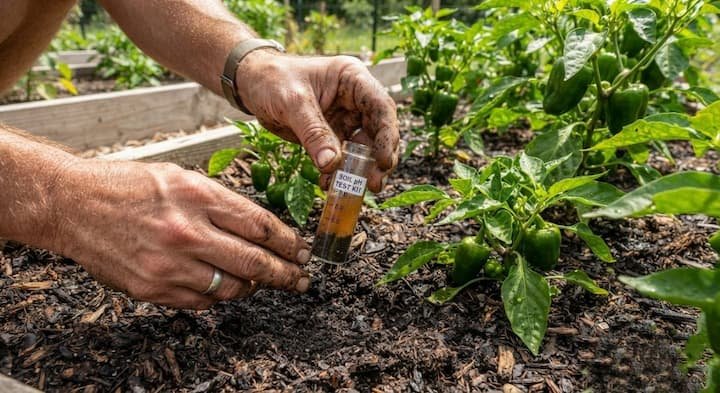
Bag numbers mean little if your soil already has plenty of phosphorus or the pH is off. Get a test through your state’s cooperative extension office. Most are cheap, and the report tells you what’s actually missing
Peppers want a pH of 6.0 to 6.8. Below that, calcium and magnesium get locked up. Above it, iron and manganese do.
On the report, look at:
- pH: aim for 6.0 to 6.8
- Phosphorus: if it’s already high, skip high-P blends.
- Potassium and calcium levels.
- Organic matter percentage.
Lime raises pH and sulfur lowers it, both slowly, so retest twice a year.
Growing in containers? A good pepper soil mix takes care of most of the pH work.
Sharing a community garden bed? Test it anyway, because the last gardener may have loaded it with something.
Best Fertilizer for Pepper Plants: Products That Work
These are the products that keep showing up for peppers, sorted by form. I like Garden-Tone for backyard beds because it feeds slowly and is hard to burn. For pots, a liquid like Tiger Bloom is easier to adjust.
Check the label before buying, since formulas get tweaked.
| Product | NPK | Form | Best for |
|---|---|---|---|
| Espoma Garden-Tone | 3-4-4 | Granular | Beds, monthly feeding, 5% calcium built in |
| Dr. Earth Home Grown Tomato, Vegetable & Herb | 4-6-3 | Granular | Slow release with extra calcium (skip it if soil phosphorus is high) |
| Urban Farmer Organic Pepper | 3-6-6 | Granular | Transplant and fruit set, 15% calcium built in |
| Jobe’s Organics Vegetable & Tomato | 2-5-3 | Granular | The flowering window |
| FoxFarm Tiger Bloom | 2-8-4 | Liquid | Containers, flowering and fruit set |
| Greenway Biotech Pepper & Herb | 11-11-40 | Water-soluble powder | Peak fruiting and bigger pods |
| Miracle-Gro Performance Organics Edibles | Check label | Powder | Beginners who don’t mind weekly mixing |
| Botanicare Cal-Mag Plus | Low nitrogen | Liquid | Calcium and magnesium gaps |
Pepper NPK Ratios by Growth Stage
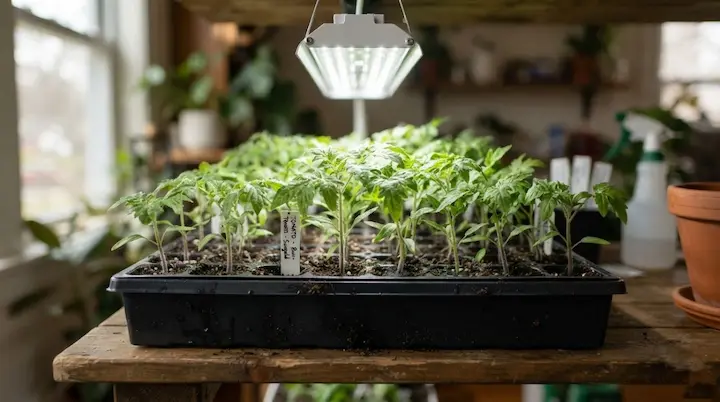
Seedlings need gentle food. Start one week after sprouting at quarter strength (a 2-1-2 at half strength works later), and keep nitrogen low because soft growth invites damping off. This goes hand in hand with bell pepper seedlings care.
| Stage | Weeks | NPK to use | How often |
|---|---|---|---|
| Seedling | 1 to 4 | 10-10-10 at 25% strength | Every 10 to 14 days |
| Vegetative | 5 to 8 | 12-4-8 or 5-1-2 | Every 7 to 10 days |
| Flowering | 9 to 12 | 5-10-10 or 3-15-15 | Every 7 to 14 days |
| Peak fruiting | 13 and up | 10-10-20 or 11-11-40 | Every 2 to 3 weeks |
A 3-1-4 blend plus a potassium-only supplement once pods set also works. The flip at first buds is the part people miss. Keep pouring nitrogen after that point and flowers drop, so the plant never gets around to making fruit.
Organic vs Synthetic vs a Mix of Both
Synthetic food hits the roots within days. Organic works through soil microbes over two to six weeks. I think a mix beats either one alone, but here’s what each side really does.
- Organic fertilizer for peppers feeds for 8 to 16 weeks per application and adds micronutrients you won’t get from a bag of salts.
- Organic stalls in cold soil, so below 50°F it barely works.
- Synthetic is fast and precise, but salts build up and a lot of the nitrogen washes away. It earns its spot for rescuing a deficiency, early transplants in cool soil, fast phosphorus, and hydroponics.
- Cost: organic granules run more per bag than water-soluble powder, but they build soil and go 4 to 6 weeks between feedings.
- A simple mix: compost or 5-5-5 organic granules at transplant, quick-release only if growth stalls, a 3-5-7 blend at flowering, and seaweed or humic acid midseason.
Granular, Liquid, or Slow-Release?
Granular releases over weeks and means less work. A typical granular pepper fertilizer needs a re-feed every 4 to 6 weeks. Liquid acts in days and is the rescue option when leaves go pale.
In sandy yards where water runs straight through, the best fertilizer for peppers is often a liquid you can repeat. Slow-release pellets like Osmocote last up to six months from one application, which removes most timing mistakes.
How to Apply It Without Burning Roots
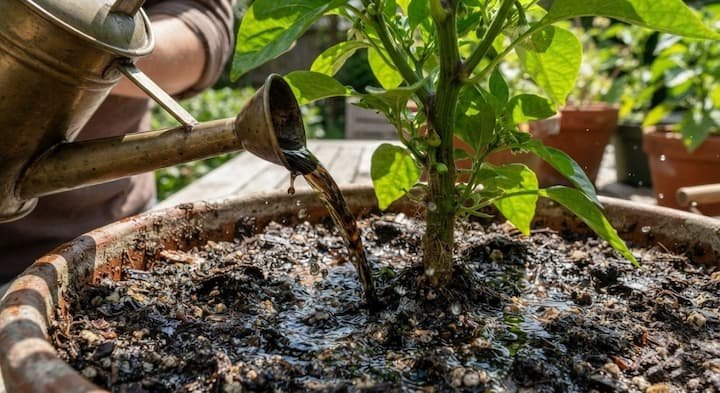
Now for how to fertilize peppers without scorching them. Keep it off the stem, and water right after every feeding.
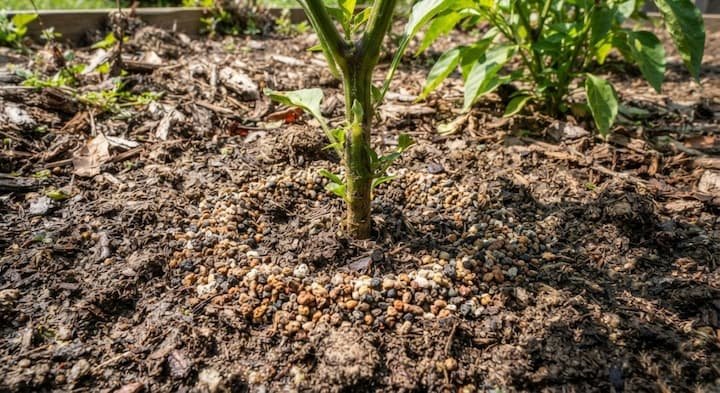
- Side-dress granules in a band 4 to 6 inches from the stem, in a furrow 1 to 2 inches deep.
- Garden-Tone runs about 1/3 cup per plant. Water it in well.
- Greenway powder is about 3 grams per plant every 4 to 6 weeks. Weigh it, don’t guess.
- Work any pepper fertilizer into the top inch or two of soil, never piled against the stem.
- Liquids go on as a soil drench at the base, ideally in the morning.
- Foliar sprays go on in the morning only: compost tea mixed 1 part to 10 with a little Epsom salt, or diluted kelp or fish emulsion, about every 2 weeks.
Feeding Schedule From Transplant to Harvest
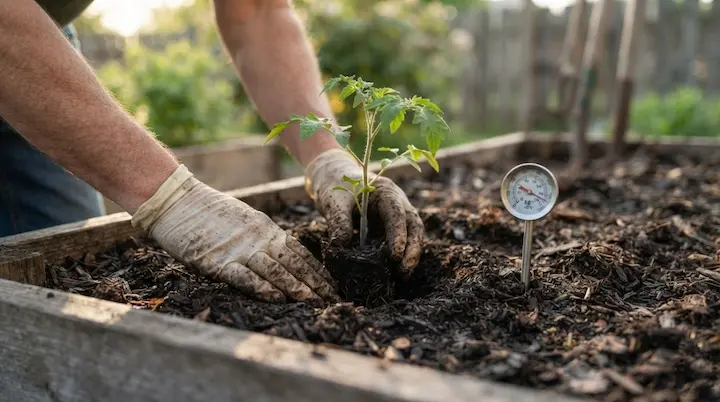
Water new transplants about 1 inch a week to settle them, give them 7 to 14 days, then start feeding. Soil should hit 60°F before roots take up much of anything. Timing shifts by region, and when to plant sets your starting line.
- USDA Zones 7, 8 and 9: transplant late February to April, start feeding March to April.
- USDA Zones 5 and 6: transplant late April to May, start feeding in May.
- USDA Zones 3 and 4: transplant late May to June, start feeding in June.
Stop all feeding 3 to 4 weeks before your first fall frost. That lets plants harden and ripen what’s already on them. The same rule applies if you plan to overwinter pepper plants indoors, because soft new growth is the first thing the cold kills.
Pots vs Backyard Beds
Containers lose nutrients with every watering, so they need a tighter routine than the yard. For potted bell peppers, small changes in dose matter a lot.
- Feed about every 7 days during active growth. In heat waves, go every 4 to 6 days with smaller doses.
- Pots under 3 gallons: cut strength in half. Go for 5 gallons or bigger when you can.
- How to fertilize peppers in pots: liquid at quarter to half strength, watered until roughly 20% drains out the bottom.
- Flush monthly by running plain water through, about 2 to 3 times the pot’s volume.
- Rotate in compost tea every 2 to 3 weeks, and jot down strength and date each time you mix a dose.
- A white crust on top means salt buildup.
In-ground beds are more forgiving. Till in compost 12 to 18 inches deep before planting, about 1 pound per 4 to 5 square feet. At transplant, a granular 5-10-5 or 8-16-16 at 1 to 2 pounds per 100 feet of row works well.
Side-dress every 3 to 4 weeks after that, starting 3 to 6 weeks post-transplant, and top-dress midseason with a slow-release blend.
Homemade Organic Fertilizer for Peppers That Works
Some homemade options pull real weight. Others are mostly feel-good:
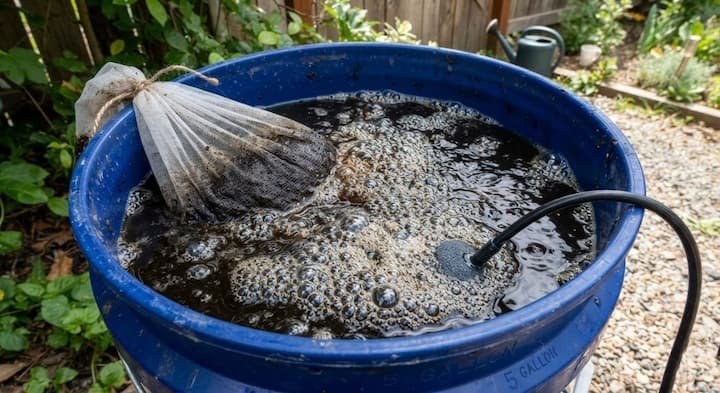
- Compost tea: 5 gallons of dechlorinated water (rain, or tap water left out 24 hours), 1 gallon of finished compost in a mesh bag, and 1 cup of unsulfured molasses. Run an aquarium pump 24 to 48 hours. Apply to soil only, every 2 weeks. Without air it goes anaerobic and smells awful.
- Molasses: 1 tablespoon of unsulfured molasses per gallon every 2 to 3 weeks feeds soil microbes.
- Banana peel tea: soak peels about 48 hours, dilute 1 part tea to 5 parts water. Adds a little potassium.
- Coffee grounds: a quarter-inch layer, away from the stem, once a month at most.
- Fish emulsion: 1 tablespoon per gallon every 3 weeks. Skip it on seedlings under two true leaves and when temps top 80°F.
- Seaweed tea: soak dried seaweed 48 hours and dilute 1 to 10. Rinse the seaweed first to wash off salt.
- Worm castings: 10 to 20% of the potting mix.
- Bone meal: 1 tablespoon per plant in the planting hole for roots and blooms. More than that overloads phosphorus. Mycorrhizal fungi at planting also extend root reach.
- Neem cake: slow nitrogen plus some pest resistance, mixed into soil at planting. Neem oil spray is for bugs, not feeding.
- Fermented plant juice or bokashi: ferment veggie scraps with molasses for 7 to 10 days, dilute 1 to 20, and test on one plant first. Lactobacillus serum (rice wash plus milk, five days) is a gentler version.
- Aged manure: age it about six months. Raw manure needs a 120-day gap before harvest. For manure tea, steep 1 part manure in 10 parts water for 48 hours, and dilute 1 to 15 for seedlings.
Eggshells break down far too slowly to fix a calcium problem mid-season, though crushed shells in the planting hole give a slow start. Wood ash adds potassium but raises pH, so use about a tablespoon a month, and only if your soil runs acidic.
In my own beds, compost tea and worm castings do the heavy lifting. Banana peels and other kitchen trash are a small bonus, as long as dairy and meat stay out of the mix.
Water, Mulch, and Companion Plants
Feeding only works when water cooperates. Water after every feeding so nutrients reach the roots, and use drip or soaker hoses for even moisture. Compost mulch also feeds soil life as it breaks down.
In rainy stretches, cut back, since heavy rain flushes nutrients away. In dry regions, slow-release or compost-based feeds hold up better. Basil and marigolds are easy backyard companions that don’t compete for nutrients, and nasturtiums add color, and clover or beans grown in the bed the year before leave nitrogen behind.
Calcium and Blossom End Rot
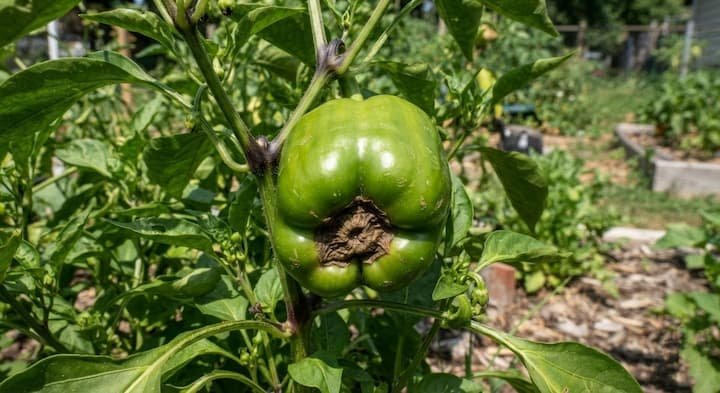
Blossom end rot starts as a water-soaked tan spot on the bottom of the fruit, then turns dark and leathery. Calcium can’t travel from leaves to fruit, so roots have to deliver it, and roots only do that when moisture is steady.
University of Georgia researchers list a target of 1.0 to 2.5% calcium in bell pepper leaves at early bloom, and you can read the details in UGA’s calcium guide.
- Water evenly. A steady pepper watering schedule does more than any supplement.
- Lay down 2 inches of mulch to hold moisture.
- Gypsum adds calcium without changing pH.
- Go easy on nitrogen and potassium early in bloom, since both compete with calcium at the roots.
- A calcium foliar spray during early fruiting helps in a pinch. Follow the label.
Epsom Salt: When It Helps and When It Doesn’t
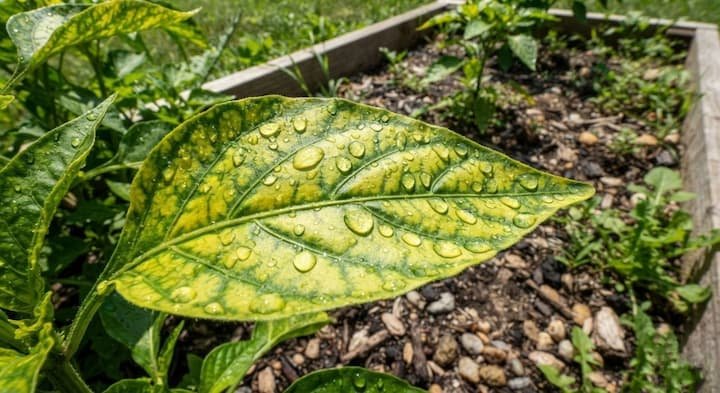
Epsom salt only fixes a magnesium shortage. You’ll see yellow between green veins on the older leaves. If leaves look fine, skip it. For a soil drench, mix 1 tablespoon per gallon every 3 to 4 weeks.
For a foliar spray, use 1 teaspoon per gallon every 2 weeks during fruiting. The full breakdown is in the Epsom salt guide.
Reading Nutrient Deficiency Signs
- Nitrogen: whole older leaves turn evenly yellow, moving up from the bottom. Fix with compost tea or a liquid nitrogen at label strength.
- Magnesium: yellow between green veins on older leaves. Epsom salt fixes it.
- Iron: the same vein pattern, but on new top leaves, often from a pH problem. Check pH, then use iron chelate.
- Phosphorus: purple undersides on older leaves. Soil under 55°F blocks phosphorus, so warm the bed with black plastic before adding anything. Bone meal only if a soil test confirms a shortage.
- Potassium: crispy leaf edges. Banana peel tea or a potassium bloom feed helps.
- Calcium: blossom end rot, tip burn, cracked pods.
Not every sign means hunger, though. Curling pepper leaves often come from heat, water, or pests, so rule those out before reaching for the bag.
Over-Fertilizing: Signs and Fixes
In my experience, fertilizer burn looks a lot like drought, which tempts people to add even more. Standard fertilizers show damage in 1 to 2 days. Slow-release formulas take weeks.
- Crispy brown or yellow leaf edges curling inward.
- White or yellowish crust on the soil.
- Wilting even though soil is wet.
- Dark, glossy leaves with stunted growth, delayed flowers, limp blackened roots.
To recover, scrape off the crust. In pots, water until it runs out the drainage holes and repeat 2 to 3 times the same day. In beds, soak the root zone for 30 minutes or more. Let the soil dry for 2 to 3 days, hold all feeding for several weeks, and trim badly damaged leaves.
Best Fertilizer for Peppers: Bell vs Hot Varieties
Bells care most about steady calcium and even feeding. Heavy nitrogen late in the season also tends to leave fruit green and leafy, which matters if you’re wondering peppers staying green on the plant. Hot varieties respond to potassium.
Too much nitrogen makes milder pods, because heat gets diluted across faster-growing tissue. A little controlled water stress late in fruiting can turn up the heat.
One lab study on habaneros saw hotter fruit from a foliar zinc spray, though I haven’t tried that myself. For container hots, see jalapenos in pots.
Fertilizer Mistakes to Skip
- Feeding 10-10-10 after buds form. I’d skip it, because you get leaves instead of pods.
- Feeding when soil is under 50°F. Roots can’t use it.
- Skipping the soil test and guessing at pH.
- Lopsided ratios. High phosphorus with low potassium stalls pods, and too much magnesium or iron blocks potassium.
- Using tomato food without checking the label. It usually works, since both crops want lower nitrogen with more phosphorus, potassium, and calcium once flowering starts.
- Applying fresh, raw manure.
- Leaving bone meal or fish products where dogs can dig them up.
- Forgetting to water after feeding.
Final Thoughts:
Choosing the best fertilizer for pepper plants isn’t about one magic bag. Test the soil, match the ratio to the stage, switch to more phosphorus and potassium at first buds, and keep water even. I’d start with a soil test this weekend, then pick one product from the table and stick to the schedule. Your backyard will show the difference by midsummer.