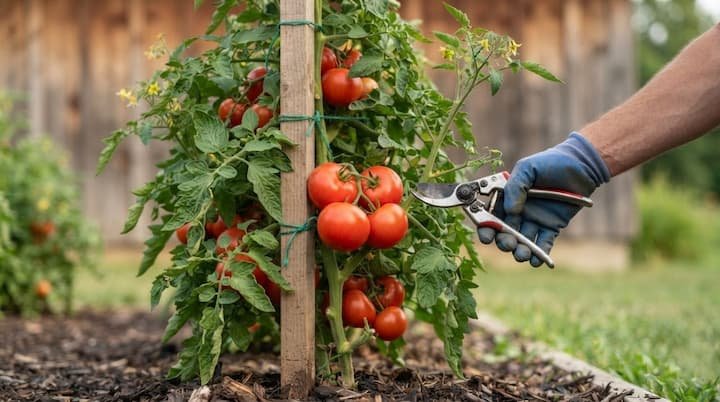
Why does the same layer of mulch save one backyard tomato bed and quietly wreck the next?
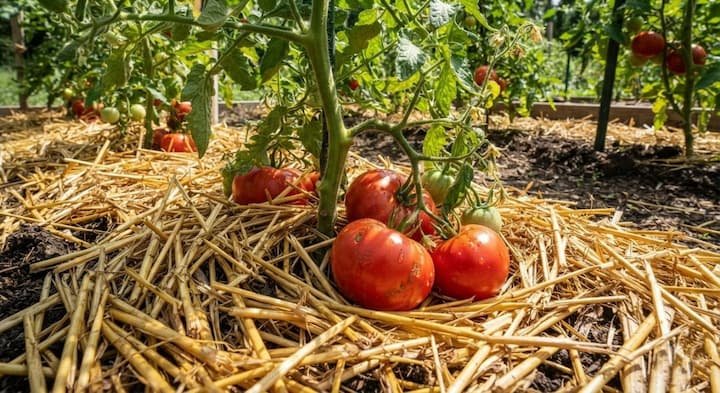
It has little to do with the brand on the bag. It comes down to the material, the thickness, the timing, and your local weather. Pick the best mulch for tomatoes in your yard, lay it at the right moment, and plants stay cleaner, wetter at the roots, and far less stressed.
Why Mulch Matters for Tomatoes
Tomatoes hate surprises in the soil. One week the bed is soggy, the next it is bone dry, and the plant pays with split fruit and rot on the bottom of the tomatoes. Mulch for tomato plants smooths out those swings and does more.
- Steady moisture: slows evaporation. Calcium moves into fruit with water, so even moisture helps prevent blossom end rot and cracking, even on the best tasting varieties.
- Less splash: blight and Septoria spores live in soil and get flung onto lower leaves by rain.
- Fewer weeds: mulch blocks the light seeds need.
- Steadier soil temperature: cooler roots in July, some protection from spring cold.
- Cleaner fruit: no grit or rot from bare dirt.
- Less erosion and crusting: rain cannot wash the surface away or bake it hard.
- Better soil: organic mulch breaks down into organic matter, and the bed looks tidy.
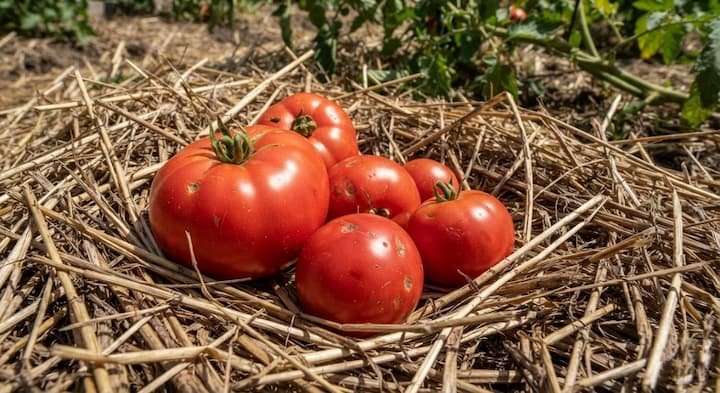
Best Mulch for Tomatoes at a Glance
Costs are rough averages.
| Mulch | Best for | Depth | Cost | Watch out for |
|---|---|---|---|---|
| Straw | Most beds | 2 to 3 inches | $8 to $15 per bale | Hay seeds |
| Shredded leaves | Free soil building | 2 to 3 inches | Free | Whole leaves mat |
| Compost | Mulch and feed | 1 inch | Free to $15 per bag | Too much nitrogen |
| Grass clippings | Cheap cover | 1 inch or less | Free | Weed killer, wet mats |
| Chop-and-drop | Established plants | Loose blanket | Free | Seeds survive |
| Wood chips and bark | Paths, pots (fine bark) | Thin cap | Free to low | Nitrogen drawdown |
| Black plastic | Cold springs | One sheet | $15 to $25 per 100 ft | One season |
| Red plastic | Extra fruit | One sheet | $20 to $30 per 100 ft | Weaker weed control |
| Silver plastic | Hot summers, pests | One sheet | $20 to $35 per 100 ft | Bad in cold zones |
| Aluminum foil | Small plots | One loose layer | Low | Tears fast |
Straw Mulch for Tomatoes
In my experience, straw is the easiest place to start. It is light, cheap, and lasts the summer. Lay it 2 to 3 inches deep. Some guides say 3 to 6 inches, but a heavy pile holds cold and wetness, so save that for hot, dry yards.
Buy straw, not hay. Straw is the dry grain stalk. Hay is the whole grass plant with seed heads, so it sprouts all summer. Buy from a reputable source, since a cheap bale can still bring weeds.
Pull sprouts for the first two weeks. Chopped garden straw costs more but comes cleaner. After the season, leave it to rot or fork it into the compost pile.
Shredded Leaves
I like running the mower over my fall leaf piles and bagging them for spring. Shredded leaves are free and turn into leaf mold.
Whole leaves mat into a wet sheet that sheds water, and a thick soggy layer can rot roots. Shred them with a mower or leaf shredder, which also shrinks the pile, then spread 2 to 3 inches. With trees in the yard, this is the cheapest organic mulch for tomatoes around.
Leaves drop in fall, so bag and store them over winter. Curbside bags work too, but ask whether the lawn gets weed killer.
Compost as Mulch
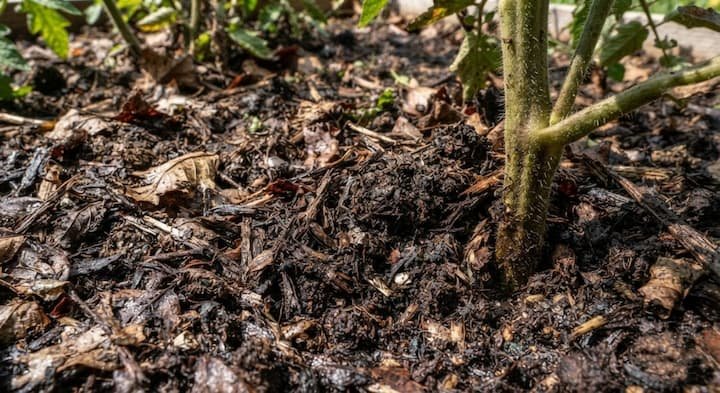
Compost shades the soil and feeds it as it breaks down. Keep it to about 1 inch. Thicker layers push nitrogen, and you get a leafy plant with fewer tomatoes.
I think one inch is plenty. Gardeners argue about whether compost alone is enough. If you check weekly and accept a few weeds, it is. In a hot, busy summer, add 2 inches of straw on top. Compost rots fast, so top it up.
Grass Clippings and Chop-and-Drop
Clippings are free, with rules.
- Dry them first. Wet clippings mat, smell, and heat up.
- Spread 1 inch or less, 2 inches from the stem.
- Skip lawns treated with broadleaf weed killer. Aminopyralid can linger and twist tomato leaves.
- Switch to another mulch once the first fruit clusters set, since fresh clippings are heavy in nitrogen.
Mixed with straw, clippings balance the straw’s carbon.
Chop-and-drop is simpler. Cut weeds, spent leaves, and soft stems and leave them around established plants, four or five weeks after planting. Green material feeds the soil fast. Woody stems borrow nitrogen, so add a little fertilizer. Skip anything gone to seed.
Wood Chips and Bark
Fresh chips pull nitrogen from the soil surface, right where tomato feeder roots live. Put 1 inch of compost around each plant, then a thin cap of chips on top. Never dig chips in, and wait until plants are fruiting.
Tree services often drop arborist chips free, but loads are big, so split one with a neighbor. Chips block direct-sown seeds, so I would keep them on paths and around established transplants. Use untreated wood only.
Fine bark rots faster than chips, so top it off next spring. On the surface it does not rob nitrogen. Buy bagged mulch bark, since rough bark compacts and holds fungus. Fine bark also suits containers because it is light and drains well.
Plastic and Foil Mulches: Black, Red, Silver, and IRT
Black plastic warms the soil. In USDA Zones 4, 5 and 6, it lets you plant a week or two early. Roll it out 1 to 2 weeks before planting, cut holes, and weeds stay buried. It lasts one season. When July heat builds, cover it with straw so roots do not cook.
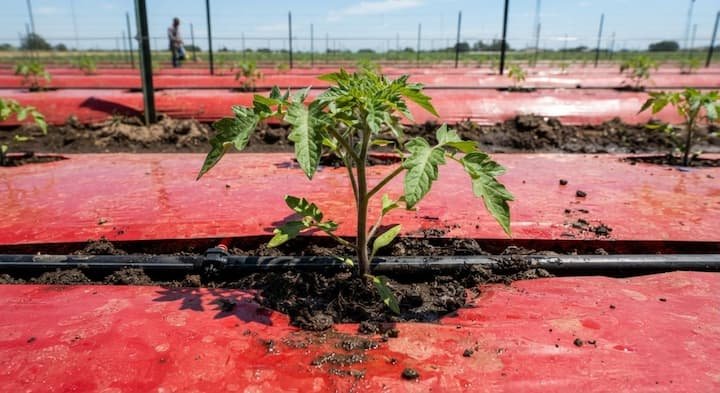
Red plastic is the tomato-specific pick. USDA Agricultural Research Service tests found tomato plants over red mulch gave about 20 percent more fruit than over black. The film bounces a different mix of light up to the leaves, and plants respond by setting fruit. Weed control is a bit weaker. A common roll is 18 inches wide and 25 feet long, enough for about 10 plants. I think it is worth trying on one short row first.
Silver plastic confuses aphids, thrips, and whiteflies, which spread tomato viruses. Insects pass the virus before spray works, so this can beat insecticide. It cools soil, so it fits USDA Zones 8, 9 and 10, not Zones 4 and 5. IRT plastic runs cooler than black, which suits warm springs. Aluminum foil is the cheap version for small plots. Lay it loose, pin the edges with U-shaped wire, and replace it midseason.
Plastic is the one mulch for tomato plants that blocks rain, so lay a drip line underneath first. Pull it at season end so fragments stay out of the soil.
Mulches to Skip or Use Carefully
- Hay: full of seeds, and laid early in the north it keeps soil cold. Hay and manure can also carry weed killer residue. Old bales suit slow soil building.
- Rubber mulch: never breaks down.
- Dyed, treated, or pallet wood: can leach chemicals.
- Cocoa hulls: only if labeled for vegetable gardens. They cake when wet.
- Landscape fabric: soil life suffers under it. If you own a roll, cover it with 2 inches of straw.
- Pea gravel: heats up and feeds nothing. Only for permanent wet beds, over fabric.
- Cardboard and newspaper: fine as a plain base layer under straw. Weak alone.
- Coffee grounds: thin sprinkle only. A thick layer cakes.
- Pine needles: fine around tomatoes. The acidity worry is overblown.
Best Mulch by Situation
Straw mulch for tomatoes works almost everywhere, but a few spots need a tweak.
| Situation | Go with | Why |
|---|---|---|
| Raised beds | Straw or shredded leaves | Beds warm fast, plastic adds little |
| Containers and grow bags | Fine bark or thin leaves, 1 to 2 inches | Light, drains well |
| Hot, dry summers (USDA Zones 8, 9 and 10) | Straw 3 inches deep, or silver plastic | Cool roots, less evaporation |
| Cool, short seasons (USDA Zones 4, 5 and 6) | Black or red plastic early, straw later | Warm soil early |
| Humid, rainy yards (USDA Zones 6, 7 and 8) | Thin straw, wide stem gap, no wet clippings | Air moves, less rot |
| Tight budget | Leaves, clippings, compost | All free |
For pots, this guide on tomatoes in pots covers the container side.
When to Mulch Tomatoes
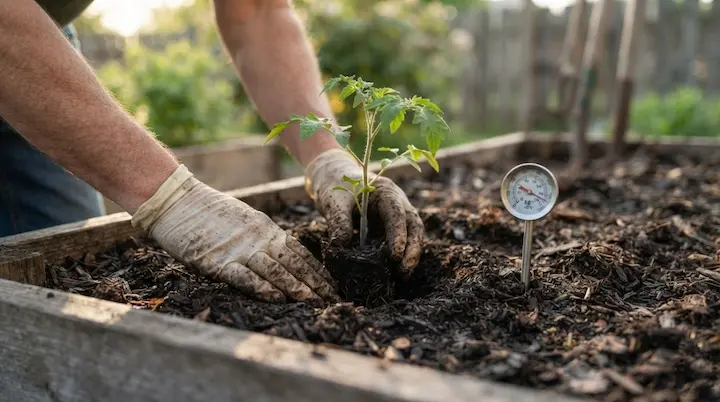
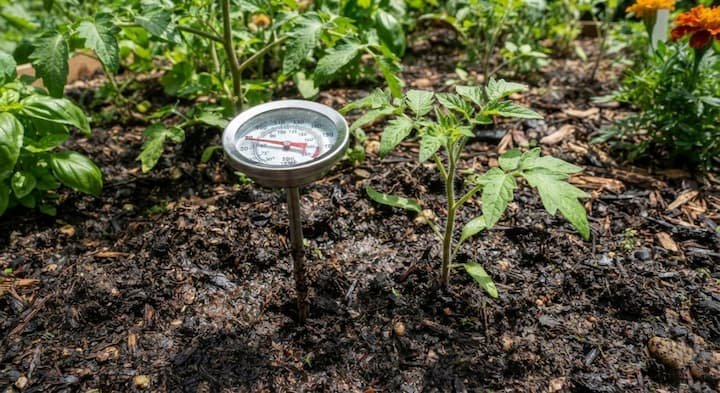
Timing is the biggest mulching mistake. Organic mulch laid too early traps cold soil, and plants stall for weeks. Air warms faster than soil, so push a soil thermometer 2 inches deep. You want 60°F to 65°F.
Some guides say wait four or five weeks after planting. A thermometer settles that better than a calendar. Roughly, that is mid-May in USDA Zones 6 and 7 and late May in Zones 4 and 5. I check the soil every spring before I spread anything. Match it to your planting dates.
- Plastic: 1 to 2 weeks before transplanting.
- Organic mulch: give transplants a couple of weeks in warm soil, then spread.
- Compost: after the soil warms.
- Chips and chop-and-drop: last, once plants are fruiting.
How to Mulch Tomatoes Step by Step
- Water the bed deeply the day before.
- Pull weeds.
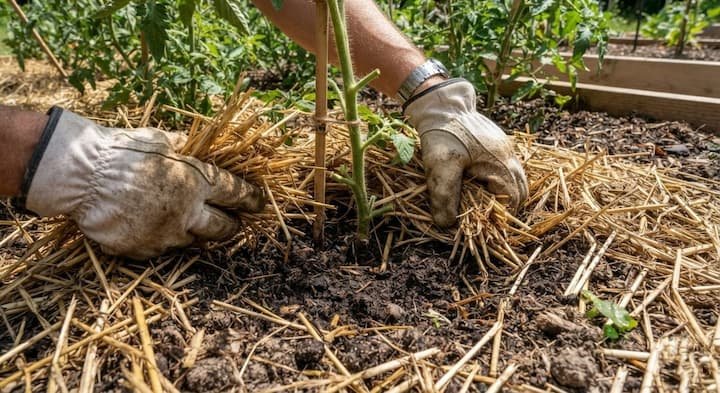
- Spread 2 to 3 inches out to the drip line (compost 1 inch). For weed control, cover the whole bed.
- Leave a 1 to 2 inch gap around each stem.
- Keep lower leaves and trailing branches off the mulch. Pruning tomato plants and a tomato trellis both help.
- Water it in, then finger-check that moisture reaches the soil.
- Check mid-season. Top up below about 1.5 inches, or work the old layer in first if the bed needs organic matter.
Refresh timing depends on determinate and indeterminate type. Determinate plants set fruit early, while indeterminate tomatoes grow until frost and need a late summer top-up.
To buy the right amount, multiply bed square feet by depth in inches, then divide by 12. A 4 by 8 foot bed at 3 inches is 8 cubic feet. A cubic yard is 27 cubic feet, so bulk pays off for big yards.
Watering and Feeding After Mulching
Mulched soil stays wet longer, so cut back. Push a finger 2 to 3 inches down, and wait if it is damp. Start near 1 to 2 gallons per plant, then adjust, following a watering schedule.
Mulch cannot fix blossom end rot already on the fruit, but it prevents the dry spells behind new rot. Epsom salt will not help either, since it adds magnesium, not calcium. Woody mulches also use nitrogen, so keep a tomato fertilizer in the routine with chips or bark.
Common Mulching Mistakes and Pests Under Mulch
- Mulching too early: knowing when to mulch tomatoes saves weeks of stalled growth.
- Mulch touching the stem: wet mulch at the crown invites rot. I made that mistake my first year and lost a plant.
- Thick, wet clippings: they mat and cook the surface.
- Thick compost: it feeds leaves, not fruit.
- Reusing mulch from blighted plants: the spores come back.
- Using hay: it swaps one weed problem for another.
Damp mulch hides slugs, cutworms, and voles. Check at dusk with a flashlight and hand-pick slugs. A cardboard or tin can collar around each transplant stem stops cutworms. Keep mulch thin near stems into fall for voles.
White fuzz on wet straw is usually harmless decay, but pull mulch back if it climbs stems. A thick layer of organic mulch for tomatoes will not stop tomato hornworms either, so keep scanning leaves.
End of Season: What to Do With Your Mulch
- Organic mulch: leave it to rot, work it into the soil in fall, or fork it into the compost pile.
- Plastic and foil: cut and pull them before the sun breaks them up.
- Diseased vines and leaves: trash, not compost, since blight can overwinter.
- Soil prep: spread 1 to 2 inches of compost or sow a fall cover crop.
- Next year: rotate beds, and if you plan on heirloom tomatoes from seed, fall is a good time to map the layout.
Final Thoughts:
The best mulch for tomatoes is the one that fits your yard, your budget, and your timing. For most backyards that means 2 to 3 inches of straw or shredded leaves, laid after the soil passes 60°F, with a gap around every stem. Add plastic if your spring runs cold, and keep checking moisture. Do those few things and your plants stay clean, steady, and productive until fall.