Ever looked at your ZZ plant and wondered if you could turn one plant into five without spending a dime? You can, and honestly it’s easier than most houseplants I’ve worked with.
If you’ve typed how to propagate zz plant into a search bar hoping for a straight answer, you’re in the right place. This guide covers all three methods, what tools you need, how long each one takes, and the mistakes that kill most people’s cuttings before they even get a chance to root.
The Basics of ZZ Plant Propagation
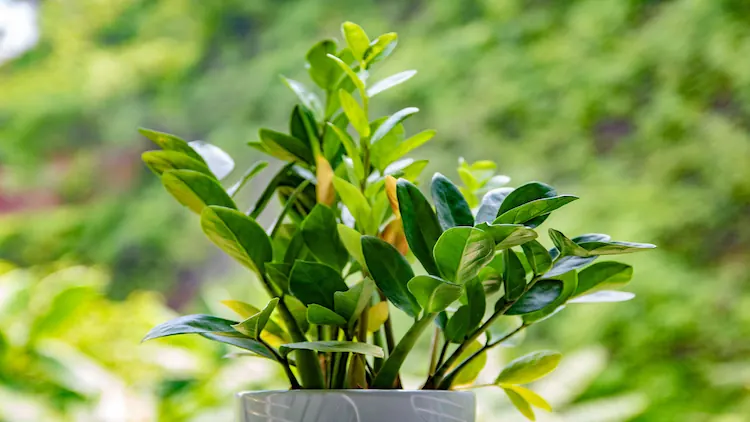
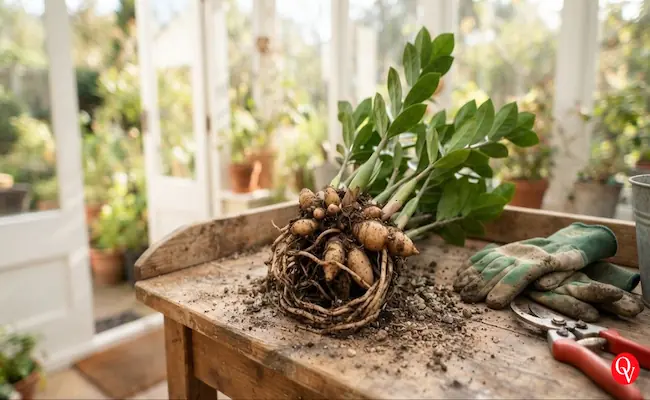
A ZZ plant (Zamioculcas zamiifolia) stores water in thick, potato-like rhizomes sitting just under the soil line, which is exactly why the plant can skip a watering or two without sulking about it.
That same rhizome is the whole secret behind zz plant propagation every method below is really just a different way of coaxing a brand new rhizome to form. Michigan State University Extension notes that stem cuttings with two leaves attached tend to root faster than single leaf cuttings, and that’s matched what I’ve seen in my own trays over the years.
Unlike garden vegetables such as zucchini or eggplant that die back completely every season, a ZZ plant just keeps rebuilding its rhizome year after year, which is why it’s such a favorite centerpiece for a low-light corner.
If you’re a community gardener who likes swapping starts with neighbors, ZZ cuttings make an easy trade since they need almost no babying once they take root. If you’re building out your collection, a ZZ plant pairs well with a lot of the best indoor plants for shaded rooms in the house.
What You’ll Need Before You Begin
- Sharp, disinfected pruners or a clean knife.
- A clear glass or jar, if you’re rooting in water.
- A 3 to 4 inch pot with drainage holes for soil rooting.
- A mix of coco coir and perlite, or a standard succulent blend.
- Rubbing alcohol to wipe your tools between cuts.
- Rooting hormone (optional, but it speeds things up).
Keep an old newspaper or a trash bag handy too dividing rhizomes gets messy, and any mushy or rotten sections should go straight in the garbage instead of the compost pile. A spare glass jar is worth keeping around just for this, since jars have a way of disappearing right when you need one.
ZZ Plant Division: The Fastest Way to Get New Plants
If your plant has filled out a 1-gallon pot and has several separate stalks coming up from the soil, division is your quickest route to new plants:
- Water the plant two days ahead of time so the roots are plump and easier to handle.
- Slide the whole rootball out of its pot and gently shake or rinse off the old soil.
- Look for the natural gaps between rhizomes and pull them apart by hand where you can.
- Use a sterilized knife for any sections that won’t separate easily.
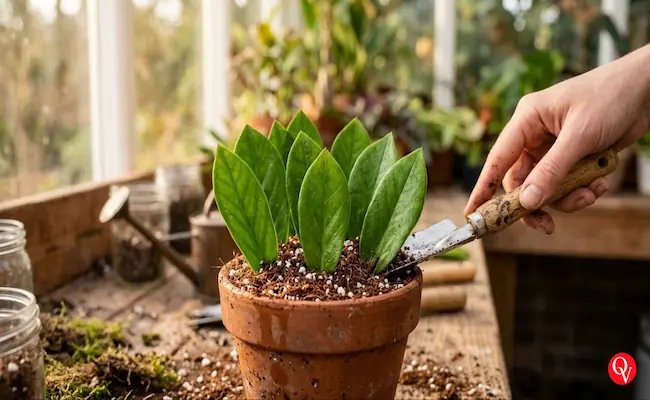
- Plant each division in its own pot, about 2 inches wider than the rootball, using fresh potting mix.
This method skips the whole rooting wait entirely since each rhizome already has its own roots attached. Give it two to three weeks and you’ll start seeing new leaf growth pushing up.
How to Propagate ZZ Plant from Stem Cuttings
This is the method I recommend most for beginners since it’s forgiving and you can watch the progress the whole way through:
- Choose a healthy stem with deep green, glossy color and no yellowing.
- Cut it near the base with your pruners, at a slight angle.
- Let the cut end sit out and callus over for a day or two in a dry spot this step protects it from rot.
- Place the cutting in water or straight into moist soil.
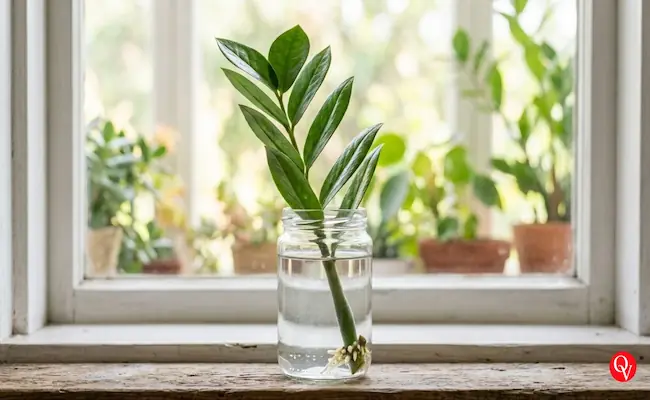
If you decide to propagate zz plant in water, use a jar tall enough to keep the leaves clear of the surface, and change the water once a week. Keep the setup somewhere between 65°F and 75°F with bright, indirect light. Roots typically show up within 4 to 8 weeks, and you can move the cutting to soil once those roots reach about 1 to 2 inches long.
| Rooting Method | What You Can See | Best For |
|---|---|---|
| Water | Root and rhizome growth, easy to monitor | Beginners, visual learners |
| Soil | Nothing until you check, but roots grow sturdier | Skipping the transplant step |
Rooting ZZ Plant Leaf Cuttings: Slow but Worth It
Leaf cuttings give you the most new plants per stem, but they take patience. Pull a healthy leaf off with a bit of the stem node still attached without that node, it won’t form a new rhizome at all:
- Select a firm, healthy leaf and gently pull or snip it off with a bit of the stem node attached.
- Let the cut end callus overnight in a dry spot.
- Stand it upright in a shallow glass of water, or press the base about half an inch into a moist coco coir and perlite mix.
- Check the moisture regularly, since letting the medium dry out completely will stall root development.
- Transplant into its own pot once you see roots and a tiny new leaf forming at the base.
This is also a good time to check how often to water a young cutting versus an established ZZ plant, because their needs aren’t the same. If your goal is simply to root zz plant cuttings with the least effort and the most visibility, water is the easier medium to watch. In my experience, it also makes it easier to catch rot early before it spreads. Expect this method to take anywhere from a month to several months before you see roots, and sometimes closer to a year before it looks like an actual plant.
Best Time and Conditions for a Successful Propagation
Spring through early summer is the ideal window, since the plant is naturally putting out new growth and has more energy to spend on rooting. Growth slows down once Fall arrives, so most of your window closes by then, though you can still propagate indoors during winter if you keep the room warm enough.
Aim for temperatures between 75°F and 85°F for cuttings, and keep humidity around 40 to 50 percent if you can manage it. Whether you’re gardening outdoors in USDA Zones 9 through 11 or growing your ZZ strictly as a houseplant in Zones 4 through 8, none of that matters much for propagation since you’re working indoors either way.
As a side note, University of Minnesota Extension points out that ZZ plants rarely flower indoors, and even when they do, there aren’t the right pollinators like beetles or flies around to make seeds happen. That’s really the whole reason division and cuttings are the only practical way to multiply this plant at home.
Signs Your Cutting Is Actually Rooting
Waiting on a cutting with no way to check on it is the hardest part, but there are a few ways to tell if things are moving in the right direction without pulling it out every few days:
- Water method: you’ll see small white nubs forming right at the cut end before anything else happens above the surface.
- Soil method: give the cutting a very gentle tug after 3 to 4 weeks. If it resists, roots have formed. If it lifts freely, it needs more time.
- A firm base: the cut end should stay firm and green, not mushy or turning brown or black.
- New growth: a tiny new leaf or shoot is the clearest sign a rhizome has fully formed underneath.
If a cutting looks the same after 8 to 10 weeks with no rot and a firm base, it’s usually still fine ZZ plants are just naturally slow, especially leaf cuttings.
Caring for New Cuttings After They Root
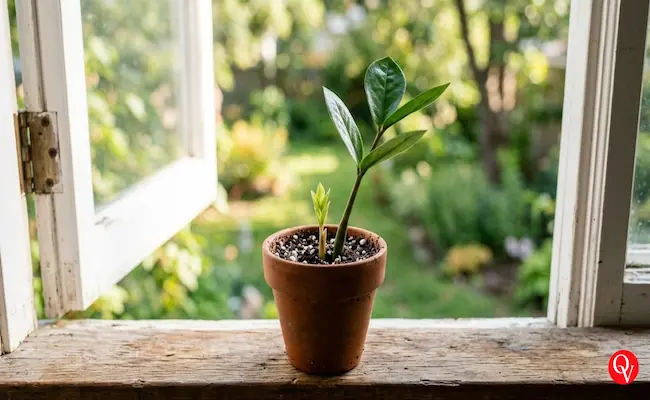
Once your cutting has roots at least an inch long, move it into a small pot with drainage holes and a well-draining mix. Water it in well, then let the top half of the soil dry out before watering again. Hold off on fertilizer for the first few months a young rhizome doesn’t need the extra push yet and can actually be burned by it.
Keep new plants out of direct sun for the first couple of weeks so they can adjust, then gradually move them toward the same bright, indirect spot where your mature plants live in the backyard sunroom or wherever you keep your collection.
Common Mistakes That Kill ZZ Plant Cuttings
- Skipping the callus step: planting a fresh cut straight into wet soil invites rot almost immediately.
- Overwatering: soggy soil is the number one killer of new roots.
- Not enough light: cuttings kept in a dim corner will stall out and eventually shrivel.
- Wrong pot size: a pot that’s too big holds excess moisture the small root system can’t use.
- Leaving cuttings where pets or kids can reach them: ZZ plant sap can irritate skin and mouths, so if you’ve got a curious dog or cat, it’s worth checking whether ZZ plants are toxic to dogs or toxic to cats before setting your propagation tray on a low shelf. The same goes if you’ve got a baby crawling around, since ZZ plants can also be toxic to babies who like putting things in their mouth.
I’ve never had a division fail, so if patience isn’t your strong suit, that’s the method worth trying first.
Final Thoughts:
At this point you’ve got everything you need to figure out how to propagate zz plant using division, stem cuttings, or leaf cuttings, whichever fits your patience level and how many new plants you’re hoping to get. Division gives you instant results, stem cuttings are the easiest to track, and leaf cuttings stretch out over months but give you the most plants for your effort. Pick one, gather your pruners, and give it a try this plant genuinely does most of the work on its own.